89
Ignition Coil
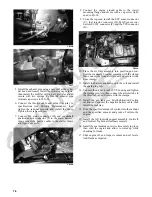
The ignition coil is on the electrical panel under the radi-
ator/electrical access panel.
RESISTANCE
NOTE: For these tests, the meter selector should be
set to the OHMS position and the primary wire should
be disconnected.
Primary Winding
1. Connect the red tester lead to either terminal; then
connect the black tester lead to the other terminal.
2. The meter reading must be within specification.
Secondary Winding
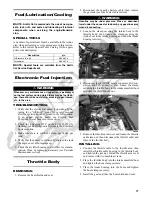
1. Remove the plug cap from the high tension lead;
then connect the red tester lead to the high tension
lead.
2. Connect the black tester lead to ground.
3. The meter reading must be within specification.
NOTE: If the meter does not show as specified,
replace ignition coil.
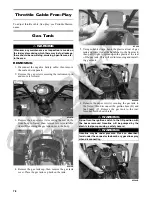
Spark Plug Cap
1. Connect the red tester lead to one end of the cap;
then connect the black tester lead to the other end of
the cap.
AR603D
2. The meter reading must be within specification.
NOTE: If the meter does not read as specified,
replace the spark plug cap.
Primary Voltage - ECM
1. Set the meter selector to the DC Voltage position;
then disconnect the two wires from the coil.
2. Connect the red tester lead to the orange wire and the
black tester lead to the blue/white wire.
3 Turn the ignition switch to the ON position. The
meter must show battery voltage.
EFI Sensors
CRANKSHAFT POSITION (CKP)
SENSOR
To test the CKP sensor, see Stator Coil/Crankshaft Posi-
tion (CKP) Sensor in this section.
OXYGEN (O2) SENSOR
The sensor is located in the exhaust pipe.
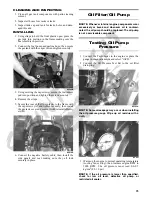
1. On the right side of the ATV, unplug the connector.
KC518A
2. On the sensor side of connector, connect the black
(negative) test lead to one white wire pin; then con-
nect the red (positive) test lead to the other white
wire pin.
3. With the meter in the OHMS position, the reading
should be between 6.7-10.1 ohms.
NOTE: If the meter does not read as specified,
replace sensor.
MANIFOLD ABSOLUTE PRESSURE
(MAP) SENSOR/INLET AIR
TEMPERATURE
NOTE: Preliminary checks may be performed on
this component using the diagnostic mode on the
LCD gauge (see EFI Diagnostic System in this sec-
tion).
1. Disconnect the MAP/IAT connector from the sen-
sor located on top of the throttle body.
2. Select DC Voltage on the tester and turn the igni-
tion switch to the ON position.
3. Connect the black tester lead to the black/pink
wire and the red tester lead to the orange/blue
wire. The meter should read 4.5-5.5 DC volts. If
the meter does not read as specified, check the
ECM connector or wiring.
CAUTION
Always disconnect the battery when performing resis-
tance tests to avoid damaging the multimeter.


