background image

E-21

E-20

English

HDMI Setup

HDMI Audio Out

Disable


g

 Passthrough

Use the   and   buttons to switch HDMI Passthrough on 

and off.


HDMI passthrough passes the video and audio signal 

from any HD source to your Solo bar via an HDMI cable. 

The Solo bar splits the signal, playing the audio from the HD 

source through its own speakers and sending the unaltered 

video signal to a TV using an HDMI OUT cable. Press   to 

go back a level or 

 to exit setup.


CEC / ARC

Enable


g

 Disable

Use the   and   buttons to switch CEC/ARC on or off.

See page 16 for more information. 

Press   to go back a level or 

 to exit setup.

HDMI setup menu

Default settings are shown in 

Blue

.

firmware update

Download an update file

To perform a firmware update, you’ll need 

to download an update file from the Arcam 

web site.

Check the availablity of firmware updates by 

typing 

www.arcam.co.uk

 into your browser 

and navigating to the Solo bar page. 

Note: Make sure you download the file to the 
root of your USB, do not put it inside a folder 
or the update will fail.

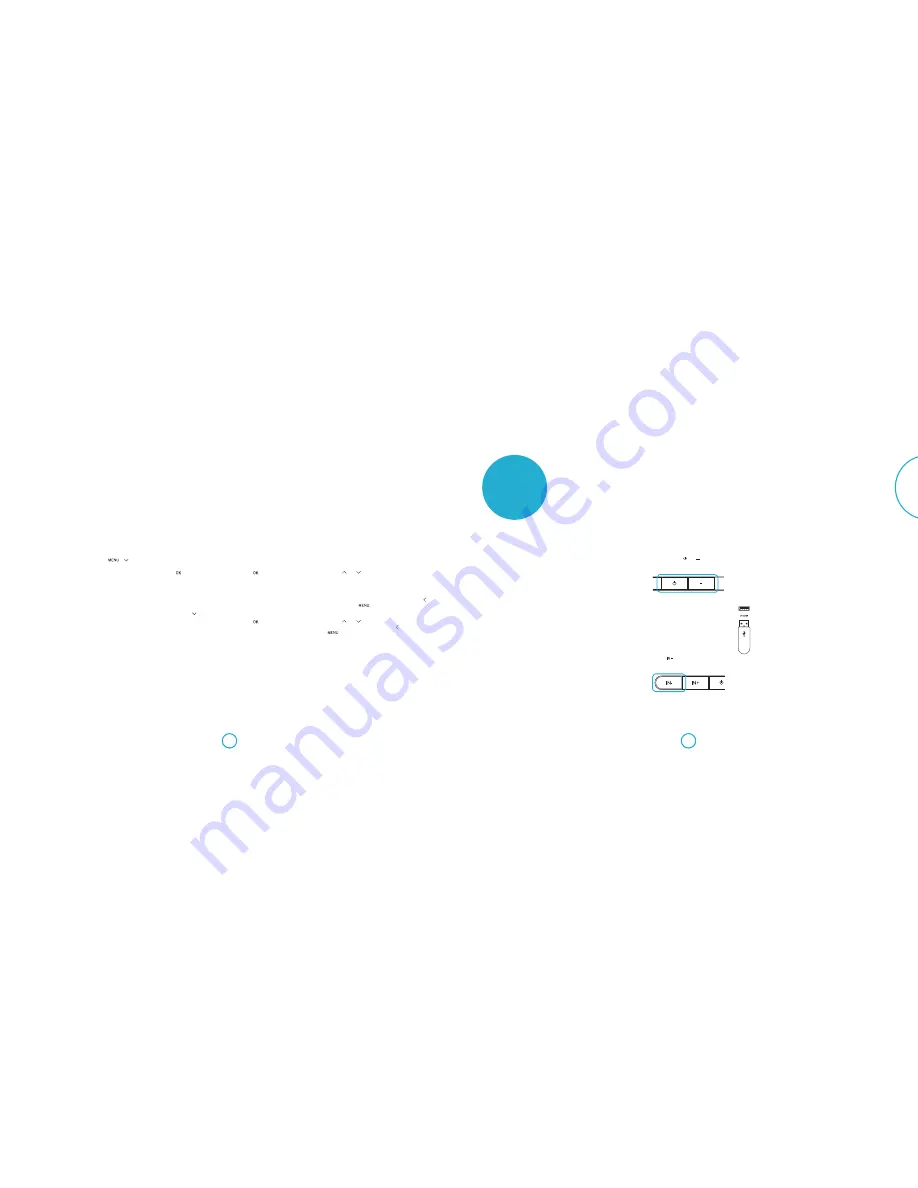
Performing the update

Make sure the soundbar is turned on at the 

plug and in standby mode.

Press and hold the   and   buttons 

simultaneously for about five seconds.

The Solo bar will turn on and display the 

following information:

ARCAM SB M:V024

B:40526 D:30304

Note: M = Main software version, 
B = Bluetooth software version and  
D = DSP software version.

Press the 

 button to go to the software 

update screen. 

The display will change to:

System Update

Insert USB...

Note: Pressing 

IN-

 again will cycle between 

this and the software version screen. 

Insert the USB drive containing the update 

file into the UPGRADE socket on the rear 

panel of the Solo bar.

The firmware update will 

start automatically once 

the USB drive has been 

detected and the display 

will change accordingly:

System Update

Updating...

If 30 seconds have elapsed before the USB 

was inserted, the display will timeout and 

change to:

System Update

USB Not Detected

This message will be displayed for about 

three seconds, after which the Solo bar will 

turn itself off and the entire procedure will 

need to be repeated. 

If the update was successful, the display will 

show the following information for about 

three seconds, after which the Solo bar will 

turn itself off.

System Update

Complete

If the update was not successful, the display 

will show the following information for 

about three seconds, after which the 

Solo bar will turn itself off and the whole 

procedure will need to be performed again.

System Update

Error

Summary of Contents for Solo bar

Page 1: ...Handbook Sound bar English ...

Page 2: ...ns and display E 5 Connections E 6 quick start E 7 What s in the box E 7 Placing the unit E 7 Connecting devices E 7 Connecting a TV E 7 Connecting digital devices via HDMI E 8 Connecting analogue devices E 9 Connecting audio devices via digital input E 9 Connecting a subwoofer E 9 Plug in and turn on E 10 Connecting a Solo sub E 10 Connecting Bluetooth devices E 11 Using headphones E 11 remote co...

Page 3: ...ries specified by the manufacturer 12 Use only with the cart stand tripod bracket or table specified by the manufacturer or sold with the apparatus When a cart is used use caution when moving the cart apparatus combination to avoid injury from tip over 13 Unplug this apparatus during lightning storms or when unused for long periods of time WARNING To reduce the risk of fire or electric shock do no...

Page 4: ...et User manual Registration card Connecting a TV Connect your TV to HDMI OUT using an HDMI cable If your TV supports ARC the audio can be played through the Solo bar for better sound performance see page 20 for setup information If your TV does not support ARC connect an audio cable to OPTICAL or COAX input on the Solo bar Audio cable if not ARC Connections USB Used for service and firmware update...

Page 5: ...n Arcam Solo sub please see the next page Subwoofer Connecting audio devices via digital input Audio devices can also be connected to the Solo bar using the Coaxial and Optical inputs Many digital devices including set top boxes Blu ray players DVD players games consoles and camcorders can be connected using an HDMI connection Note that when using this method of connection the image will be displa...

Page 6: ...ion is activated Now follow the advice supplied with your Bluetooth headphones to put them in pairing mode Make sure that Device Search is still displayed and press The Solo bar will search for available devices for one minute If no devices are found press again to start another search You might want to make sure there are no obstacles in the way When the search is finished available devices will ...

Page 7: ...en on and off Press to enter the set up menu see pages 18 20 Press again to exit the menu Navigate upwards through menu settings Navigate downwards through menu settings Navigate back through menu levels Navigate right through menu levels Press to select menu setting Switches through stereo movie and concert audio output modes Input source selector switches forwards through connected sources Input...

Page 8: ...y the currently selected input source volume setting and audio mode Note If the unit is to be left unused for an extended period disconnect it from the mains supply to save power Selecting a source To select a particular source press the or buttons on the front panel or remote until that source is shown on the front panel display The following sources are available HDMI 1 HDMI 2 HDMI 3 HDMI 4 OPTI...

Page 9: ...nd sounds in the listening room and nearby rooms Close all windows and doors in the listening room Turn off all fans including air conditioning systems If holding the microphone in the hand keep your hand and fingers still to avoid generating any handling noise Position the microphone pointing upwards at roughly head height in the normal listening position with a direct unobstructed view of the sp...

Page 10: ...nd buttons to switch IR repeater on or off See page 16 for more information Press to go back a level or to exit setup System Info Press OK to view the system software version Factory Defaults Press OK to reset the Solo bar to factory defualts Note Paired or connected devices will be lost Press to go back a level or to exit setup Speaker EQ Setup Auto Setup Auto setup configures your Solo bar for o...

Page 11: ...simultaneously for about five seconds The Solo bar will turn on and display the following information ARCAM SB M V024 B 40526 D 30304 Note M Main software version B Bluetooth software version and D DSP software version Press the button to go to the software update screen The display will change to System Update Insert USB Note Pressing IN again will cycle between this and the software version scre...

Page 12: ...ut source is selected Bluetooth Check your Bluetooth device is paired correctly Is your Bluetooth device too far away from the unit FCC Notice This product contains FCC ID VNH IK CSRBC05 QEC GWNO This equiment has been tested and found to comply with the limits for a Class B digital device pursuant to Part 15 of the FCC Rules These limits are designed to provide reasonable protection against harmf...

Page 13: ...ommendation Arcam takes every precaution to ensure that all information contained in this publication is factually correct but accepts no liability for any error or omission Worldwide guarantee Arcam warrants that the products described in this guide shall conform to their published specification in all material respects for a period of two years from the date of purchase This entitles you to have...

Page 14: ...a display iPad 4th generation iPad mini iPad 3rd generation iPad 2 iPod touch 5th generation iPod touch 4th generation Google Play is a trademark of Google Inc Android is a trademark of Google Inc 2013 CSR plc and its group companies The aptX mark and the aptX logo are trade marks of CSR plc or one of its group companies and may be registered in one or more jurisdictions The Bluetooth word mark an...

Reviews: