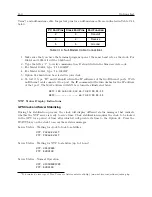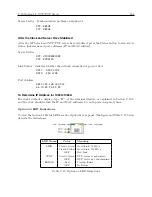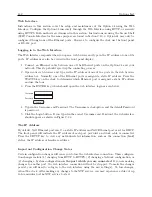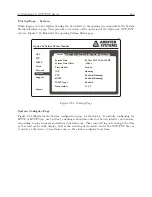
C.17 Option 29: Four Additional Outputs; Dry Contacts; +25/50 Vdc
169
C.17.4
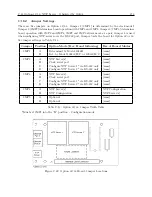
Output Jumper Setting Changes
1. Set Line Power switch to OFF position (if equipped). Disconnect the power cord from rear-
panel.
2. Remove rack-mount ears (if equipped) and remove top cover using a T25 Torx driver.
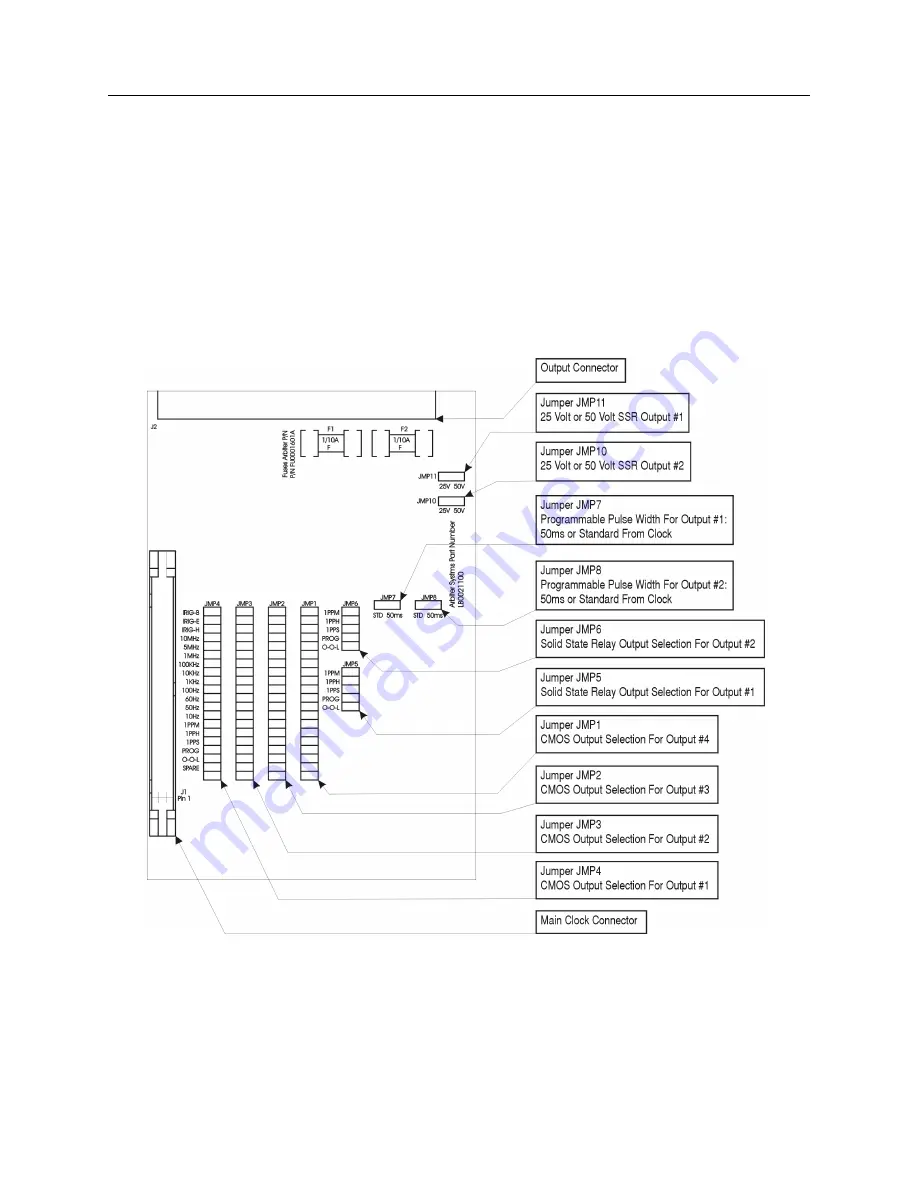
3. Locate the appropriate Jumper using Figure C.19 and move the jumper to the desired setting.
4. Replace the top cover and rack-mount ears (if equipped).
5. Connect the power cord to the rear-panel and power the clock ON.
Figure C.19: Option 29 Jumper Locations
Summary of Contents for 1084A
Page 4: ...iv ...
Page 6: ...vi ...
Page 18: ...xviii LIST OF FIGURES ...
Page 24: ...4 Unpacking the Clock ...
Page 36: ...16 Connecting Inlet Power Input and Output Signals ...
Page 44: ...24 GPS Antenna and Cable Information ...
Page 114: ...94 Startup and Basic Operation ...
Page 123: ...B 4 Physical Dimensions 103 Figure B 1 Suggested Mounting of the AS0094500 Surge Arrester ...
Page 124: ...104 Using Surge Arresters ...
Page 134: ...114 Options List C 6 2 Option 06 Firmware Setup Figure C 3 Option 06 Firmware Setup ...
Page 142: ...122 Options List Figure C 5 Option 06 Output Jumper Settings ...
Page 158: ...138 Options List Figure C 13 Option 17 Board Layout and Jumper Locations ...
Page 163: ...C 13 Option 20A Four Fiber Optic Outputs 143 Figure C 14 Option 20A Jumper Locations ...
Page 170: ...150 Options List Figure C 16 Option 23 Internal Jumper Setup ...
Page 172: ...152 Options List Figure C 17 Option 27 Jumper Locations ...
Page 190: ...170 Options List Figure C 20 Option 29 Connector Signal Locations ...
Page 246: ...226 Options List ...


