Operator’s Manual
Rev 5/21/18
pg. 17
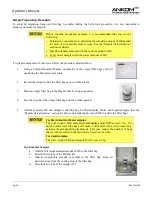
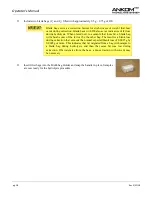
Moist Samples
a.
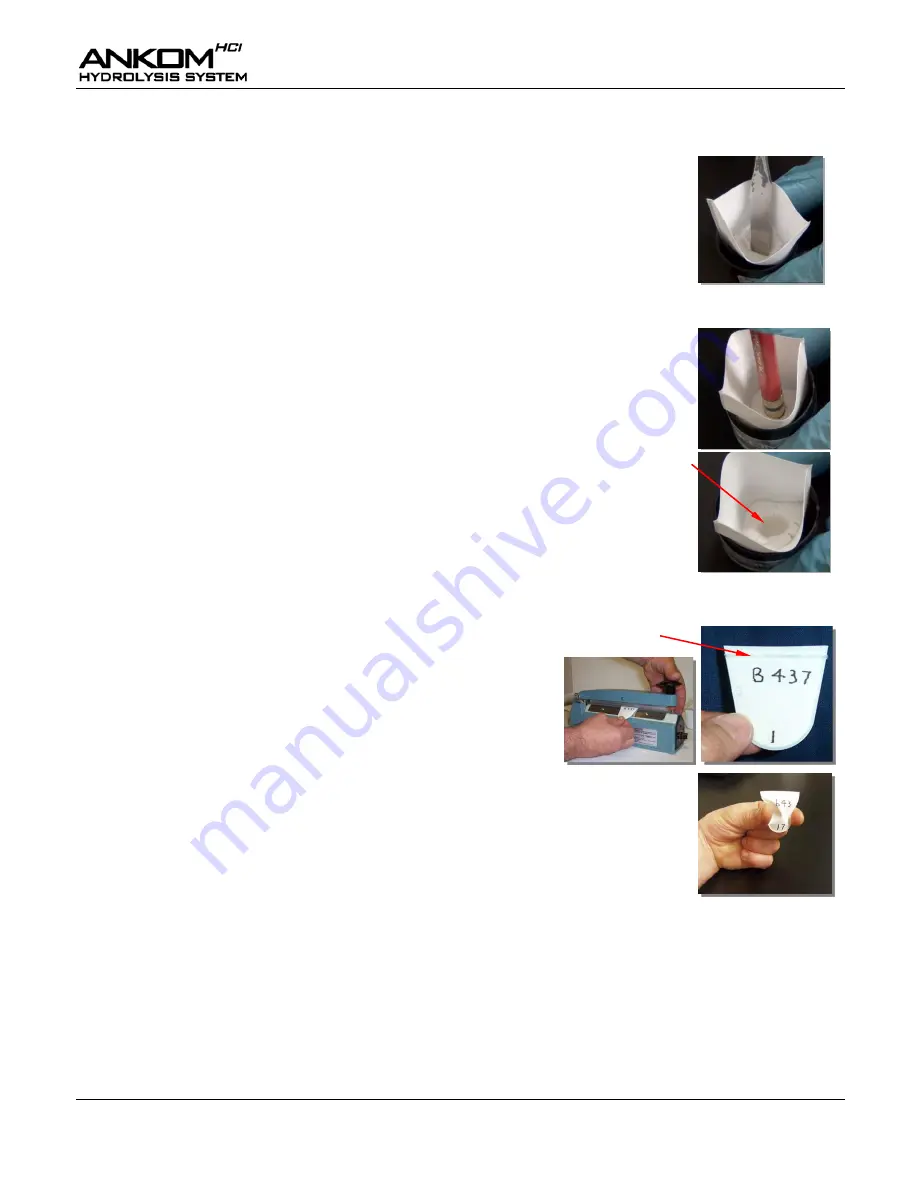
Add 1/2 of the recommended amount of DE to the filter bag.
b.
Using a spatula, make a valley or a space in the DE for the sample.
c.
Record the weight and tare.
d.
Place an appropriate amount of sample into the DE valley in the filter
bag, being careful that the sample does not touch the inside walls of
the filter bag so the sample can be fully covered with DE.
e.
Record the weight of the sample (W
1
) and tare.
f.
Add the rest of the DE to the filter bag to completely cover the sample.
g.
Record the weight of the DE.
Liquid Samples
a.
Add the full recommended amount of DE to the filter bag.
b.
Using a pencil eraser (or similar sized utensil), make an indentation or
a space in the DE into which the liquid sample can be added using a
pipette.
c.
Record the weight and tare.
d.
Pipette the appropriate amount of liquid sample into the DE
indentation in the filter bag.
e.
Record the weight of the sample (W
1
).
6.
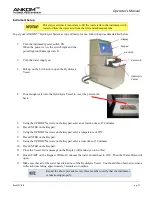
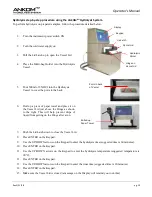
Set the Heat Sealer dial to 6. (The setting may vary from sealer to sealer.)
7.
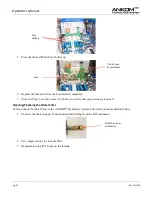
Seal the filter bag within 4mm of its open end. Keep the
sealer arm down for 2 – 3 seconds after the red sealer light
turns off (to cool the seal). The seal can be seen as a solid
melted stripe along the top edge of the filter bag (as shown
to the right). If the seal is not strong, re-seal the bag.
8.
For Dry/Granular or Moist samples, squeeze the edges of the filter bag then
shake it to mix or cover the sample with the DE. Flatten the bag after shaking.
9.
If the sample is liquid or clumpy (for example ground beef) and makes the filter bag bulge, gently
squeeze the bag at the bulge location to flatten it.
10.
Repeat steps 3 – 9 for all filter bags that will be used in the ANKOM
HCl
Hydrolysis System. (Up to 15
bags can be processed during one procedure.)
Seal
Summary of Contents for XT4
Page 2: ...This page intentionally left blank ...
Page 4: ...This page intentionally left blank ...
Page 12: ...Operator s Manual pg 12 Rev 5 21 18 This page intentionally left blank ...
Page 24: ...Operator s Manual pg 24 Rev 5 21 18 This page intentionally left blank ...
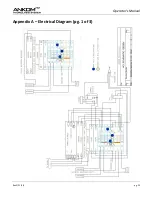
Page 25: ...Operator s Manual Rev 5 21 18 pg 25 Appendix A Electrical Diagram pg 1 of 3 ...
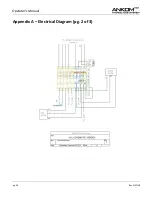
Page 26: ...Operator s Manual pg 26 Rev 5 21 18 Appendix A Electrical Diagram pg 2 of 3 ...
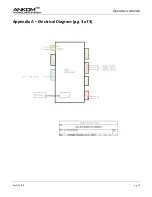
Page 27: ...Operator s Manual Rev 5 21 18 pg 27 Appendix A Electrical Diagram pg 3 of 3 ...

