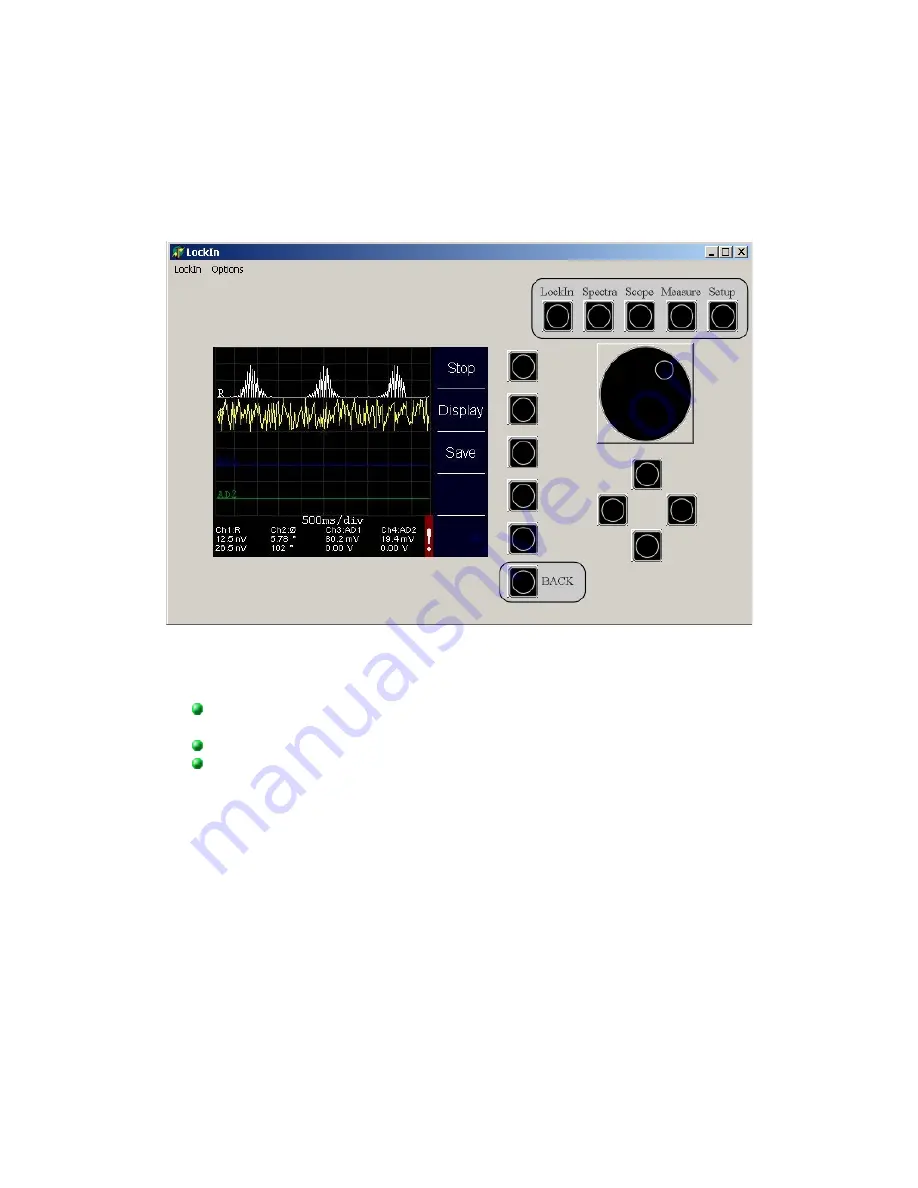
LockInRemote uses a TClientSocket object to set up a TCP connection to the
eLockIn
, working in non-blocking mode.
After starting the program, the screen will still be empty, because authentication is
required first. Click
LockIn
→
Authenticate
to open the authentication menu. Enter
your user name, password and the
eLockIn
's IP and click '
Connect
'. If the
eLockIn
is found and your authentication data are valid, you will be logged in.
Now you may want to select '
Auto Refresh
...' from the '
Options
' menu in order to
choose how the
eLockIn
's data should be presented:
Auto-Refresh Screen causes the program to retrieve a new screenshot
continuously. This is useful if you want to navigate through the menu tree.
Auto-Refresh Channel displays current channel data
Auto-Refresh Off disables Auto-Refresh
It is possible to get new screen/channel data by refreshing them manually as well.
The '
Options'
menu also offers a simple speed test. Click '
Test Speed
' to check the
abilities of your network connection. Choose a number and click '
Test
'. The same
picture will be retrieved
n
times from the
eLockIn
, while time is measured. Later,
speed and time per picture will be displayed.
All the buttons on the right side of the panel have the same functionality as their
counterparts on the
eLockIn
. The row of buttons next to the screen represents
different meanings, depending on which option is currently assigned to them on the
display.
If you need to pass parameters to the
eLockIn
, choose '
Set Value
' from the
43 (58)
Figure 13: LockInRemote program surface.
Summary of Contents for eLockIn 203
Page 52: ...7 APPENDICES 7 1 SCHEMATIC DIAGRAM OF THE SIGNAL PATHS 52 58...
Page 53: ...7 2 DIAGRAM OF THE LOCKIN AMPLIFICATION PATHS Diagram of the preamplifier switches 53 58...
Page 54: ...7 3 FRONTPANEL DIMENSIONS 54 58...
Page 55: ...7 4 INSTRUMENT SPECIFIC TEST SHEETS insert with 10 pages of data 55 58...
Page 56: ...7 5 PREAMPLIFIER CONNECTOR PINOUT 56 58...
Page 58: ...7 7 TRACEABILITY CHART 58 58...


