


Displaying Stream Content
70
MAX-CSE/MAX-CSD10 Operation/Reference Guide
14.
Create buttons on both this project’s main page and within this Video page which can allow the user
to navigate between both pages.
15.
Save these pages, and after establishing a connection, upload this project to the target Modero panel.
Establishing the final connection between the two units
1.
Start playing the media at its source (DVD, VCR, camera, etc.).
2.
While in the UI pages (
log back in if not already connected
), navigate to the Administration page by
clicking on the
Admin
link from the left Navigation frame.
3.
Locate the Mode section of this page and click the
Play
button to begin streaming the incoming
media content to the targeted Modero panel. For these procedures, the Program information is
optional and not "picked-up" by the panel.
4.
With the panel now loaded with the new TPD4 project containing the streaming media
page/popup/button, navigate from the initially displayed (main) page to the page containing the
Streaming Video Fill button which we created in the previous step. It should now be displaying the
audio and video from the incoming stream.
If the audio level is not sufficient, you can either go back and create a volume control button or
go to the Modero’s Audio firmware page and adjust the value assigned to the Master Volume
for the panel.
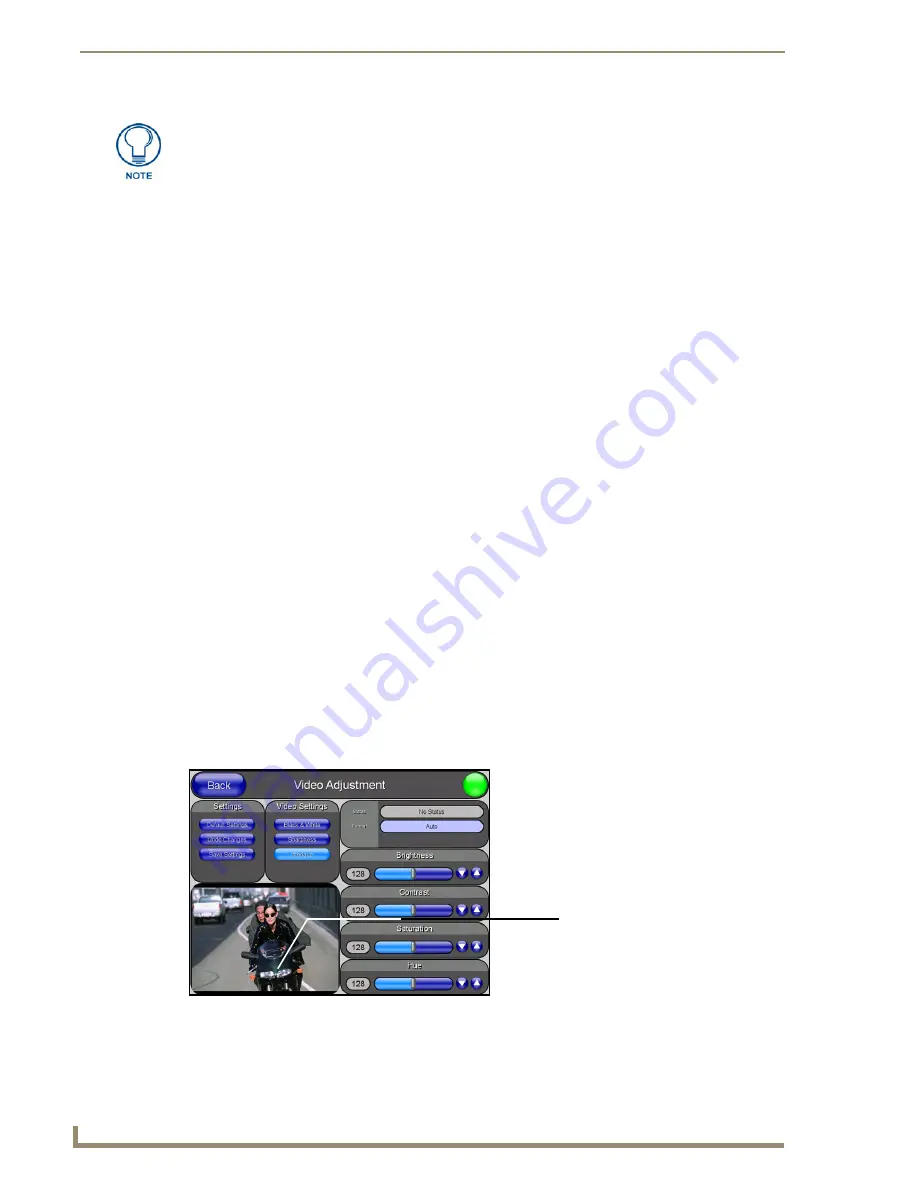
If no video is being displayed on the page:
Navigate to the firmware pages by pressing the grey Front Setup Access button for
3 seconds to open the Setup page and then press the on-screen
Video Adjustment
button, causing an option bar to slide outwards from the Navigation buttons.
Click on the
Streaming Adjustment
button to launch the Streaming Video Adjustment
page and confirm that the panel is at least receiving the signal (FIG. 47).
Modero doesn’t require that an audio port be entered within the Streaming Source
field because the firmware already assumes the audio port value to be
2 greater
than
the value set for the video port.
FIG. 47
Video Adjustment page (showing default values)
Incoming Video signal
Once done making your screen
adjustments, SAVE THE SETTINGS.
Summary of Contents for MAX-CSD 10
Page 6: ...iv MAX CSE MAX CSD10 Operation Reference Guide Table of Contents...
Page 14: ...MAX CSD10 Video Decoder 8 MAX CSE MAX CSD10 Operation Reference Guide...
Page 24: ...MAX CSE and MAX CSD10 Installation 18 MAX CSE MAX CSD10 Operation Reference Guide...
Page 80: ...Displaying Stream Content 74 MAX CSE MAX CSD10 Operation Reference Guide...
Page 108: ...NetLinx Programming 102 MAX CSE MAX CSD10 Operation Reference Guide...
Page 109: ...Programming 103 MAX CSE MAX CSD10 Operation Reference Guide...


