


31
MU Series (Windows)
User’s Manual
Using the Software
Capturing & Saving a Still Image
Opening a Saved Still Image
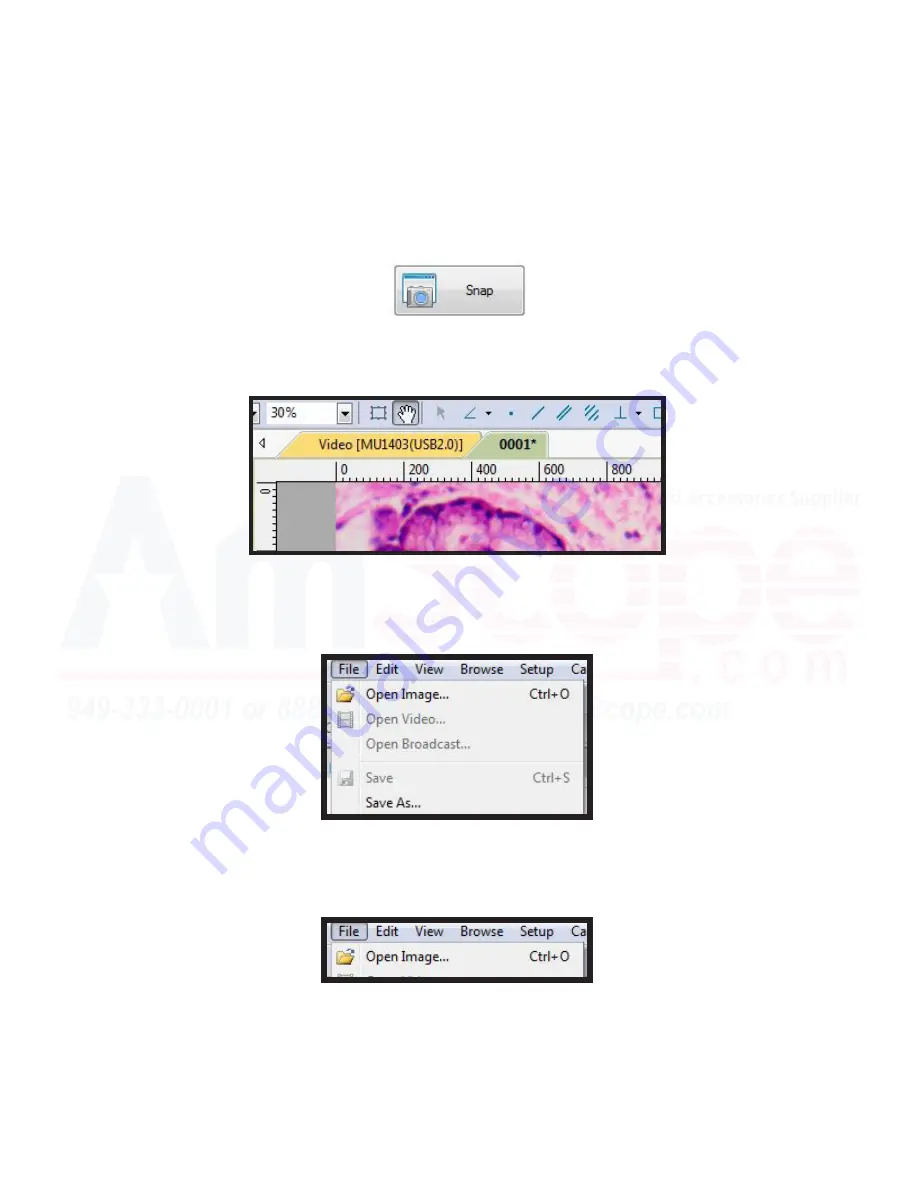
1. To capture an image, once you are focused on the sample and it is in clear view in the software view, simply
press the “Snap” button with the photo of the camera. Be sure to set the “Snap” resolution to the resolution
desired of the still image recording prior to pressing “Snap.”
2. A new tab will open over the camera view area, noted by the different colored tabs at the top. The “Video
[Camera SKU Here]” tab will always be the live view of what the camera is feeding the software. The following
tab will be the number of photo taken--in this case, “0001*” meaning the first photo of this session.
3. To save the photo, click on “File” at the top navigation bar of the software, and “Save” (or “Save As”). “Save”
will immediately save it in the desired directory in the default format, while “Save As” will allow you to select not
only a directory and a name, but also the file type (such as .jpeg, .png, etc.). Select either method, name your
photo, and select where you’d like it saved to.
1. To recall a previously saved photo, simply click “File” from the top navigation bar, and click “Open Image.” This
will open a navigation window, allowing you to locate and select which photo you would like to open.
2. Once you have located and selected the file you wish to open, click it, and click “Open.” The image should ap
-
pear as a tab in the view area with the file name as the name of the tab.
Summary of Contents for MU USB2.0
Page 1: ...1 MU Camera Series User s Manual Windows ...
Page 92: ...92 MU Series Windows User s Manual Process Menu Tools Segmentation Count ...
Page 94: ...94 MU Series Windows User s Manual Process Menu Tools Segmentation Count ...
Page 96: ...96 MU Series Windows User s Manual Process Menu Tools Segmentation Count ...


