VOICECOM USER MANUAL ISSUE 4
-49-
2.
Like many Windows operations, one process can be done more than one way. Adding an audio message to the
Voice Message can be done by either:
a.
Selecting the message number where you would like to add a message by clicking the message
number once. The selected row will become highlighted. Then select
Import Sample
from the
Message
menu.
b.
Selecting the message number where you would like to add a message by clicking the message
number once. Click the
right
mouse button. A floating menu will appear from which you can select
Import Sample
.
3.
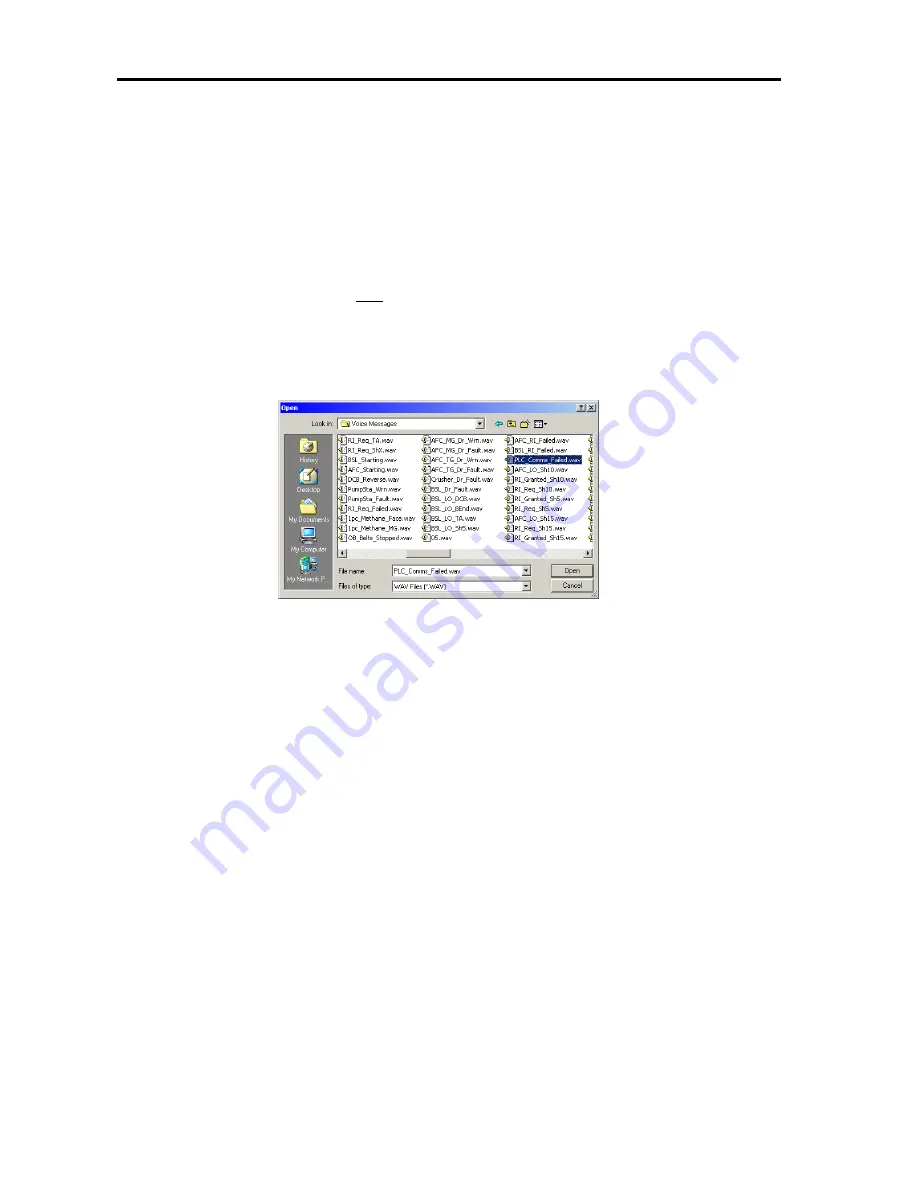
This will open the standard Windows “Open Dialogue Box”, as shown in Figure 38. This allows you to select the
desired WAV audio file to import into the Message Bank. Notice that the “Files of type:” drop down menu defaults
to “WAV Files (*.WAV)”. Only WAV audio files can be imported into the message bank. Select the file and click
the Open button. As an example we will choose the “PLC_Comms_Failed.wav” file and import this to message 1
4.
Once imported, the voice message will appear in the message bank at the chosen message number as shown in
Figure 39. There are three message attributes that can be edited: Description, Format and Pretone number.
These will be explained in the next section. It may be easier to import all of the required messages first and then
change the message settings.
Figure 38 - Open Dialogue Box
Summary of Contents for VAA
Page 73: ...VOICECOM USER MANUAL ISSUE 4 77 APPENDIX G I S Approvals ...
Page 74: ...VOICECOM USER MANUAL ISSUE 4 78 ...
Page 75: ...VOICECOM USER MANUAL ISSUE 4 79 ...
Page 76: ...VOICECOM USER MANUAL ISSUE 4 80 ...
Page 77: ...VOICECOM USER MANUAL ISSUE 4 81 ...
Page 78: ...VOICECOM USER MANUAL ISSUE 4 82 ...
Page 79: ...VOICECOM USER MANUAL ISSUE 4 83 ...


