- 28 -
Using the Rugged Handheld Device
• When a Wi-Fi network is out of range and you want the TITAN 7 to
remember it and auto-connect to it as soon as it gets in range.
To add a Wi-Fi network:
1.
Swipe down the
Status bar
and tap the
WI-FI
tile to enable Wi-Fi if it isn't
enabled yet.
2. In the
Quick Settings
panel, tap and hold the
WI-FI
tile to access the Wi-Fi
settings page.
3.
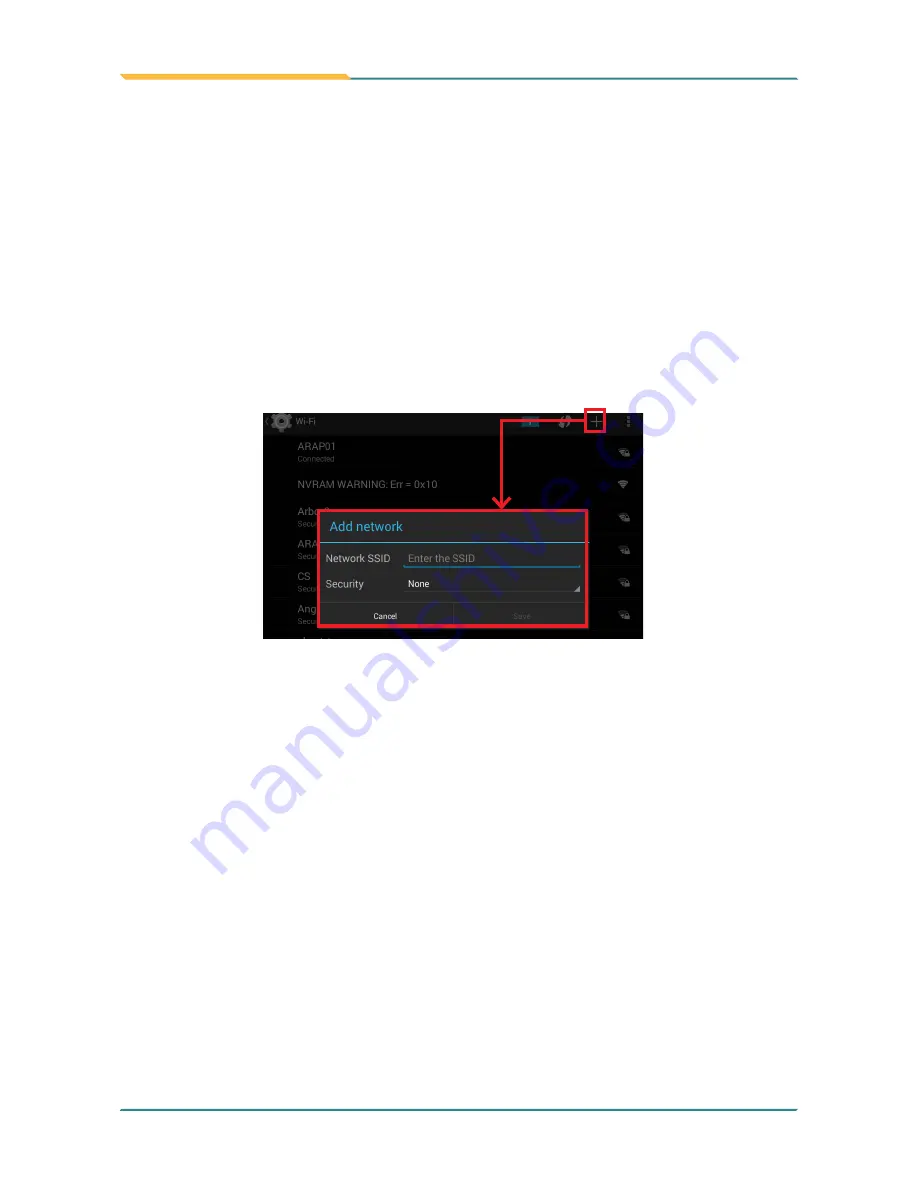
Tap the plus sign icon in the upper right corner to open the
Add network
dialog box.
4.
Enter the SSID (name) of the network. If the network is secured, tap
the triangle at the right of the
Security
field to select the type of security
deployed on the network and enter any required security credentials.
5. Tap
Save
.
The TITAN 7 then proceeds to connects to the Wi-Fi network. Any credentials
entered are saved so the TITAN 7 automatically connects it the next time the
TITAN 7 gets it within the range.
3.4.3 Connecting to a Wi-Fi Network by WPS
Wi-Fi Protected Setup (WPS) is a feature that allows WPS-compliant devices
to connect to each other instantly in a secure way. As the WPS devices
automatically configure the SSID and WPA security key, it eliminates the
need for users to manually enter the SSID and password. WPS works in two
methods: Push or personal identification number (PIN). To connect to a Wi-Fi
network via WPS:
Summary of Contents for TITAN 7
Page 2: ... II This page is intentionally left blank ...
Page 16: ... xiv This page is intentionally left blank ...
Page 17: ... 1 1 Chapter 1 Introduction Chapter 1 Introduction ...
Page 21: ... 5 Introduction 1 4 Dimensions 145mm 5 71 218mm 8 58 19 8 0 78 ...
Page 24: ... 8 This page is intentionally left blank ...
Page 25: ... 9 2 Chapter 2 Getting Started Chapter 2 Getting Started ...
Page 32: ... 16 This page is intentionally left blank ...
Page 33: ... 17 Chapter 3 Using the Rugged Handheld Deivce 3 Chapter 3 Using the Rugged Handheld Device ...


