5
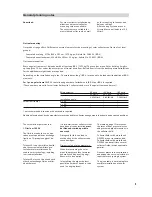
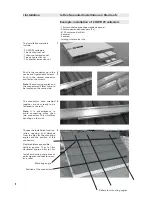
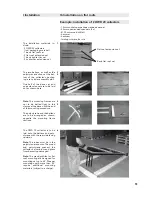
Example: installation of 2 OWR 20 collectors
The installation materials
include:
- 2 OWR 20 collectors
- 1 basic tiled roof set
- 1 tiled roof extension set
- 1 basic hydraulics set
- 1 hydraulics extension set
1
2
3
4
5
- 13mm socket spanner/open-ended spanner
- 30mm open-ended spanners (2 x)
- Ø 5.5mm wood drill bit
- hammer
- hacksaw
- folding ruler/metre rule
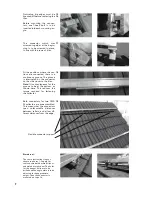
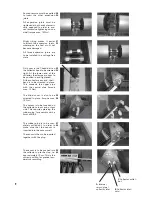
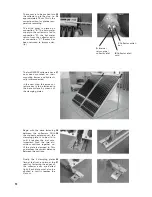
Push in the connector up to the
centre and tighten both screws.
Push in the second connector
and fasten the screws.
Note:
The mounting angles and
the connector will later come to
be located on the same side.
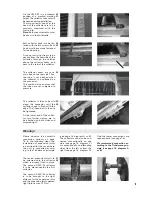
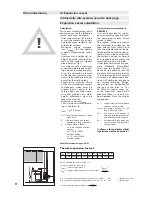
The connectors, once screwed
together, are now ready to be
fastened to the roof.
Note:
It is advantageous to
avoid connecting more than
two connectors. This simplifies
handling on the roof.
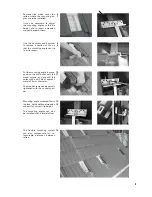
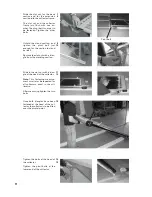
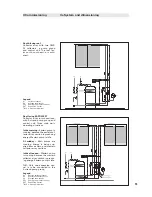
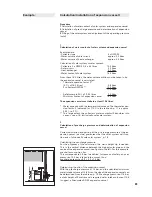
Choose the installation location,
rafters spacing, and distance
from the tiles for the mounting
angles and the position of the
connectors.
Flexible distances possible:
Vertical: approx. 1.1m to 1.4m
Horizontal: approx. 0.6m to 1.3m
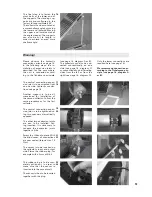
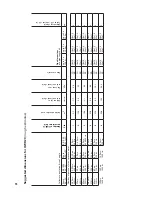
Install a mounting angle at each
point where an connector cross-
es a rafter.
Mounting angle
Position of the connectors
I Installation
Ia Roof-mounted installation on tiled roofs
Rafters for mounting angles


