


Chapter 5. Remote Computer Operation
55
4. Click the check box next to each remote computer that you wish to
connect to. Or, choose
Select All
to connect to all 4 remote computers at
once.
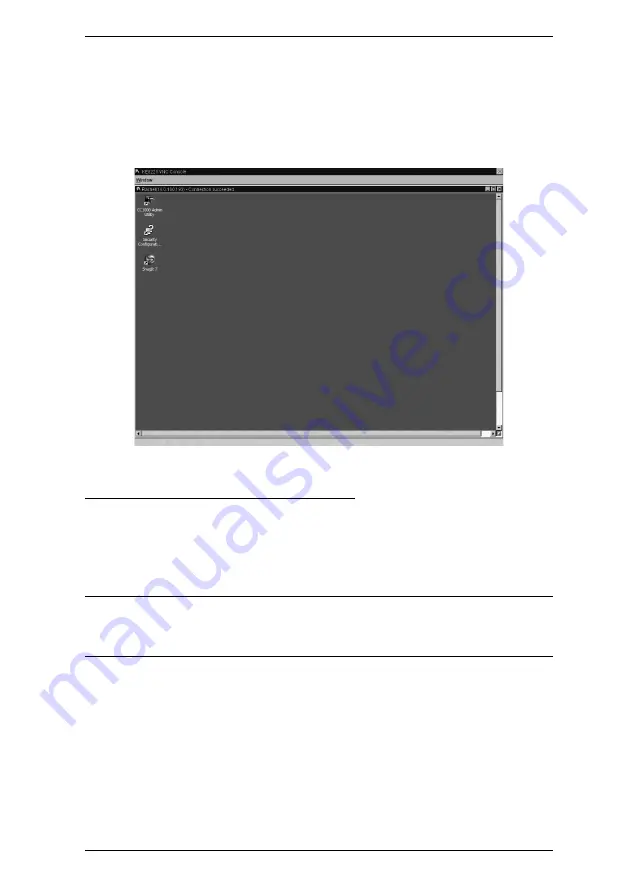
5. Click
Connect.
The KE8220 VNC Console appears.
Disconnecting Remote Computers
You can manually disconnect all remote computers at the same time by
clicking the
X
in the upper right corner of the VNC Console. (This feature is
not available in Full Screen mode.) Or, follow the procedure below to manually
disconnect remote computers one at a time.
Note:
Remote computers are automatically disconnected when you logout and
when you replace them with new connections to remote computers in
the
Connect
dialog box.
To manually disconnect a remote computer:
1. Click the red triangle at the bottom right corner of the window for the
remote computer that you want to disconnect. A pop-up menu appears.
2. From the pop-up menu, select
Disconnect
. The remote computer is
disconnected.