7
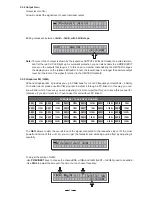
the PRESETS
Use the
to find the necessary Factory PRESET (indicated by the letter ). Check that if, among
DIAL
F
available, there are already some optimised for the specific speaker enclosures being used.
Press
.
ENTER
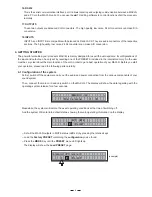
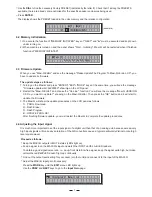
The display shows the PRESET loaded in the units memory and the relative configuration:
Proceed as follows:
Keep the MAXI-Q outputs in MUTE status (LEDs light on).
Feed a signal in on the MAXI-Q's input and watch the INPUT LEVEL A-B LED ladders.
To obtain a good signal/noise ratio, i.e. an up-front distortion-free signal, keep the signal quite high, but make
certain the red
CLIP
LED doesn't light up continually.
It is much more important to set the input signal of a digital unit than that of
excessively
an analog unit, because
high input signals will make
particularly distinct noise (high
any saturation of the A/D converters cause a typical
level square wave).
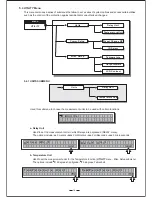
4.4 Adjusting the input signal
Find out the output level setting for your mixer (or other unit) and connect it to the input of the MAXI-Q.
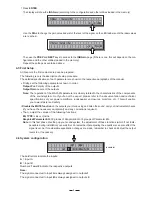
Adjust the MAXI-Q input gain if necessary:
Press the
key until the
menu LED lights up.
MODE
EDIT
Use the
and
keys to go to the
page:
PREV
NEXT
Input Gain
I n p u t
G a i n
(example)
A 1
B 2
2
D E B A S S
F
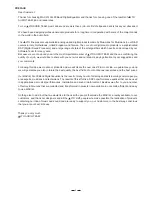
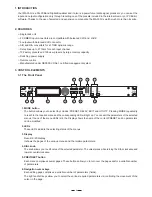
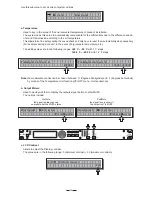
1>To execute the function of "MEMORY INITIATED", keys of "NEXT" and " " must be executed and kept down
under turning on.
2>When machine is turned on and the panel shows "Wait....Initialing". Maxi-Q will be restarted when it finished
function of "MEMORY INITIATED".
4.2 Memory Initialization
W a i t . .
I n i t i a t i n g
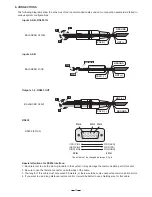
When you use "Maxi-Q Editor" and see the message "Please Update The Program To Maxi-Q Version X.0", you
have to update its firmware.
The update steps as follows:
1. Turning on the Maxi-Q and press "ENTER"+"ESC"+"MODE" keys at the same time, you will see the message
"Firmware update size=0x200000" showinig on the LCD panel.
2. Restart the "Maxi-Q Editor" and choose the "On Line " function. You will see the message "Maxi-Q VERSION
X.0 Do you want to update?" showing on the Maxi-Q Editor. Then press the "OK" button and it will start to
update the Firmware.
3. The Maxi-Q will show the update procedures on the LCD panel as follows:
1>. PROG. Download.
2>. Flash Erase.
3>. Flash Program.
4>. UPDATE PROG.OK!
After finishing firmware update, you must restart the Maxi-Q to complete the update procedures.
4.3 Firmware Update


