Chapter 1: Nios II Hardware Development
1–21
Creating the Design Example
May 2011
Altera Corporation
Nios II Hardware Development Tutorial
1. On the
Component Library
tab, expand
Peripherals
, expand
Microcontroller
Peripherals
, and then click
PIO (Parallel I/O)
.
2. Click
Add
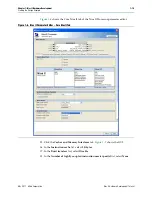
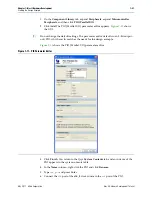
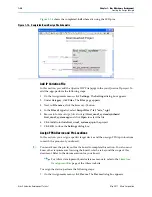
. The PIO (Parallel I/O) parameter editor appears.
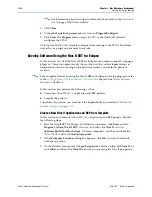
shows
the GUI.
1
Do not change the default settings. The parameter editor defaults to an 8-bit output-
only PIO, which exactly matches the needs for the design example.
shows the PIO (Parallel I/O) parameter editor.
3. Click
Finish
. You return to the Qsys
System Contents
tab, and an instance of the
PIO appears in the system contents table.
4. In the
Name
column, right-click the PIO and click
Rename
.
5. Type
led_pio
and press Enter.
6. Connect the
clk
port of the
clk_0
clock source to the
clk
port of the PIO.
Figure 1–11. PIO Parameter Editor


