7
www.Observint.com
© 2015 Observint Technologies. All rights reserved.
Step 2. Connecting it together – initial system setup
1.
Install the network cameras that will be monitored by the system.
2.
Power on the NVR using the power on / off (I / O) switch on the back panel or the front panel ON/OFF switch.
3.
Power on the monitor.
NOTE
Some monitors have multiple inputs such including VGA ,HDMI, BNC, etc. If you are using this kind of monitor, configure your monitor to
display the input connected to your NVR (HDMI or VGA).
Step 3. Using the Wizard for basic configuration setup
1.
Power on the NVR. Normally, an Alibi logo splash screen appears within 2 minutes.
After the Alibi splash screen appears (see above), the NVR will check the status of HDDs installed within the chassis, and show the
show icons on the screen indicating their status. A green mark on the icon indicates that the associated HDD is operating normally.
If you installed new (or uninitialized) HDDs in the chassis before running the Wizard, those HDDs must be initialized before use. HDD
initialization can be performed within the wizard and within the NVR menu system.
Following the splash screen, a monitor resolution screen may appear. Open the drop down list and select the monitor resolution you
prefer, then click
OK
.
2.
The Setup Wizard can assist you in making important configuration settings in NVR. Click
Next
button on the Wizard window to open
the
Login
window.
NOTE
The configuration settings presented in the setup Wizard can also be made and changed using the
Menu
system.
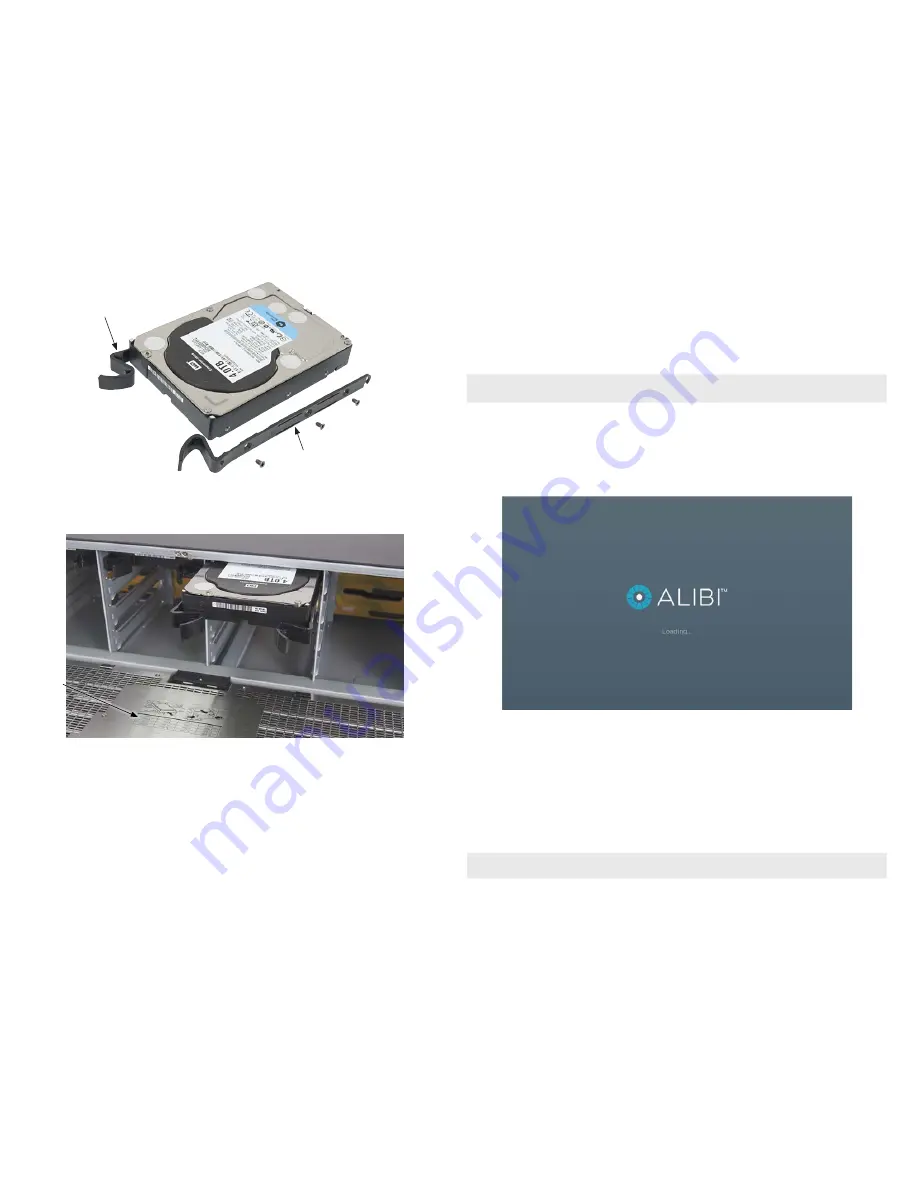
Disk mounting
handle
Disk mounting
handle installed
4.
Slide the HDD into the drive bay as shown in the photo below, and then push the HDD in until it is fully seated. A snap can be heard
when the drive locks into the bay.
NOTE
: If you purchased your NVR with pre-configured HDDs, install each HDDs in the bay location
marked on the HDD.
Drive bay
locations
diagram
HDD inserted into drive bay
To remove an HDD, squeeze the two disk mounting handles together, and then pull the HDD out of the bay.
5.
Repeat steps 3 and 4 above until all HDDs are installed. A diagram showing the drive bay assignments is included on the inside of the
front panel.
6.
Close the front panel and then lock it, if necessary.


