10
www.Observint.com
© 2015 Observint Technologies. All rights reserved.
Live View display
11. While viewing video from each cameras in the
Live View
display, adjust the direction of each camera to aim it at its surveillance
target. Follow the manufacturer’s recommended procedures for aiming the cameras.
Live View display after camera adjustments
Step 4. Access the Menu system
After the initial setup of your NVR using the Wizard, the Menus interface enables you to refine your configuration settings and expand the
functionality of the system. To use most menus, the user must log into the NVR system, either locally or remotely, with administrative
privileges.
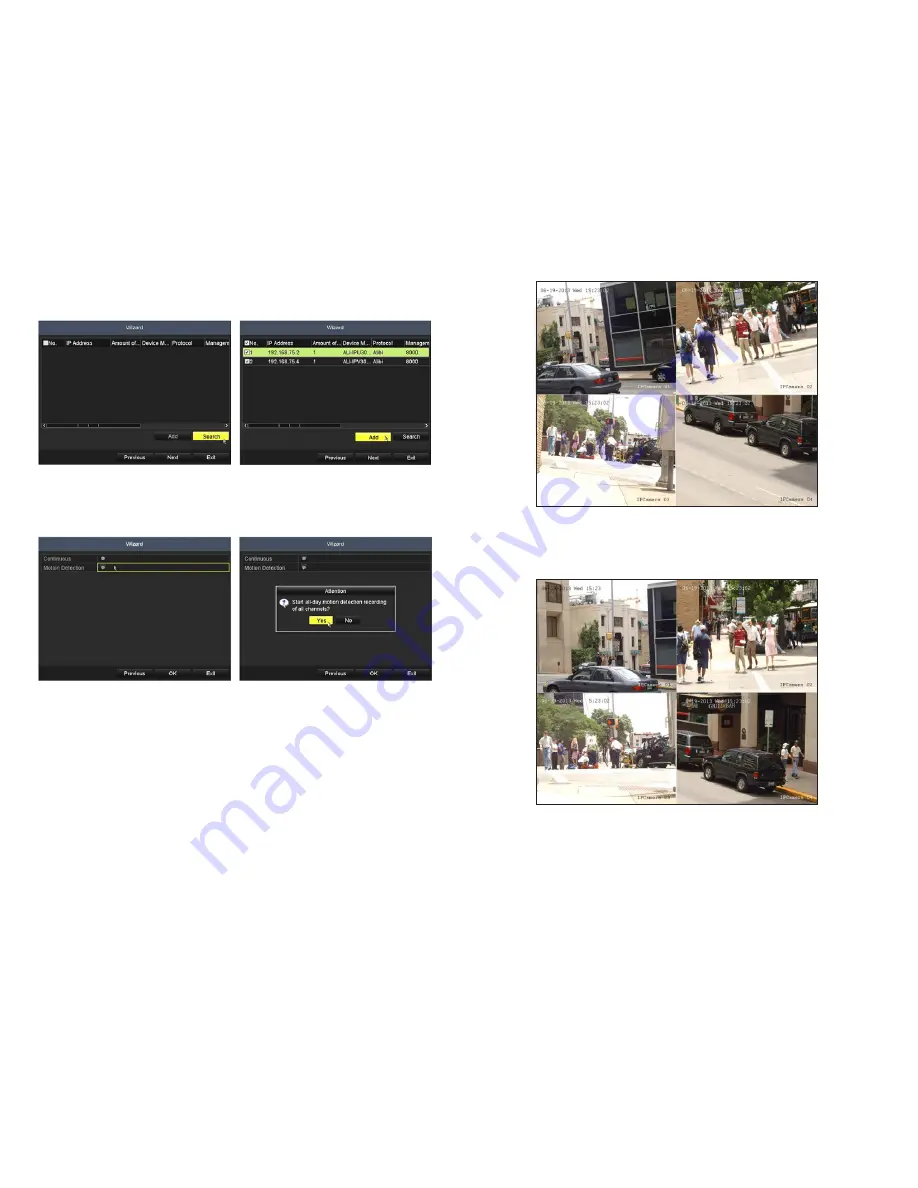
9.
In the Wizard window shown below, you can search for and add cameras to the NVR. When you click
Search
, the NVR will discover
the cameras on the network(s) it is attached to and list them in the window. See below.
Check the select boxes for the cameras you want to add, then click the
Add
button (see above).
10. On the next screen, you can configure all cameras you added to begin recording video either continuously, when motion is detected,
or not record (select no options). The recording mode of individual cameras can be configured later using the NVR Camera Menus.
To start recording mode immediately, select either
Continuous
or
Motion Detection
, click
Yes
in the Attention pop-up window,
and then click
OK
to save the settings. The Wizard will close and the NVR will present the
Live View
display. For more information
about the Live View display, see the
ALI-NVR7000R Series Embedded Network Video Recorder User Manual
provided
electronically with your system.


