


ORMAL RECORDING
1.
Make connections illustrated in pages 8 -12.
2. Insert a recordable DVD+RW or DVD+R disc into the recorder.
3. Press the DV, TV or SOURCE button to select the input source to which you have connected
as step 1.
F-CVBS: Front, Audio/Video Input (on the front panel)
R-CVBS: Rear Audio/Video Input (on the rear panel)
SCART: Rear SCART input (on the rear panel).
R-SV: Rear S-Video (on the rear panel)
TV: (you can select it by pressing /- or input the assigned number of the
channel to select your desired one directly)
DV: Digital Vidicon
4. Press the REC/OTR button to start recording.
If you want to stop recording, press STOP.
If the DVD+RW or DVD+R is new, it will take about three minutes to stop.
ONE TOUCH RECORDING
1
.
During normal recording, press the REC/OTR button, the recorder will
automatically stop in 30 minutes.
2. The recording time will extend for another 30 minutes with each press.
The length of recording time is determined by disc capacity and record
quality.
With your setting, if it exceeds the capacity of the disc, OTR will be canceled,
and switch to normal record.
3. If you want to stop recording, press the STOP button.
PLAY BACK MODE
When the recording has finished, you can press the PLAY button to switch to
normal playback mode.
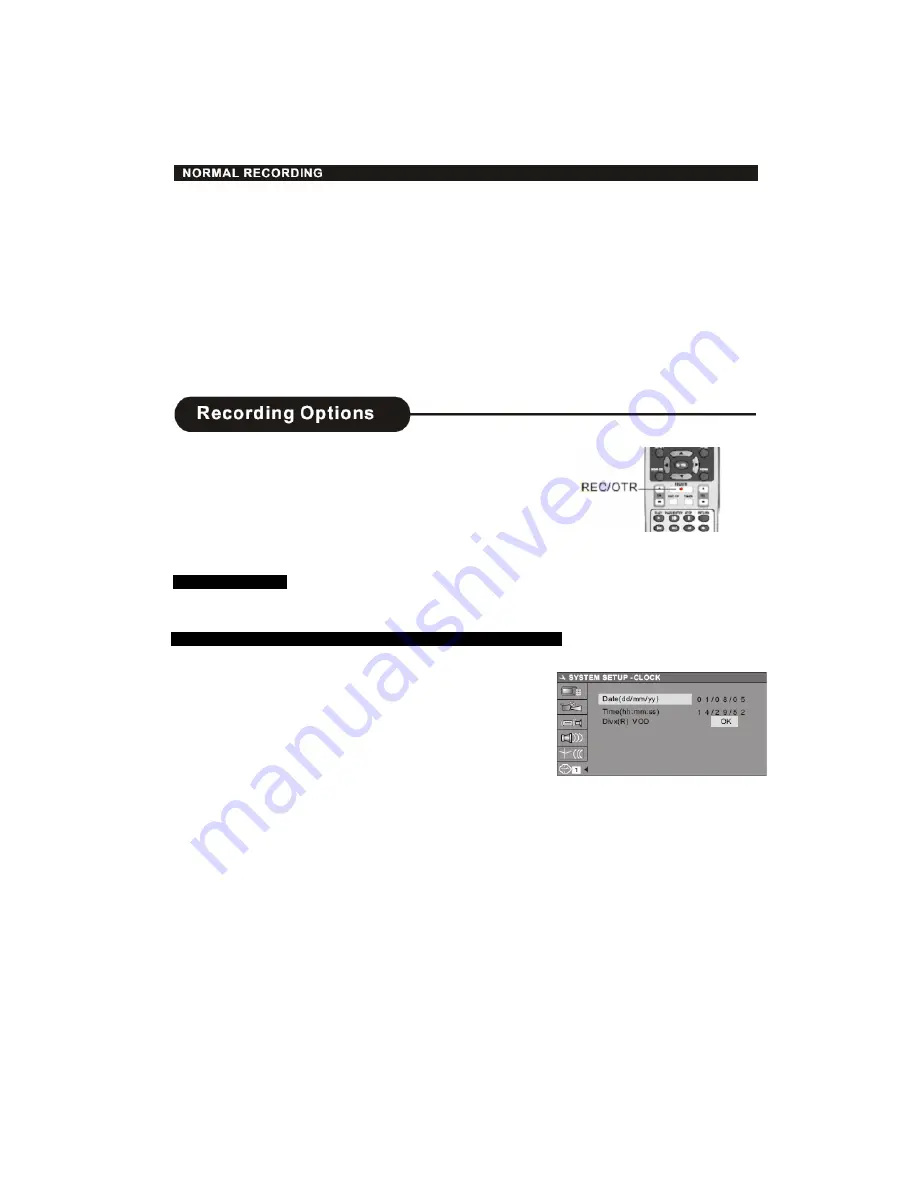
CLOCK SETUP
1. During stop status, press the SETUP button to access the Setup Menu.
2. Use
e
/
f
buttons
to highlight the CLOCK icon.
3. With Date (dd/mm/yy) highlighted, press the ENTER
button, and input the local date by numbers, press the ENTER
button again.
4. With Time (hh:mm:ss) highlighted, press the ENTER button, and input the
local time of numbers, press the ENTER button again.
5.DivX(R) VOD password, press the ok button to obtain 8 codes &
website address.
From the DivX website and by using the password code, you can
download the film that you want to watch onto your computer and burn
it to the DVD+RW DVD+R Disc to watch the film on the RW Recorder.
NOTE: You can only watch numbers of films that you have paid for.
After that, you have to repeat the above steps.
Summary of Contents for AMTDR3101X
Page 1: ...Customer Help Line 01422 263313 DVD ReWritable...
Page 2: ...1...
Page 7: ......
Page 9: ......
Page 10: ......
Page 11: ......
Page 15: ...Note The above features vary depending upon the disc type such as Digital Audio Audio CD etc...
Page 16: ...2 Press the c d e f buttons to select the title you want...
Page 19: ......
Page 20: ...On Digital Audio discs the AUDIO button is used for selection of Left Right and stereo...
Page 21: ...Note On Digital Audio CD discs there are some differences on the OSD...
Page 22: ......
Page 23: ......
Page 24: ......
Page 25: ......
Page 29: ......
Page 30: ......
Page 31: ......
Page 36: ...DVD Re Writeable...


