7
n
TEST SET-UP
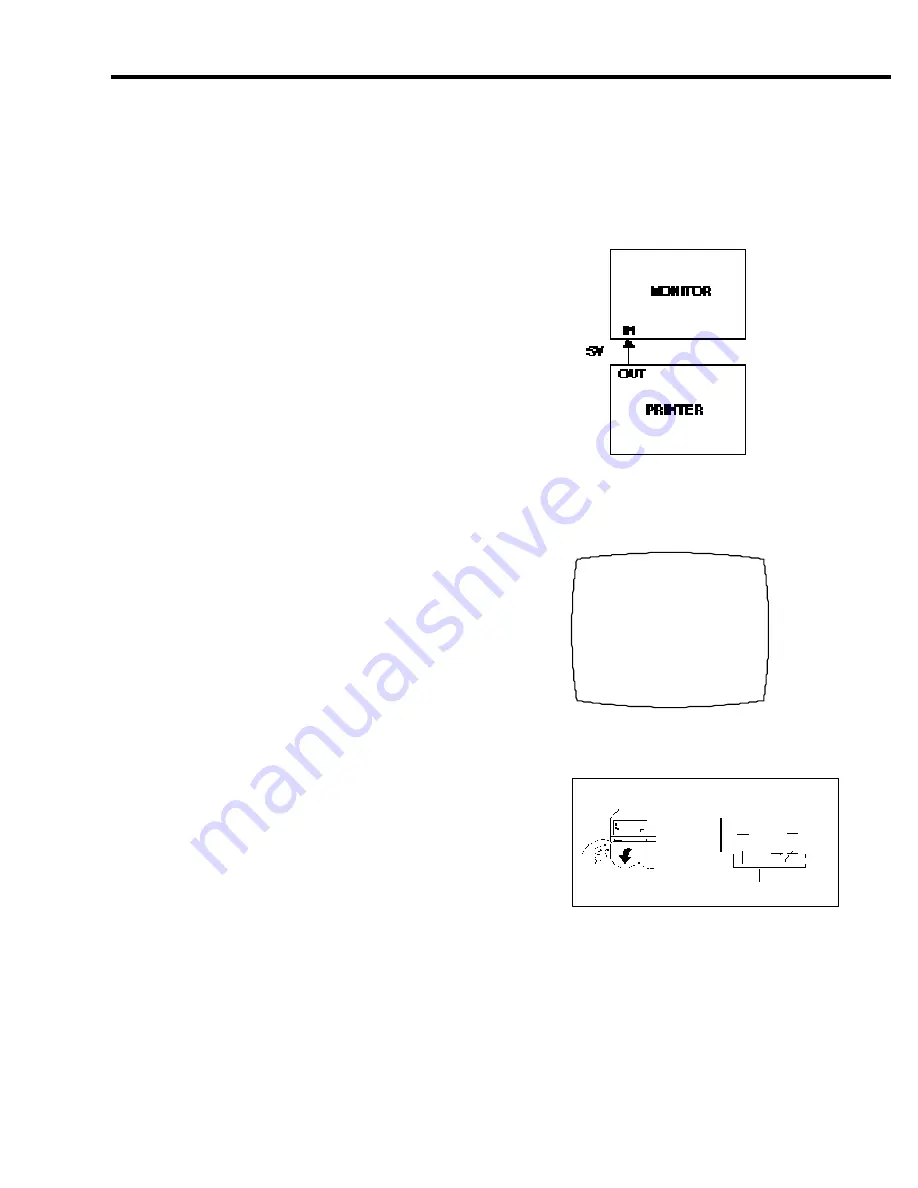
To check the printer status connect
an S-Video cable from the printer
S-Video output to the monitor S-Video
input. (See Fig. 1)
n
DISPLAY STATUS MENU
PRINT MODE
N O R M
V.GAMMA
PRINT COUNT
1
ONE TOUCH PRINT
O F F
M E M O R Y
FRAME
MULTI MODE
O F F
PICTURE
ADJ
INPUT
S
TO
OPEN
MENU
SUB MENU
SELECT (+/-)
PICTURE
INPUT
FIG. 3
INSIDE THE
CONTROL COVER:
FIG. 2
STATUS INDICATOR MENU
For the VistaCam Omni ic 4, the Image Printer is factory pre-set for a SINGLE image to appear on
the monitor and pre-set to produce printouts with the same color fidelity as appears on the monitor.
Since proper Image Printer set-up is critical, we recommend the following PRE-INSTALLATION
checks for optimum system performance.
PRE-INSTALLATION CHECK
PRE-INSTALLATION CHECK
FIG. 1
A. Press DISPLAY on the front of the printer.
The status indicator menu that appears on the
monitor should match Fig. 2.
1. If the last line of the menu reads INPUT VIDEO,
open the cover on the front of the printer and
press the INPUT button to change it to INPUT S.
(See Fig. 3)
2. If other elements of the status indicator menu do
not match Fig. 2, open the cover on the front of
the printer (see Fig 3) to reset the SUB MENUS.
B.
To reset the SUB MENUS:
1. Press MENU then press SUB MENU to review
each setting and compare the screen display to
the
FACTORY PRE-SET SUB MENUS
on
the next page. (See Fig. 4A-F)
2. If a sub menu needs to be re-set, press
MENU repeatedly to move the arrow to the
correct line position.
3. Press SUB MENU. Press SUB MENU
again to move the arrow to the setting to
be changed.
4. Press /- to change the setting.
5. Press MENU to return to the status
indicator menu.
6. Press DISPLAY on the front of the
printer to clear the screen.
NOTE:
This procedure need only be done once to
make sure that settings match the
FACTORY PRE-SET SUB MENUS.
Once set, settings do not change.


