13" MONITOR W/ RECEIVER and I.R. REMOTE CONTROL (BLACK) PN 77723
20" MONITOR W/ RECEIVER and I.R. REMOTE CONTROL (BLACK) PN 77719
INSTANT-ON FEATURE
These monitors with tuners are factory pre-set to automatically turn on with the VistaCam System. If the
monitor does not turn on automatically, see Major Components; 13" Monitor: INSTANT-ON FEATURE.
PICTURE ADJUSTMENT
These monitors are factory pre-set and color coordinated with the VistaCam Printer to display true-to-life
color images with matching printouts.
The image on the monitor may be temporarily adjusted for clinical purposes. These adjustments are not
reflected in the printout. To re-set the monitor to the factory settings, see Major Components; Monitor
Operation: TO ADJUST THE PICTURE.
Please review the Panasonic Operating Instructions enclosed with the monitor for more complete
operating and installation instructions.
28
n
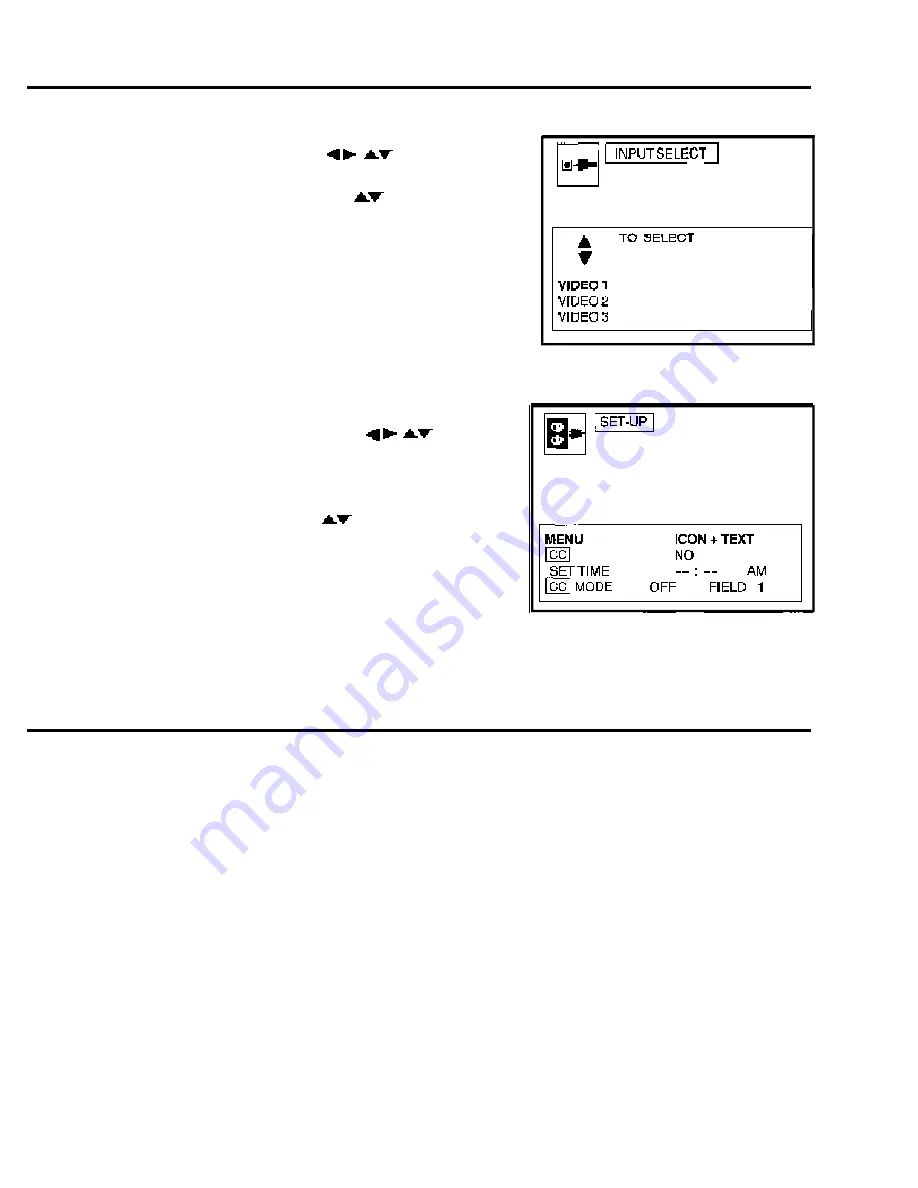
TO SET THE INPUT SELECTION
(See Fig. 30)
1. Press ACTION button to display the Main Menu.
2. Press the directional arrows ( ) to select INPUT.
3. Press the ACTION button to display the Input Select Menu
4. Press the UP or DOWN arrows ( ) to select
“VIDEO 1,” “VIDEO 2” or “VIDEO 3.” (
NOTE:
Video
Input can also be accessed by pressing VIDEO SELECT
on the front panel
.) Using the S-video cable, the correct
input is Video-3.
n
TO ADJUST THE SET-UP
(See Fig. 31)
A. MENU: The Main Menu can be displayed in two formats:
Icon w/Text or Icon w/o Text. Icon w/ Text is
recommended.
1. Press the ACTION button to display the Main Menu
2. Press the directional arrow arrows ( ) to
select SET-UP.
3. Press the ACTION button to display the Set-Up
Menu
4. Press the directional arrows ( ) to select ICON
w/TEXT.
5. Press the ACTION button twice to exit the
Set-Up Menu.
B. CC ON MUTE: This function is not used with the VistaCam Vistacam Omni ic 4 System.
C: SET TIME: This function is not used with the VistaCam Omni ic 4 System.
FIG. 31 - SET-UP MENU
MAJOR COMPONENTS
MAJOR COMPONENTS
FIG. 30 - INPUT SELECT MENU


