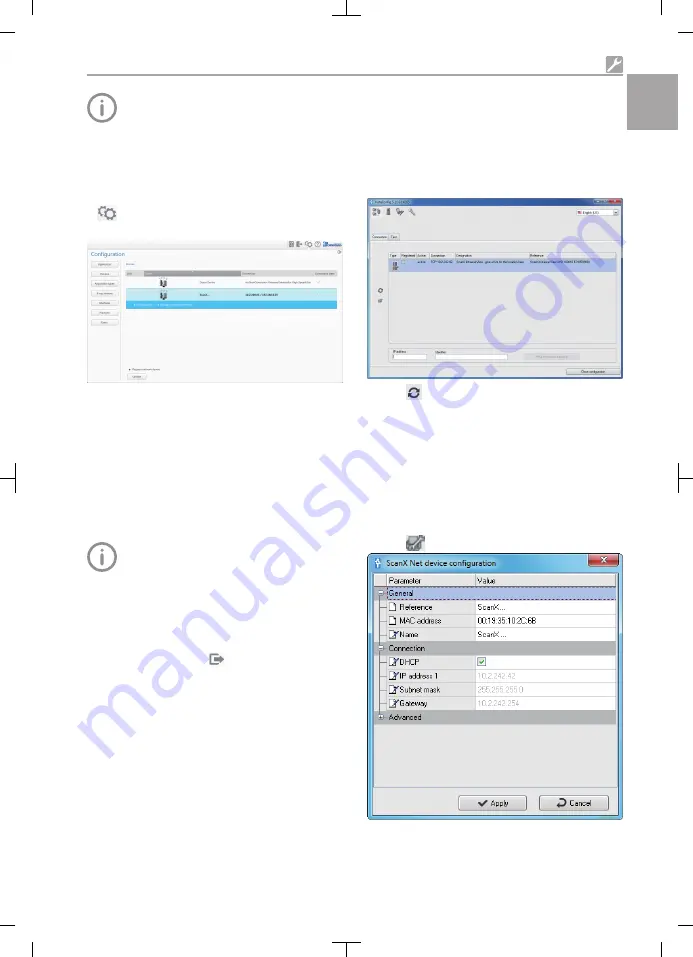
When the unit is first connected to a com-
puter, it applies the language and time
settings of the computer.
8.2
Configuring the unit in
VisionX
Configuration is performed directly in VisionX.
❯
> Select the units
.
❯
Mark the connected unit in the list.
❯
Click on
Edit connection settings
.
❯
The unit name (designation) can be changed
and information queried in
General
.
❯
An IP address can be entered manually and
DHCP can be activated / deactivated in
Con-
nection
.
❯
Extended functions e. g. IP address 2 can be
set in
Extended
.
Entering a fixed IP address (recommended)
To reset the network settings, keep the
unit reset key pressed for 15 - 20 sec-
onds while switching on.
❯
Deactivate DHCP in
Connection
.
❯
Enter the IP address, subnet mask and gate-
way.
❯
Navigate back to
Units
via the navigation bar
or close Flyout using
.
This saves the configuration.
Testing the device
You can scan an X-ray image to check if the unit
is properly connected.
❯
Open VisionX.
❯
Create an X-ray station for the connected unit.
❯
Log-in the demo patient (patient ID:
DEMO0001).
❯
Select the acquisition type (e. g. Intraoral).
❯
To scan a PSP, see "10.3 Scanning the image
data".
8.3
Configuring the unit in
DBSWIN
The configuration is done with VistaConfig, which
is automatically installed during the installation of
DBSWIN or VistaEasy.
❯
Start > All Programs > Air Techniques > Vis-
taEasy > VistaConfig
.
❯
Click
.
This updates the list of connected devices.
❯
If the device isn't found, enter the IP address
manually and click
Register device manually
.
❯
Activate the connected device in the
Regis-
tered
column.
You can also register multiple devices.
Use the
ScanX device configuration
window to
change the device name, (
name
), to manually
enter an IP address and to request information.
❯
Click
.
Installation
2160100287L41 1911V006
25
EN-
US


