


9
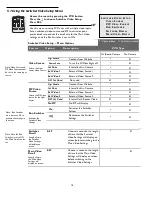
3. Under 'Select group of signage', pick the directory that the sign is to be placed in.
4. For 'Number of Signage', select the number of signs that are going to be programmed with this particular setup (similar
folder locations, default playlist, and default image). This will be 'one' most of the time.
5. For 'Select Default Playlist', select the playlist that will be displayed initially by the sign.
6. For 'Select Default Image', select the image that will show upon initial booting of the sign, and if the sign drops from the
network.
7. Once everything is selected, hit 'Download Initial Setup' to download the USBSetup.tar file generated by the server.
8. Copy this file over to the USB key. Make sure it doesn't get renamed if there are multiple copies (i.e. USBSetup(2).tar will
NOT work).
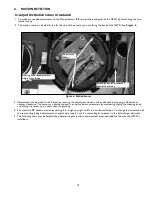
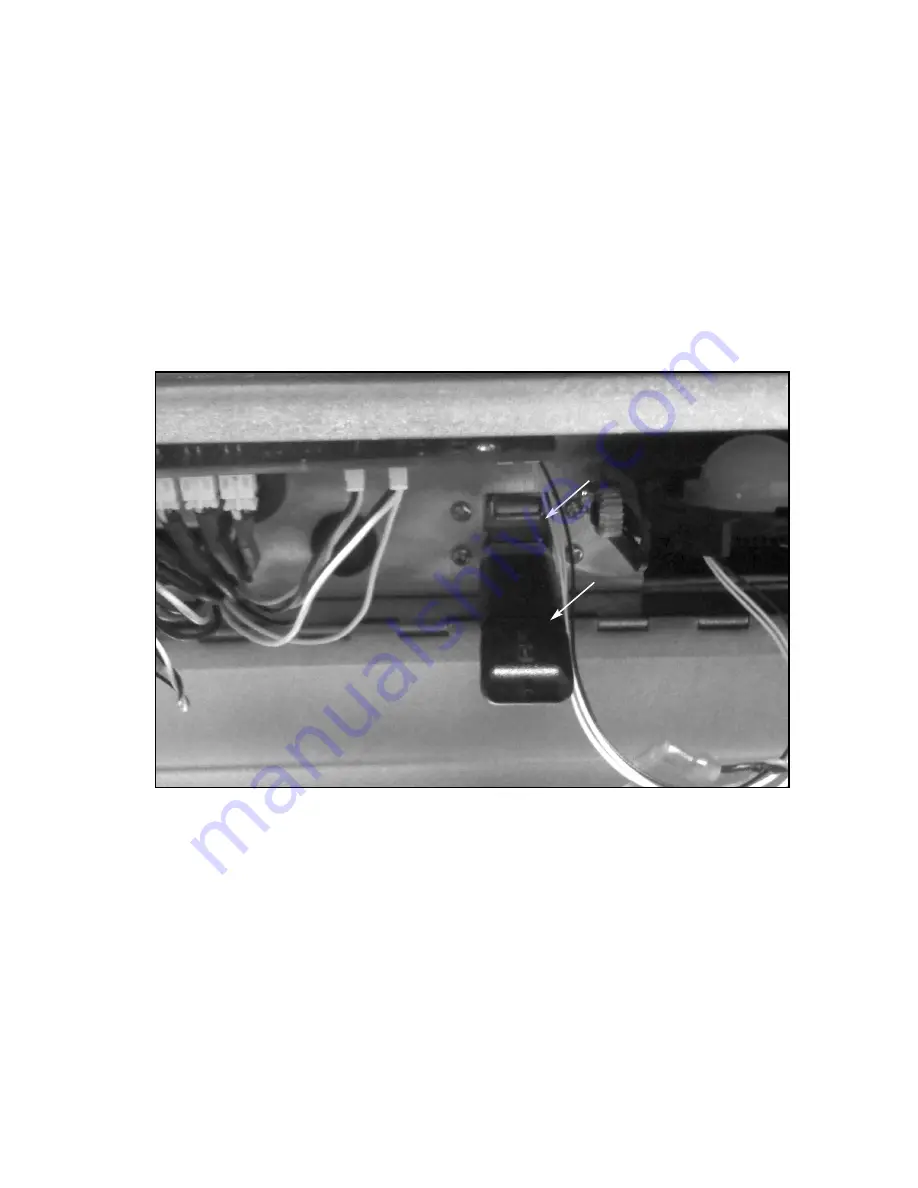
9. Insert the programmed USB key into one of the USB slots. See
Figure 4.
10. A picture should come up on the screen. The picture will then close, showing the Aigis background again. Then, a playlist
will begin to play the default playlist. Remove the USB key. Wait for the sign to boot back up. It should display the new
content. Unplug the sign to finish the installation.
Figure 4: Internal USB Slot location
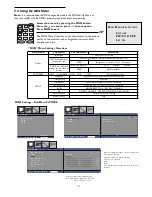
USB Slot Locations
Example of Programmed USB Key


