


78
Chapter 6. RAID Configuration
Step 2: Select
RAID Properties
and press
Enter
.
Step 3: Select
Create RAID 0 Volume
. The Create New Array window will appear.
Step 4: Select a line that has a No entry in the RAID Disk column. change the
No
to
Yes
by
pressing the
space bar
to add the disk to the new array.
Step 5: Select another line and press the
space bar
to add another disk to the array.
Step 6: Continue adding disks until you reach the aimed number of disks.
Step 7: Press
C
to create the array.
Step 8: From the menu options, select
Save changes
and then exit this menu. A message
will appear briefly, and then the SAS3 BIOS CU returns to the Adapter Properties
window. Initialization of the new array will continue in the background.
6�4 Integrated Striping
Configure Integrated Striping volumes.
6.4.1 Integrated Striping Configiration
Procedure
Step 1: Load BIOS and press
Ctrl+C
to initiate SAS3 BIOS CU.
The following message will appear
:
Please wait, invoking SAS Configuration Utility...
Step 2: Wait for a few seconds for the Adapter List window to appear.
NOTE
In some systems, the following message will pop up instead:
LSI Corp Configuration Utility will load following
initialization!
If this occurs, the SAS3 BIOS CU will load after the system completes POST.
6�4�2 Create Integrated Striping Volumes
Create one or two Integrated Striping volumes on each LSI SAS-3 controller.
Procedure
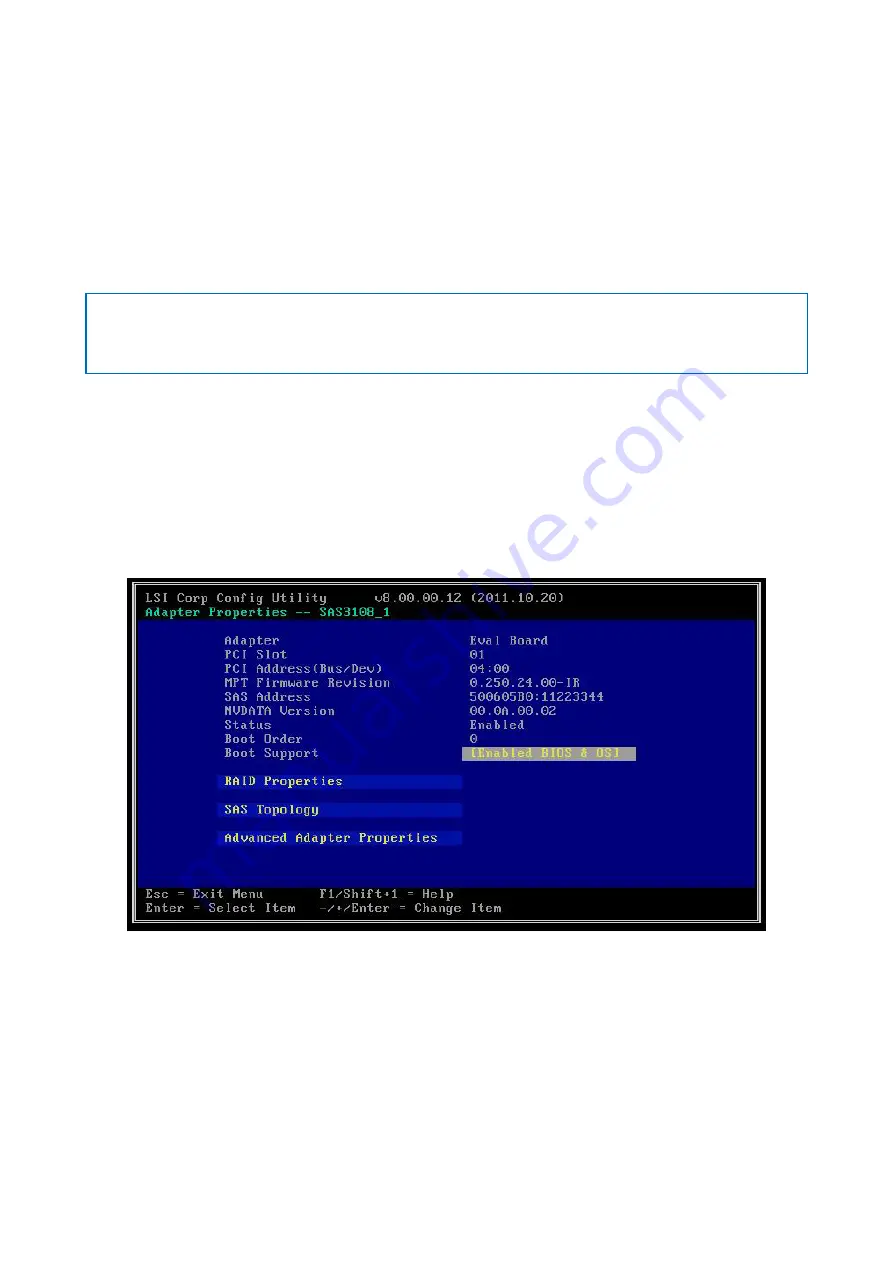
Step 1: Select an adapter and press
Enter
. The Adapter Properties window is shown below.
Adapter Properties Window page
Summary of Contents for SB401-VG
Page 1: ...UM_SB401 VG_v1 2_081921 SB401 VG Storage Barebone User s Manual...
Page 12: ...3 Chapter 1 Product Features 1 3 System Block Diagram...
Page 49: ...40 Chapter 3 Hardware Settings 3 3 1 Placement Top view Backside view 3 3 HDD Backplane 24 Bay...
Page 74: ...65 Chapter 5 BMC Configuration Settings Step 2 Input the IP address Set static IP...
Page 75: ...66 Chapter 5 BMC Configuration Settings Step 3 Input the subnet mask address...