ACCESSORI
9
ACCESSORIES
RV - RVL
9-7
9.2
Spostamento manuale o idraulico
Personale richiesto: 1 TECNICO QUALI 1
OPERATORE
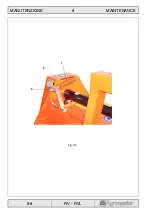
Se per esigenze di spedizione la trinciatrice viene for-
nita con il timone smontato, procedere al suo montag-
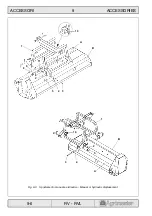
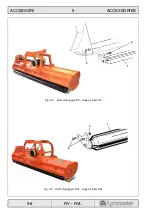
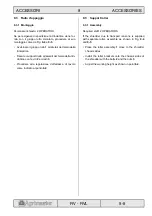
gio come da Fig. 9-3.
• Assicurarsi che i pattini 2 siano posizionati corretta-
mente nella loro sede.
• Inserire il timone 1 nelle guide A e B del telaio della
trinciatrice.
• Inserire parzialmente la vite 3, completa di rosetta,
nella boccola 4.
• Alloggiare il rullo 5 nella forcella del timone 1 e fis-
sarlo inserendo la boccola 4 completa di vite 3 che
verrà bloccata dal dado 6.
• Fissare il registro esterno 7 alle orecchie 10 del
timone e il registro interno 8 al laterale del telaio.
Nel caso di comando idraulico, fissare il cilindro 9
come i registri 7 e 8 e collegare i tubi agli attacchi pre-
senti sulla trattrice.
9.2
Manual or hydraulic displacement
Required staff: 1 TRAINED TECH 1 OPERA-
TOR
If due to transport requirements the shredder is sup-
plied with separate drawbar, assemble as shown in
Fig. 9-3.
• Make sure the skids 2 are properly positioned in
their seat.
• Insert the drawbar 1 in the drives A and B within the
shredder chassis.
• Partially insert the bolt 3 complete with washer in
the bushing 4.
• Place the roller 5 in the drawbar 1 fork and lock it by
inserting the bushing 4 complete with bolt 3, which
will be secured by means of the nut 6.
• Secure the external adjuster 7 to the drawbar plates
10 and the internal adjuster 8 to the chassis side.
In case of hydraulic control secure the cylinder 9 as
the adjusters 7 and 8 and attach the cables to the rele-
vant fastening points provided on the tractor.
Summary of Contents for RV 125
Page 6: ...AVVERTENZE 0 WARNINGS 0 2 RV RVL Fig B Fig D Fig C Fig E Fig A Fig F Fig G D C D F G B A E ...
Page 10: ......
Page 24: ......
Page 28: ......
Page 42: ...INSTALLAZIONE 4 INSTALLATION 4 14 RV RVL Fig 4 13 Supporto albero cardanico Cardan shaft rest ...
Page 44: ......
Page 50: ......
Page 52: ...USO 6 USE 6 2 RV RVL Fig 6 1 Rullo di appoggio Support roller 1 2 3 RV RVL 1 2 3 ...
Page 60: ......
Page 66: ...MANUTENZIONE 8 MAINTENANCE 8 6 RV RVL Fig 8 4 Sostituzione olio Oil change 3 2 1 ...
Page 68: ...MANUTENZIONE 8 MAINTENANCE 8 8 RV RVL Fig 8 5 1 3 2 ...
Page 72: ......
Page 82: ......

