


Test Set Operating System
3
Getting Started Guide
53
Windows Configuration
The Windows settings have been optimized for the best measurement performance. Any
modifications to these settings may degrade test set performance and measurement
speed. In general, most Windows System settings (typically set through the Windows
Control Panel) should not be modified. Those that can be safely modified are listed
below.
Settings that can be changed
You may change the following Windows settings or administrative tasks (available from
the Windows Control Panel) to select your personal preferences.
To recover from problems caused by changing Windows systems settings,
you may have to reinstall the Windows system and test set application using
the Agilent Recovery process.
Before changing any Windows System settings, exit the test set
application.
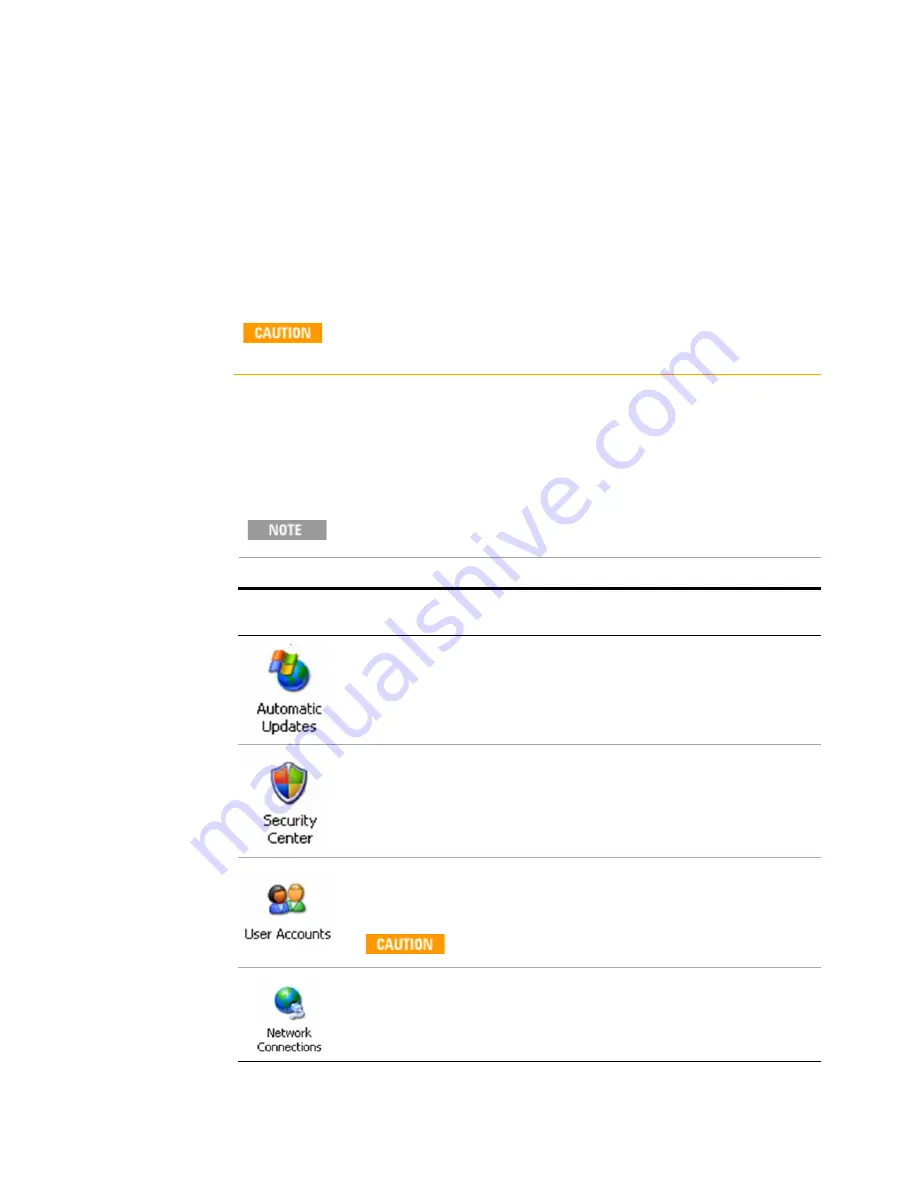
You may use
this feature
To do this...
Configure Microsoft Automatic Updates.
Install and configure an Anti Virus program.
Setup new test set user accounts.
Do not delete or modify the “Agilent-Only” user
account.
Add the test set to a network.
Summary of Contents for E6630A
Page 1: ...Agilent Technologies Agilent E6630A Wireless Connectivity Test Set Getting Started Guide...
Page 4: ......
Page 8: ...8 Getting Started Guide...
Page 25: ...Quick Start 1 Getting Started Guide 25...
Page 40: ...40 Getting Started Guide 2 Front Panel Features...
Page 74: ...74 Getting Started Guide 3 Test Set Operating System...
Page 96: ...96 Getting Started Guide 4 Using Microsoft Windows Operating System...
Page 104: ...104 Getting Started Guide 5 Troubleshooting...
Page 108: ...108 Getting Started Guide Index...


