15
13
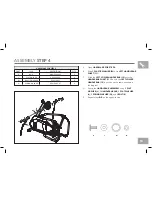
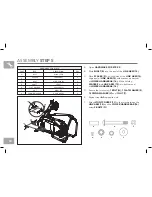
A
Slide the
LEFT UPPER HANDLEBAR (13)
onto the
LEFT
LOWER HANDLEBAR (12).
Using pre-attached
1 BOLT,
1 WASHER and 1 SET SCREW (14)
connect the
UPPER
AND LOWER HANDLEBARS
as shown in the diagram.
Do not tighten set screw until the bolt is installed
B
Repeat step
A
on the opposite side.
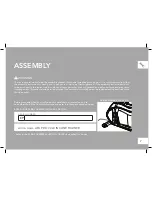
ASSEMBLY
STEP 6
14
14
14
14
14
14
12
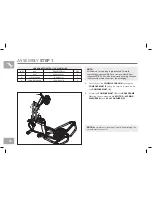
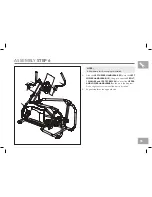
NOTE:
All hardware for this step is pre-installed.
13
Summary of Contents for 7.2 AI
Page 2: ...2 3 ENGLISH 32 FRAN AIS 62 ESPA OL...
Page 18: ...18 L H I A P B D F E J G N O Q C M K...
Page 29: ...29 LIMITED HOME USE WARRANTY...
Page 32: ...32 FRAN AIS...
Page 48: ...48 L H I A P B D F E J G N O Q C M K...
Page 59: ...59 GARANTIE LIMIT E D USAGE R SIDENTIEL de n ue roid aque s se ette enez de la...
Page 62: ...62 ESPA OL...
Page 78: ...78 L H I A P B D F E J G N O Q C M K...


