S
COOPY
+ S - User Manual
89
5.
Operating mode – Embedded HTML pages
The embedded html server in S
COOPY
+ S provides a comfortable and efficient means to control and
monitor the unit. It just needs the S
COOPY
+ S to be connected to an IP network and to be reachable from
a computer, or another device with an html browser: tablet, smartphone…
In the most common case, the two devices are connected on the same local network (LAN). But it is also
possible to control the S
COOPY
+ S by remote, provided that the control device can reach it (TCP/IP port
80, HTTP protocol, or port 443 for the HTTPS protocol).
If you also have a secondary Ethernet interface (using a USB/Ethernet adapter), you can use either of
the two interfaces for this remote control. You can also use the remote access capability (see further in
6, How to use the remote access service).
This control mode is usable regardless of the OS of the control unit, and the embedded pages are
compatible with all common browsers. No software installation is needed on the control position.
5.1.
Accessing the S
COOPY
+ S html pages
Once the S
COOPY
+ S is connected on an IP network, the first step is to get its IP address, from the menu:
Tools
/
About
/
Local IP
1
. Then, on the control device, launch the html browser and enter the IP
address of the S
COOPY
+ S in the "address" or "URL" field. This gives access to the html server integrated
in S
COOPY
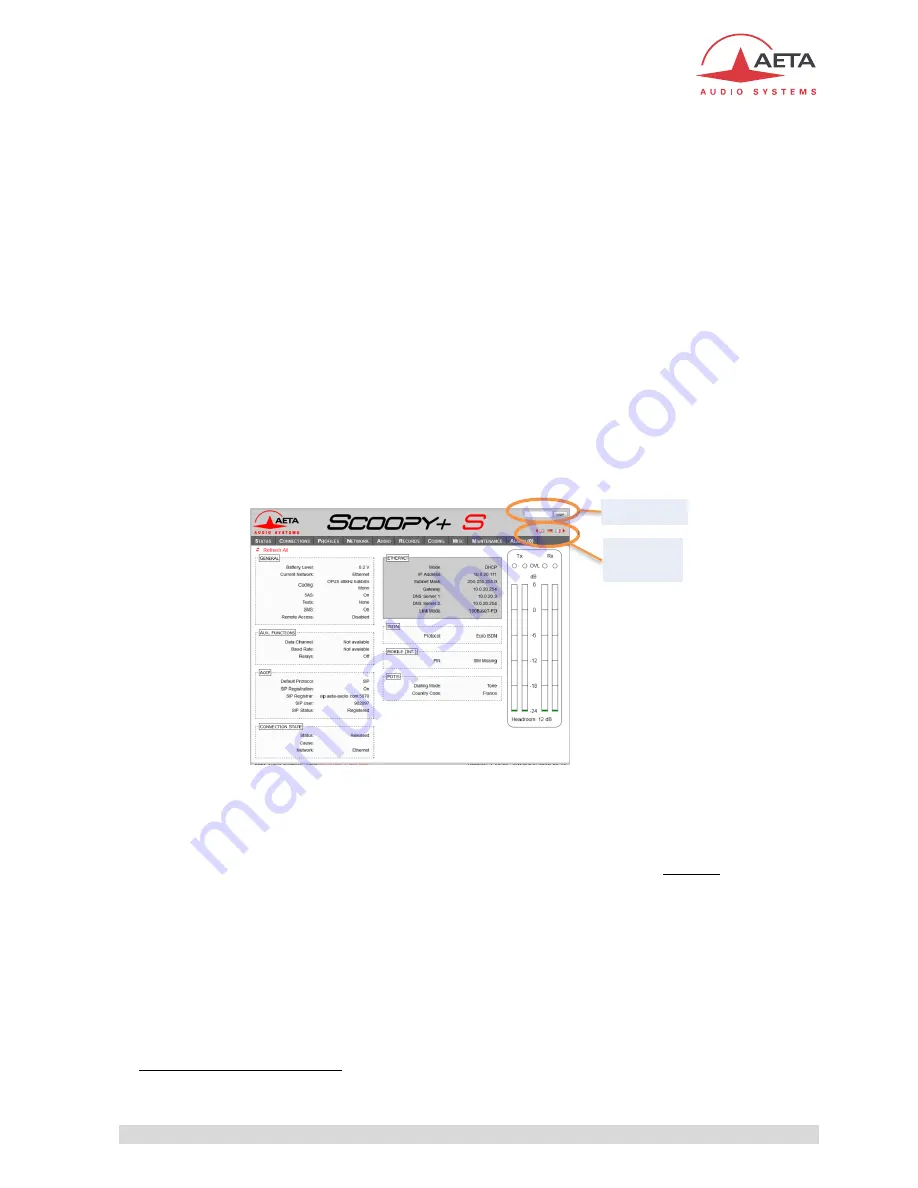
+ S. The page which is displayed is similar to the following picture:
If needed, select another language by clicking the suitable flag (
this choice is not linked to the language
selected for the menus on the front panel interface
).
The home page displayed above is the "
S
TATUS
" page, which provides an overview of the unit status, but
allows no action on it. This is the only "free access" page, with no limitation or access control.
To access the other pages, you must "log in", and get for the control device an exclusive access. Any
connection request from another device will remove this access.
To log in, enter the password and click the connection button. The initial password is blank: click directly
on the button. To set the password and enable protection, go to the "
M
AINTENANCE
" page (cf. further).
To release control, click on "L
OGOUT
" (also in the connection area). You are also logged out automatically
after a long period of time with no action on the pages.
1 For a possible secondary Ethernet interface, menu Config / Network / Ethernet 1 Parameters
Language
selection
Connection

