English
69
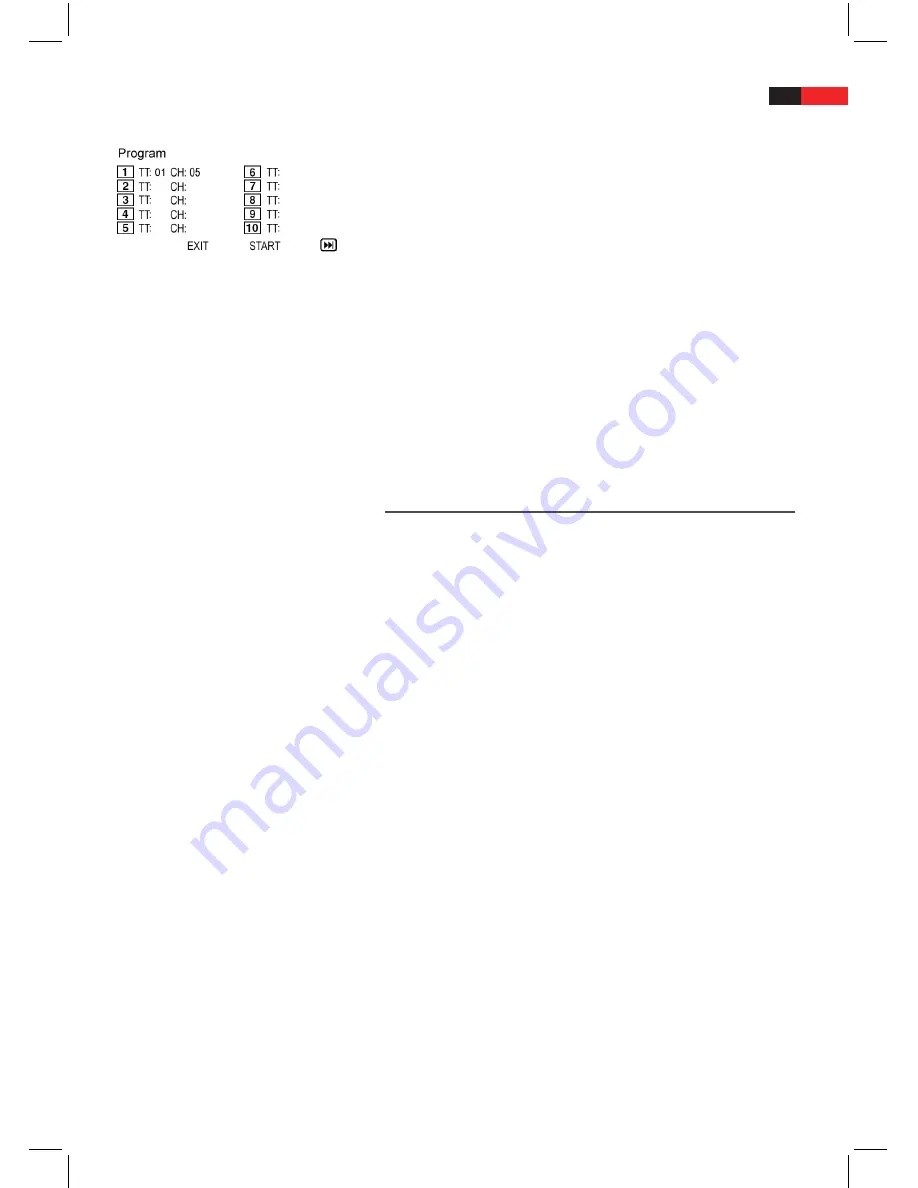
DVD:
2
. Navigate within the table by using the
navigation buttons
(Fig. 3/21).
3
. Enter the desired track (on CDs) or the chapter/title (on DVDs at
the respective table position. Use
numeric buttons
for entries
(Fig. 3/26).
4
. Use
navigation buttons
(Fig. 3/21) to save your entries by selecting
“Start“ at the bottom edge of the table.
5
. Confirm your entry by pressing the
ENTER
button (Fig. 3/22) on
the remote control.
Delete Playlist (CD/DVD)
1
. Press the
PROG/EXIT
button. A table is displayed (Fig. CD or Fig.
DVD).
2
. Use the
navigation buttons
( Fig. 3/21) to manoeuvre to the com-
mand ”Stop” at the bottom of the table.
3
. Press
ENTER
(Fig. 3/22) on the remote control to confirm.
4
. Press the
PROG/EXIT
button to finish.
Work in Data Mode
In addition to play “regular” movies or music with CDs/DVDs, with this
DVD-Player you have the option to display video- or audio files of CDs
or DVDs, if stored in file systems. Such media is available if you create
CDs containing digital photos or MP3-music on your computer.
Use CD/DVD
1
. Insert a CD or DVD into the drive
a
Page 65, “Load CD/DVD“.
2
. Select the desired and start play
a
Page 70, “Select File/Index and
Start Playback”.
Use Memory Card
You may use the following memory cards:
SD-Card
■
Multi Media Card
■
Memory Stick
■
1
. Insert a memory card with the label to the front into the card slot
(Fig. 1/15; Fig. 2/16).
2
. Press the
DVD/CARD/USB
button (Fig. 3/1) on the remote control
to access the file menu.
3
. Use the
navigation buttons
(Fig. 3/21) to select the mode. Press
ENTER
(Fig. 3/22) to confirm.
4
. Select the desired file(s) and start playback
a
Page 70, “Select File/
Index and Start Playback”.
5
. Press the
DVD/CARD/USB
button (Fig. 3/1) again and use the
navigation buttons
and
ENTER
to return to DVD mode.


