Installing the Shield
STEP 5
STEP 3
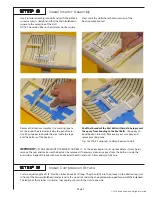
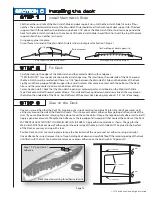
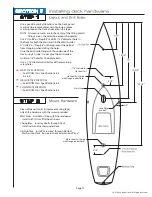
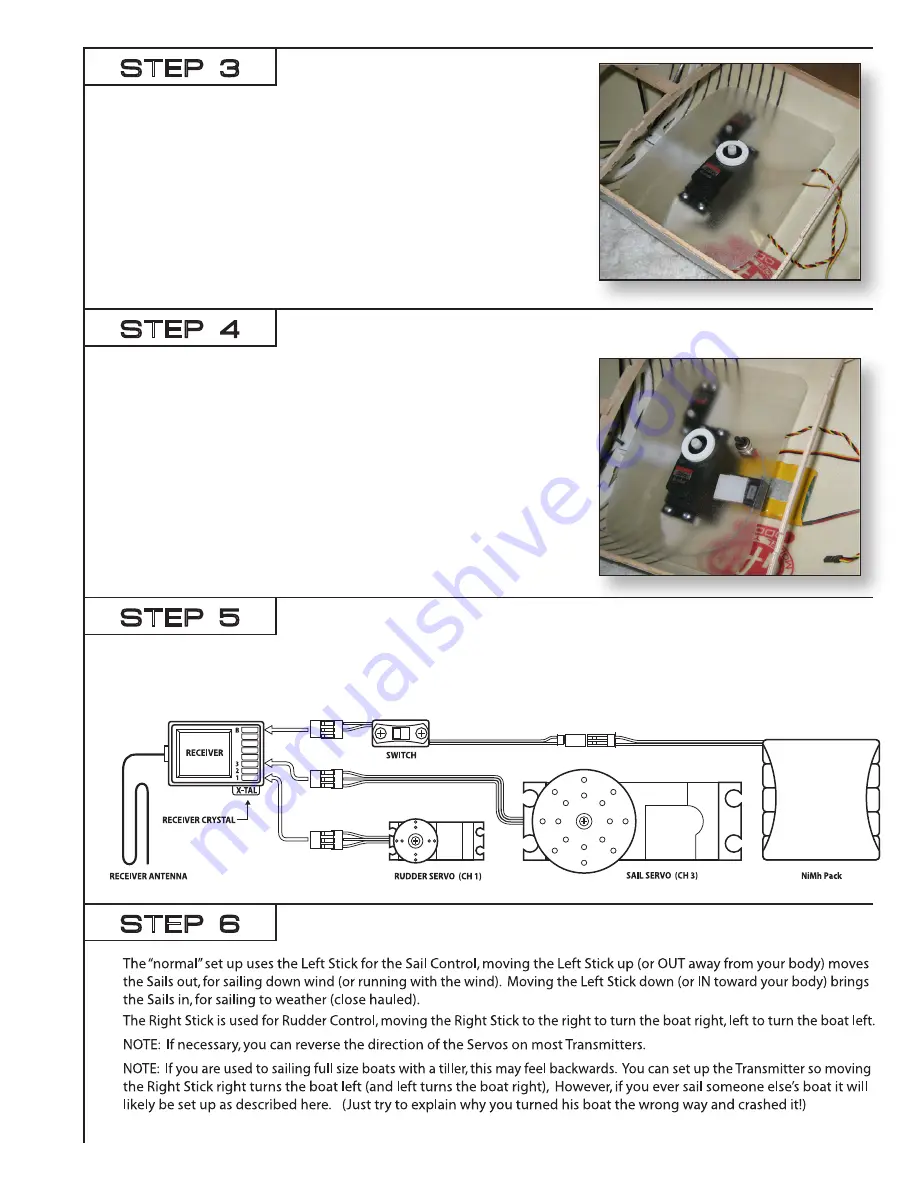
Wiring Diagram
STEP 6
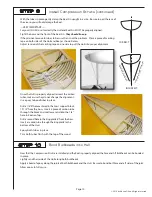
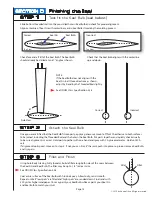
Setting up the Transmitter
Connect all the wires as shown in the Diagram. It is a good idea to make sure the wires going to the Receiver are long
enough to reach out the Main Hatch when the Deck is on. If you ever have to replace a Servo in the future, it is much
easier to simply remove the Receiver and plug everything back in above deck.
Page 12
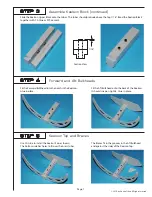
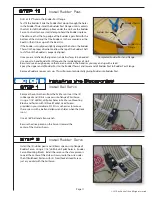
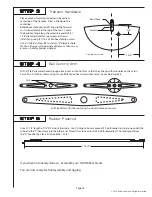
Use the supplied paper pattern to cut the plastic Shield to size. Cut out
the center hole so that it just fits over the round raised section of the
Hitec 815-BB Sail Servo (if you are using a different Sail Servo the hole
may be a different size).
Use CA Glue to bond the Shield Ring to the Shield as shown.
The Shield should now press fit onto the Sail Servo. The Sail Winch
Arm screws will hold the Shield down onto the Servo.
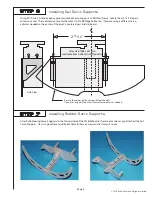
Installing the Receiver, Switch, and Battery
STEP 4
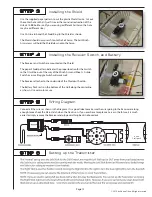
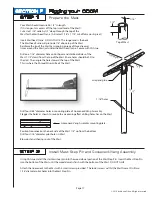
The Receiver and Switch are mounted on the Shield.
The paper Shield pattern indicates the proper location for the Switch
so that it will be out of the way of the Winch Arm and Sheets. A slide
Switch or a small toggle Switch will work well.
The Receiver attaches to the underside of the Shield with velcro.
The Battery Pack rests on the bottom of the Hull, along the centerline,
as shown. Use velcro to secure.
6 volt
5-cell pack
© 2010 by Adrian Olson. All rights reserved.


