24
Installation
3.5
Installing the OS
Install the operating system that your system controller supports.
For more information, refer to the documentation provided by the
operating system vendor and the system controller manual.
Most operating systems requires installation from a floppy or opti-
cal disk drive. These devices must be configured, installed, and
tested with the supplied drivers before attempting to install a new
operating system.
Consult the release notes and installation documentation provided
by the operating system vendor for documentation discrepancies
and/or compatibility issues, problems, and solutions.
3.6
Installing Device Drivers
Installing the Chassis Description File
(chassis.ini)
To allow inter-operability of PXI platform and modules from differ-
ent vendors, PXI specifications define the hardware description
files to describe the hardware characteristics in ASCII text format.
System integrators can use the hardware description files to con-
figure the system with various PXI controller, PXI chassis, and PXI
modules.
ADLINK provides a complete list of the chassis description files
(chassis.ini) for the PXI chassis. You can find the chassis descrip-
tion files in X:\Driver Installation\PXI Platform\PXI Platform
Description\ (X: is the CD-ROM drive where you placed the
ADLINK All-in-One CD). A simple how to document is also existed
in the directory to illustrate the procedures of using the chassis
description file with third-party software to build up your PXI sys-
tem.
Summary of Contents for 96864-1
Page 11: ......
Page 17: ...6 Introduction ...
Page 20: ...Chassis Overview 9 Rear Panel Figure 2 2 PXIS 2508 2558T Rear Panel Foot stand ...
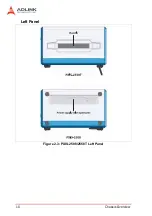
Page 21: ...10 Chassis Overview Left Panel Figure 2 3 PXIS 2508 2558T Left Panel ...
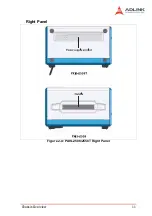
Page 22: ...Chassis Overview 11 Right Panel Figure 2 4 PXIS 2508 2558T Right Panel ...
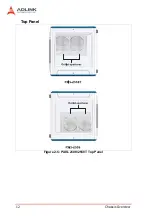
Page 23: ...12 Chassis Overview Top Panel Figure 2 5 PXIS 2508 2558T Top Panel ...
Page 24: ...Chassis Overview 13 Base Panel Figure 2 6 PXIS 2508 2558T Base Panel ...
Page 31: ...20 Installation 5 Fasten the screw on the module front panel then con nect all devices ...
Page 41: ...30 Installation ...
Page 53: ...42 Remote Management ...

