IRIS-4 Technical Reference Manual.docx 12/01/2023
page 19
5
Configuring the terminal
IRIS-4 terminals need to be configured the first time they are used. All terminals can be configured with the
Installation Wizard on the physical or virtual touchscreen. The 160 can also be configured using the Installer
app, see section 5.5 “Configuring the 160 using the Installer App”.
The Installation Wizard presents configuration options in predetermined sequences. Once one option is
completed, the wizard automatically moves on to the next option. Sequences vary depending on the
terminal type and the choices you make as you go through the sequence.
5.1
Accessing the Installation Wizard
Access the Installer’s menu as described in section 4.2.4 and 4.2.5.
5.2
Initial configuration settings
If options described in this manual are not visible on the screen, it is because they are not supported on the
terminal type you are using.
Once you have entered your password, see section 4.2.5 “Installer’s password”. the main menu is displayed.
Click “Installation Wizard” to start the Installation Wizard.
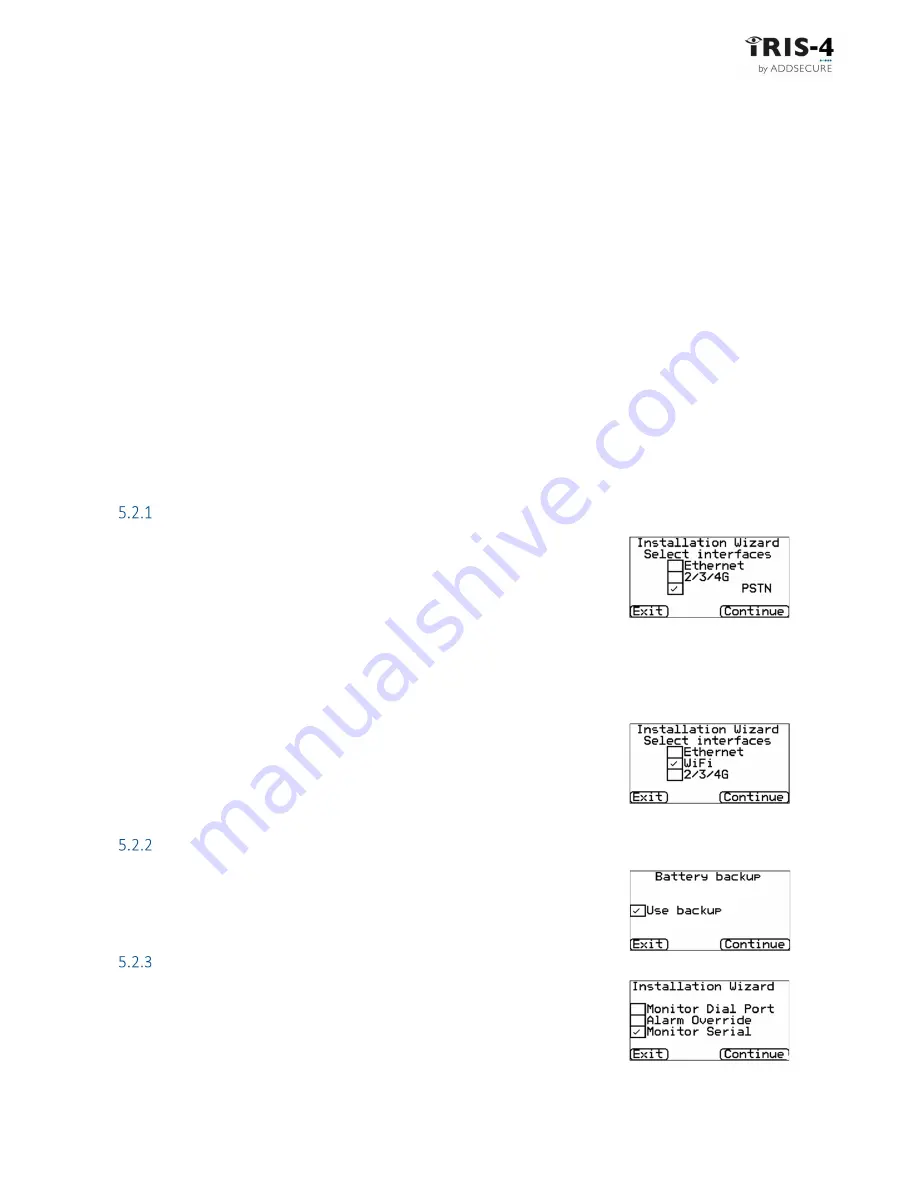
Select interfaces
As the terminal can use Ethernet, Wi-Fi, cellular communication and PSTN, the
sequence of options that the installation wizard automatically displays varies to
suit the chosen communication mode:
The first task presented by the Installation Wizard is to select the network
interfaces to be used.
For single path communications, the terminal can use Ethernet, Wi-Fi or cellular paths.
For dual path communications, select cellular and one of the other paths.
If you have installed a PSTN expansion board (EXT2), then the PSTN communication path will be available,
allowing triple path communication.
If you are configuring a 160, Wi-Fi is presented as an option.
Only Ethernet or Wi-Fi can be selected, not both.
Battery backup
For terminals with integral battery backup, the menu ‘Battery backup’ will now
be shown. Tick the box to automatically use the battery backup when needed.
Additional options
Depending on your terminal type, these additional options are available.
Monitor Dial Port
This sets the terminal to monitor the dial port using the 18K resistor (as
supplied in the box). This resistor should be fitted across the A & B terminal of