LEXIA3 User Guide
38
- EXPERT Pack & CHRONO Pack -
EXPERT P
ack
&
CHRONO P
ack
2.3.10 Keyboard and mouse
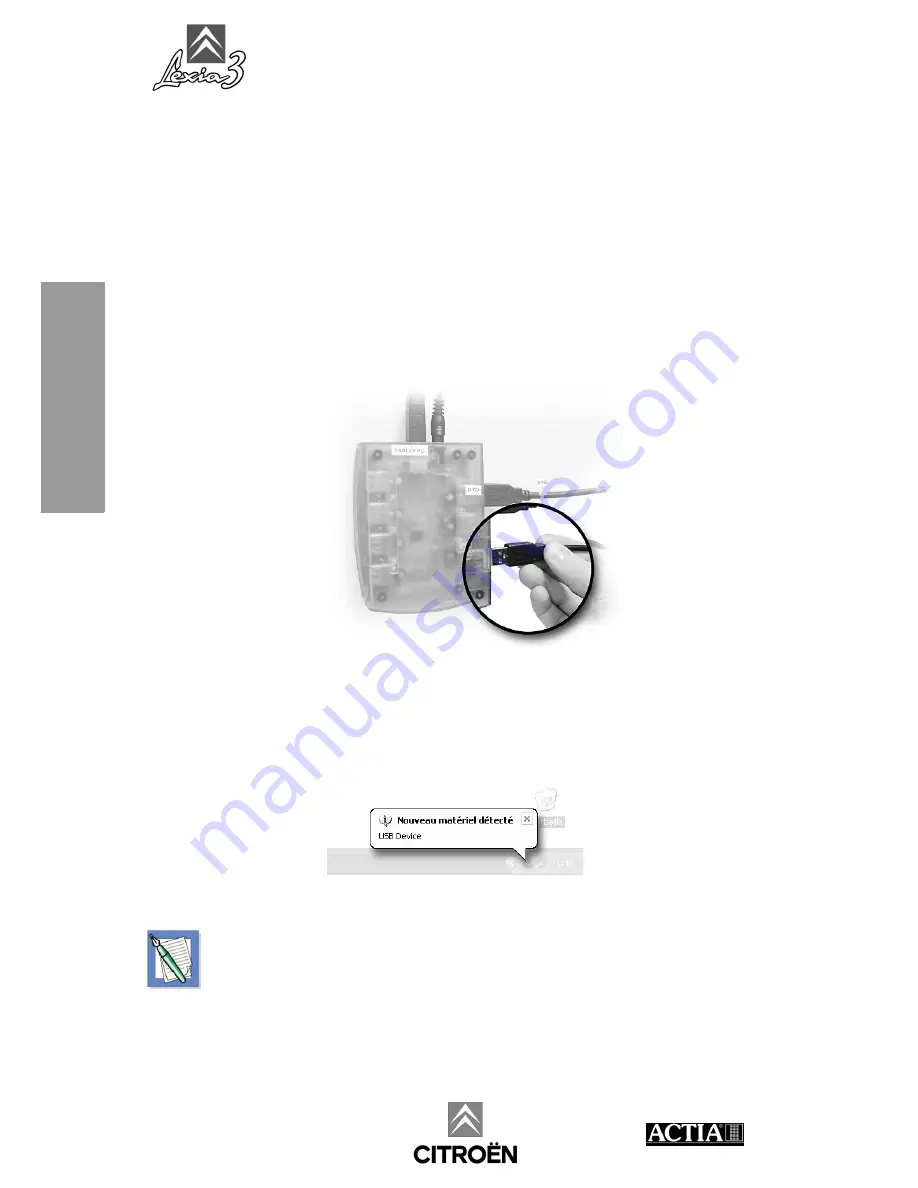
To install the keyboard, proceed as follows:
1. Pass the cables in through the top of the trolley, in the specific position, and run
them down through the duct, to the common connector (HUB).
2. Install a label base around the keyboard USB cable and bond the
KEYBOARD
label
on the base.
3. Connect the keyboard USB cable to the common connector (HUB) and bond the
KEYBOARD
label on the corresponding common connector (HUB) USB port.
4. Various
Info bubbles
appear on the screen, to indicate that the keyboard has been
recognised by the PC Tablet. To close these
Info bubbles
, use the light pen to
press on the cross in the top RH corner.
5. Proceed in the same way to install the mouse, with the
MOUSE
label.
Your mouse is an optical mouse. Do not use it on shiny or reflecting surfaces.
Summary of Contents for LEXIA3 CHRONO
Page 1: ...www autokmfactory com ...
Page 2: ......
Page 10: ...LEXIA3 User Guide 6 Preface Preface ...
Page 56: ...LEXIA3 User Guide 52 EXPERT Pack CHRONO Pack EXPERT Pack CHRONO Pack ...
Page 92: ...LEXIA3 User Guide 88 MOBILE Pack LIGHT Pack EXPERT Pack CHRONO Pack MOBILE Pack LIGHT Pack ...
Page 101: ...LEXIA3 User Guide Options 97 Options 2 Connect cable 5 3 Connect the power supply or ...
Page 152: ...LEXIA3 User Guide 148 Using the LEXIA3 package Using the LEXIA3 package ...
Page 156: ...LEXIA3 User Guide 152 Utilisation precaution Utilisation precautions ...
Page 162: ...LEXIA3 User Guide 158 Customer support Customer support ...


