92
Chapter 5
Power Supply
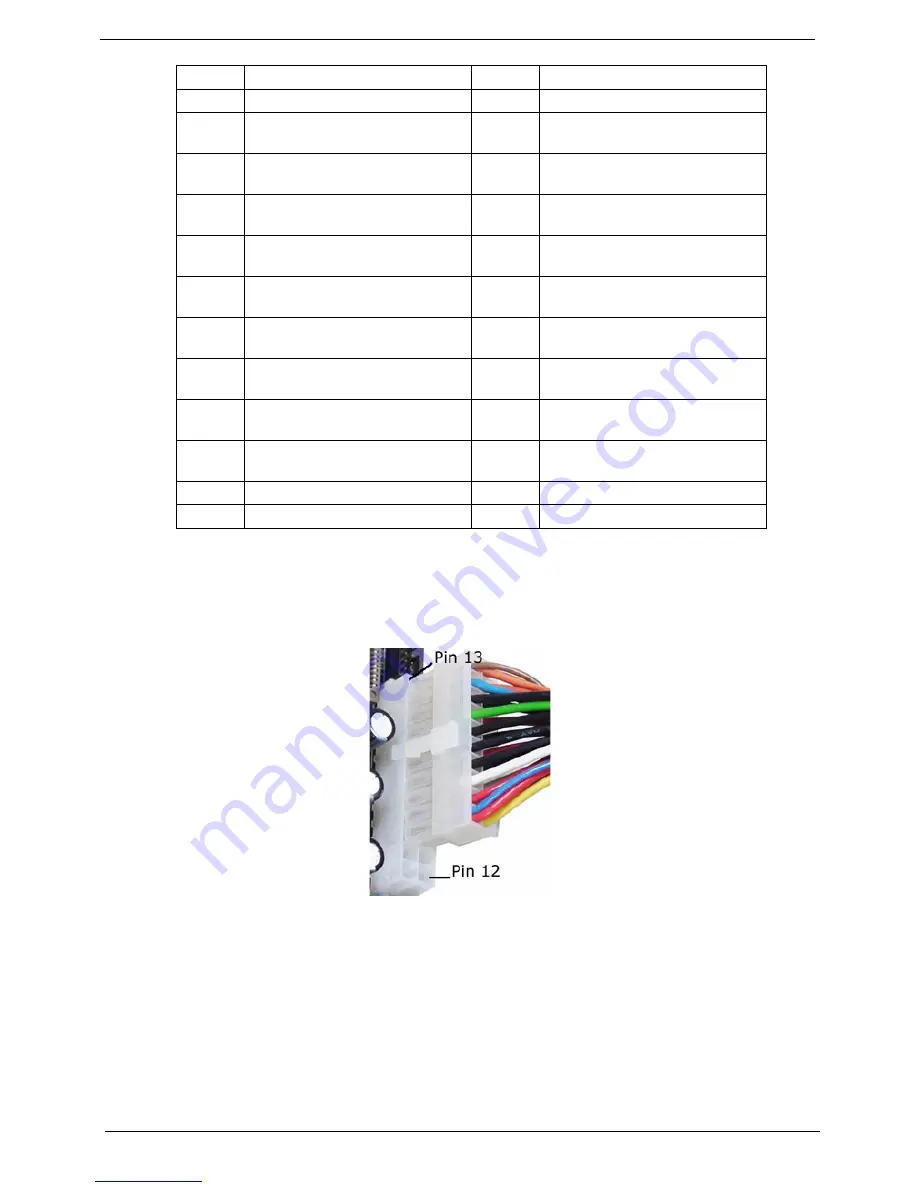
ATX 24-Pin Power Connector
This connector allows you to connect an ATX 24-pin power supply.To connect the ATX 24-pin power supply, make
sure the plug of the power supply is inserted in the proper orientation and the pins are aligned. Then push down
the power supply firmly into the connector.
You may use the 20-pin ATX power supply as you like. If you’d like to use the 20-pin ATX power supply, please
plug your power supply along with pin 1 and pin 13 as shown. There is also a foolproof design on pin 11, 12, 23
and 24 to avoid wrong installation.
5
Audio chip Realtek ALC888
6
LAN chip Marvell 88E8056
7
I/O chip ITE IT8718F
8
BIOS chip
9~12
Memory slots DIMM1~DIMM4
13
Floppy disk drive connector
FDD1
14
Hard disk drive connector IDE1
15
ATX 24-pin power connector
ATX1
16
Fan power connector SYS_F2
17
Four SATA connectors
SATA1~SATA4
18
BIOS write protect jumper
BIOS_WP3
19
Front panel connectors
F_PANEL2
20~22
Front USB connectors JUSB1,
JUSB2 and JUSB3
23
IEEE 1394 connector J1394_1
24
CD-In connector JCD2
25
Front panel audio connector
JAUD2
26
SPDIF-Out connector
JSPDIFO2
27
Serial port header COM2
28
IrDA Infrared module header
JCIR2
29
Fan power connector CPU_F2
30
ATX 12V power connector
JPW2
31
Clear CMOS jumper JBAT1
32
Battery BATT
33
PCI Express x16 slot PCIE_X16
34
PCI Express x1 slot PCIE_X1
35~36
PCI Express slot PCI3, PCI2
Summary of Contents for Aspire AM3610
Page 2: ......
Page 17: ...Chapter 1 11 ...
Page 30: ...24 Chapter 1 ...
Page 62: ...56 Chapter 2 ...
Page 77: ...Chapter 3 71 19 Connect the USB cables 20 Connect the audio cable 21 Connect the SPDIF cable ...
Page 92: ...86 Chapter 3 19 Connect the USB cables 20 Connect the audio cable 21 Connect the SPDIF cable ...
Page 94: ...88 Chapter 3 ...
Page 96: ...90 Chapter 4 ...
Page 110: ...104 Chapter 5 ...


