C
HAPTER
5:
M
ENU
O
PTIONS
51
Important: The prerequisite for the remote power/reset button to
work is a correct installation of the ARMC/3P.
Power Control via Intelligent Platform Management Interface (IPMI)
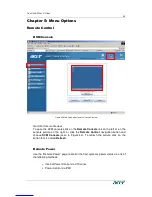
The ARMC/3P is capable of controlling the power status of an IPMI-enabled host
system. See
Chapter 5: Intelligent Platform Management Interface (IPMI)
for
configuration instructions. If the ARMC/3P is configured to act as an IPMI client the
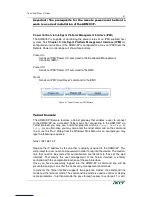
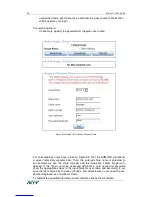
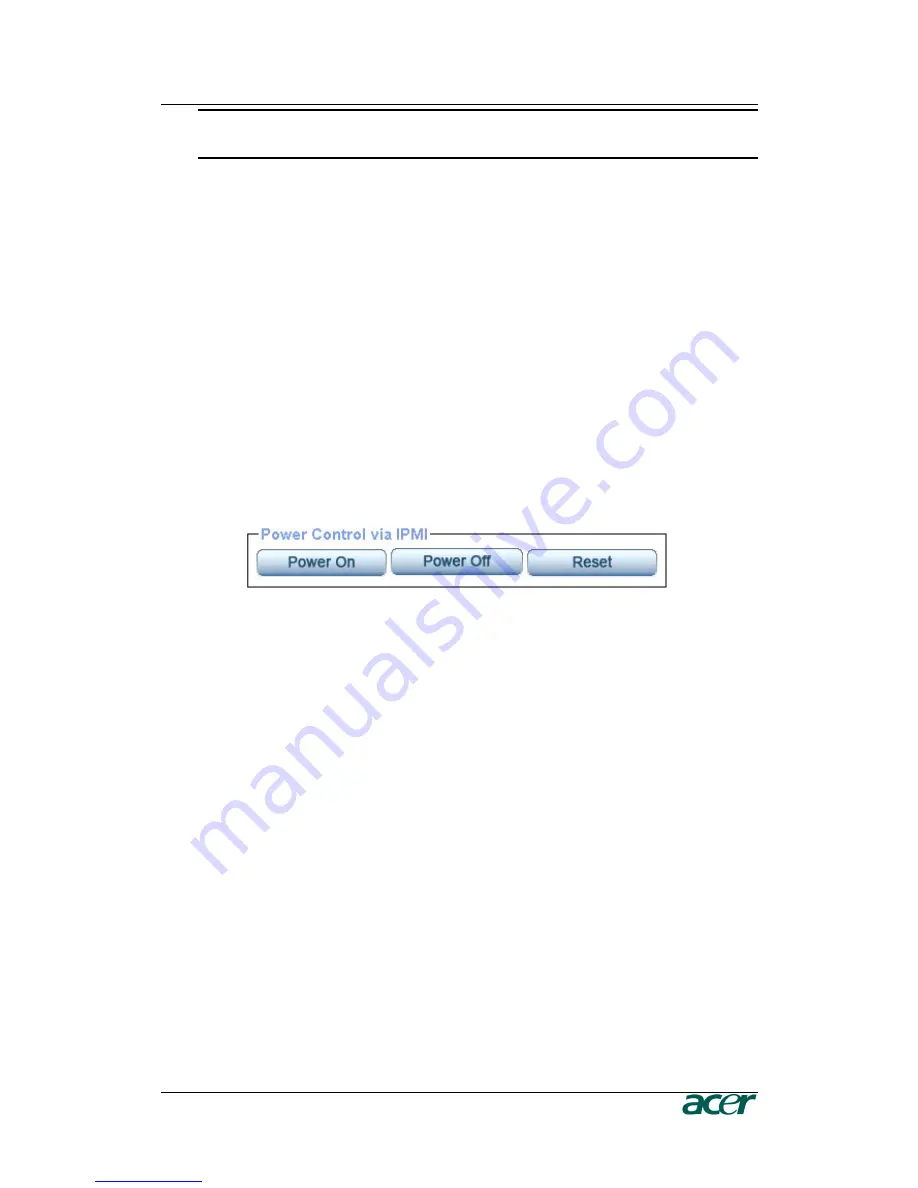
Remote Power Control page will show three buttons:
Power On
Sends an IPMI “Power On” command to the Baseboard Management
Controller (BMC).
Power Off
Sends an IPMI “Power Off” command to the BMC.
Reset
Sends an IPMI “Hard Reset” command to the BMC.
Figure 47 ‘Power Control via IPMI’ Buttons
Telnet Console
The ARMC/3P firmware features a Telnet gateway that enables a user to connect
to the ARMC/3P via a standard Telnet client. For connecting to the ARMC/3P via
Telnet protocol you may use a terminal program such as
xterm, TeraTerm
or
Putty
. As an alternative you may also enter the telnet command on the command
line or use the “Run” dialog from the Windows Start Menu. As an example you may
type the following sequence:
telnet 192.168.1.22
Replace the IP address by the one that is actually assigned to the ARMC/3P. This
will prompt for user name and password in order to log into the device. The creden-
tials that need to be entered for authentication are identical to those of the web
interface. That means the user management of the Telnet interface is entirely
controlled with the comparable functions of the web interface.
Once you have successfully logged into the ARMC/3P a command line will be
presented and you can enter the necessarry management commands.
In general, the Telnet interface supports two operation modes: the command line
mode and the terminal mode. The command line mode is used to control or display
some parameters. In terminal mode the pass-through access to serial port 1 is acti-
Summary of Contents for ARMC_3P
Page 2: ......
Page 11: ...FIGURES vii ...
Page 12: ......
Page 28: ......
Page 60: ......
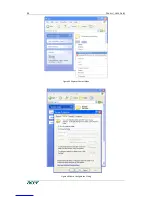
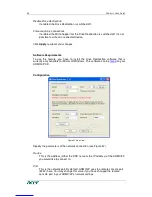
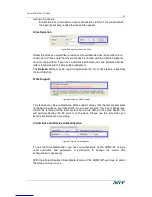
Page 70: ...58 PRODUCT USER GUIDE Figure 54 Explorer Context Menu Figure 55 Share Configuration Dialog ...
Page 118: ......
Page 120: ......
Page 122: ......
Page 136: ......


