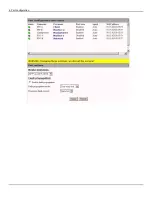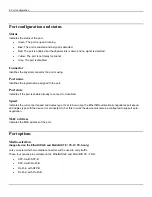
4: Port configuration
Port parameters
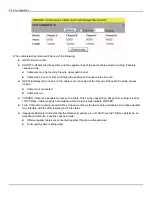
Enable
Select this check box to enable the port.
Name
Specify a name to identify the port. By default, ports are named as follows: Management, Client, Network, Monitor-1 and
Monitor-2.
Alias
This is an 'alias' name for the port as specified by a network manager.
Port MTU
Specify the maximum transmission unit. By default, this is set to 1522. Example range: 1518 to 10240.
Large packet threshold
Specify the threshold such that all packets above this value will be classified as Large Packets on the Port > Statistics
page.
MAC address
Identifies the MAC address of the port.
Connector
Identifies the physical connector associated with the port.
Protection
(Only on MetroNID products and Network port only)
The port protection is a mechanism used to switch the traffic to a standby connector if a link down is detected on the main
connector. The main and the standby connectors are determined by the Media-selection field in the Port / Configuration
page. For example, if we choose RJ45-A with SFP-B, the main connector is SFP-B and standby connector is SFP-A. If we
refer to the default ports names, the protected port is always the Network port and the protect port is always the Monitor-1
port. It should be mentioned that when a switchover or a failover operation is performed, the two ports are swapped.
In order to use the port protection feature, the following conditions must be met:
•
Platform is a MetroNID
•
SFP must be a 1000X if link-status mode is selected. If this condition is not met, the port is disabled.
Enable
Enable the protection for this port. The protecting port is reserved by the protection mechanism and can not be used for
monitoring purposes as long as the protection is enabled.
Mode
Switching to standby connector can be based on Link status or LACP status. If LACP status is selected, an L2PT rule with
an Operation mode Peer and Protocol LACP needs to be created on the this port in order to terminate LACP packets.
Summary of Contents for EtherNID EE
Page 8: ...8 Alarms 199 1 APPENDIX B MIB SUPPORT 203 Public MIBs 203 Private MIBs 205...
Page 71: ...4 Port configuration...
Page 121: ...6 Alarms Alarm configuration The Alarm Configuration page lists all defined alarms...
Page 164: ...9 Performance Assurance Agent 3 Configure parameters and click Apply...
Page 191: ...11 CFM 10 Open the CFM DMM Configuration and select add...


