Device menu
39
“DST Settings”
tab
Setting
DST
Activated when box is ticked
From / To
Date of DST start / end
DST Bias
Daylight Saving Time Bias: Correc-
tion of the DST to the reference time
“More Set-
tings” tab
Setting
Device Name
Unique specification of the device
Device Number Used for unique identification when
using remote control
Monitor Bright-
ness
Scroll bar (left = darker;
right = brighter)
Transparent
1:1, 3:1, 1:3 or Non-transparent –
used for managing the display of the
OSD in front of the background im-
age
Menu Dwell
Time
1 to 30 minutes – regulates how long
the menu is shown
Main CVBS
Scaling
Activate this option if the output at the
BNC monitor is not correct.
Box ticked / not ticked
Activate Event
Note
Displays a symbol at the bottom-left
of the live image when an event oc-
curs
System Settings: Camera
22
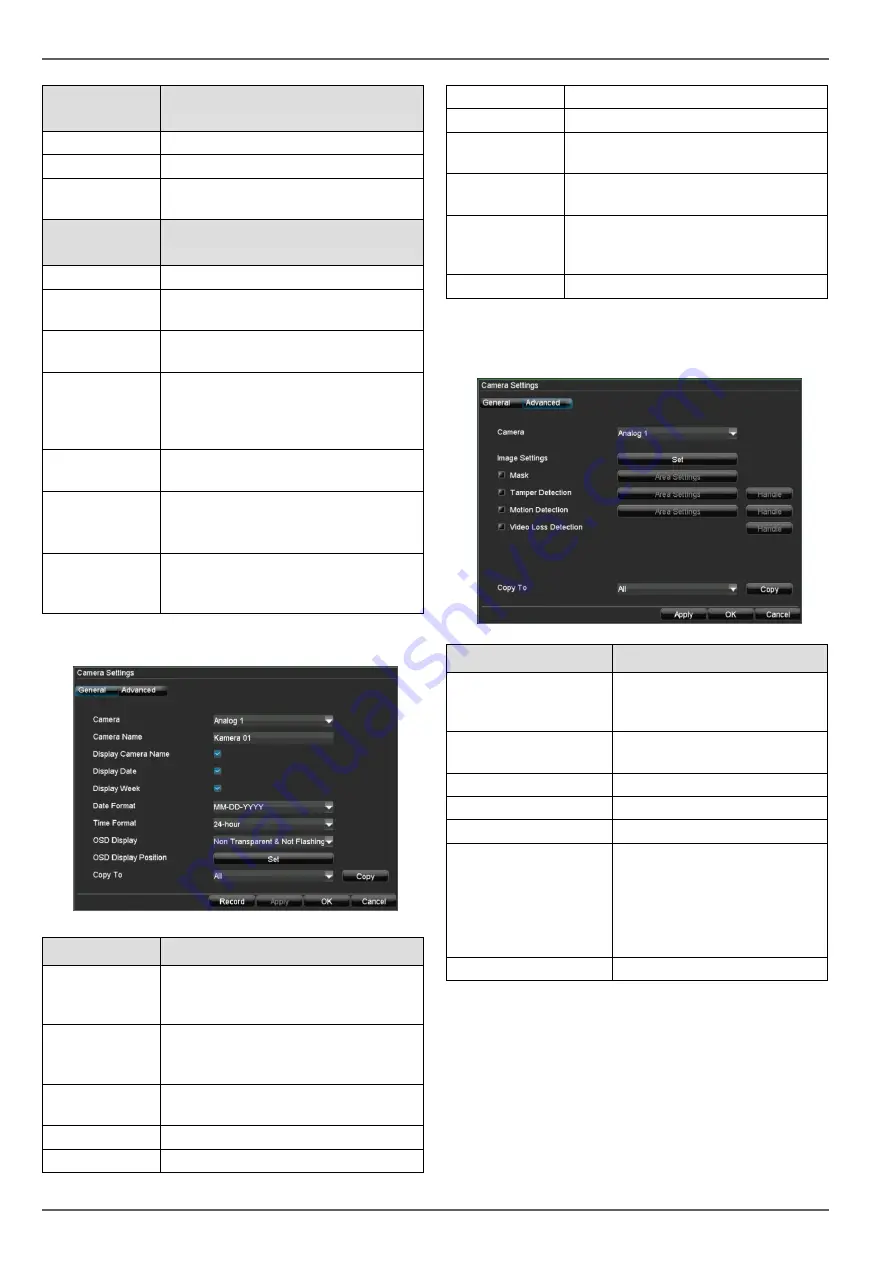
“General” tab
Setting
Camera
Selection of the camera (only previ-
ously activated cameras can be se-
lected)
Camera Name
Clear identification of the camera
(e.g. right car park, front entry gate
etc.)
Display Cam-
era Name
Box ticked / not ticked
Display Date
Box ticked / not ticked
Display Week
Box ticked / not ticked
Date Format
Format of the displayed date
Time Format
12-hour / 24-hour display
OSD Display
OSD transparent, flashing, non-
transparent etc.
OSD Display
Position
Screen position of the OSD
Copy To
Selection of whether the settings
should be copied to another camera
(and if so, to which camera)
Record
See page 23
6. Select “Advanced” to specify the other camera set-
tings.
“Advanced” tab
Setting
Camera
Selection of the camera (only
previously activated cameras
can be selected)
Image Settings
Brightness, contrast, satura-
tion and colour
Mask
Setting up of zones
Tamper Detection
Setting up of zones
Motion Detection
Setting up of zones
Video Loss Detection
Activation according to the de-
finable schedule and notifica-
tion (display, acoustic alarm,
notification of surveillance
centre, e-mail, trigger of an
alarm output)
Copy To
Copies the settings


