Administration Manual – Terxon L
12
Important: ..................................................................................................................
Press
to view the numbers of already defined users. Press any key to
return to the previous display.
4. Now enter the user code (4- or 6-digit; see Installation Instructions, Option
47) and confirm with
or use the chip-key.
If you press
without entering a new code, the previous code is
retained.
Important: ..................................................................................................................
If a message “NOT ACCEPTED” appears, this indicates that this code has
already been assigned, and you must enter another code. Press
and try
another code.
5. Press
and
or press a number key (1–9) to select the user type
(please see “User types“ on page 10) and confirm with
.
6. Press the number keys to select the partitions to which the user is to have
access and confirm with
. Every displayed partition is now assigned to
the user. (A “*” means that the partition is not assigned, and a “.” means
that you have no access to this partition.)
Important: ..................................................................................................................
If the Local Setting option is selected (Installation Instructions, Option 45-11),
the user can activate the system only if the operating panel is assigned to the
respective partition.
7. Go to step 3 or press
to exit the menu.
2.8.3. Option 8-2: User Name
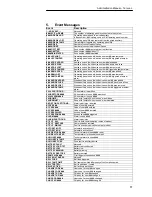
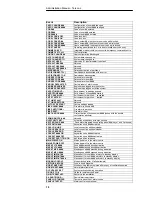
Select this option for entering a name for each user. If you view the event list (see
Event Messages on page 17), you can press
to switch between the displayed
user number and user name for the corresponding event entries. Up to 15
characters are possible.
1. Press
to select this option.
2. Press
and
or 2 to select user name and confirm with
.
3. Press
and
to select a user or enter the user number and confirm
with
.
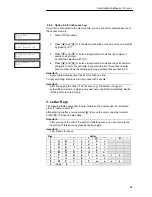
4. Enter a user name by pressing the number keys containing the letters you
want (see chapter 3 “Letter Keys“ on page 15).
Confirm the selection with
.
5. Press
to exit the menu.
User menu
8:Set Up Users
User 01
User 01
Prox Tag or Code
----
User 05 Prtns
Ptns > 1*......
User Codes 2
User Name
Summary of Contents for Terxon LX
Page 1: ...Perfect security for home and office Inv 11738099 Terxon LX ADMINISTRATION MANUAL ...
Page 2: ......
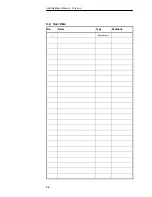
Page 26: ...Administration Manual Terxon L 24 6 2 User Data No Name Type Partitions 1 Administrator ...
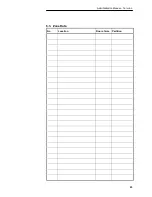
Page 27: ...Administration Manual Terxon L 25 6 3 Zone Data No Location Door chime Partition ...
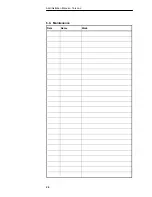
Page 28: ...Administration Manual Terxon L 26 6 4 Maintenance Date Name Work ...


