Installing the Motherboar
2-9
(3) Jumper and Switches
You can set jumper switches on the motherboard to configure various
hardware options. See Figure 1-1 for jumper locations.
Throughout this section, the following symbols are used to indicate jumper
settings.
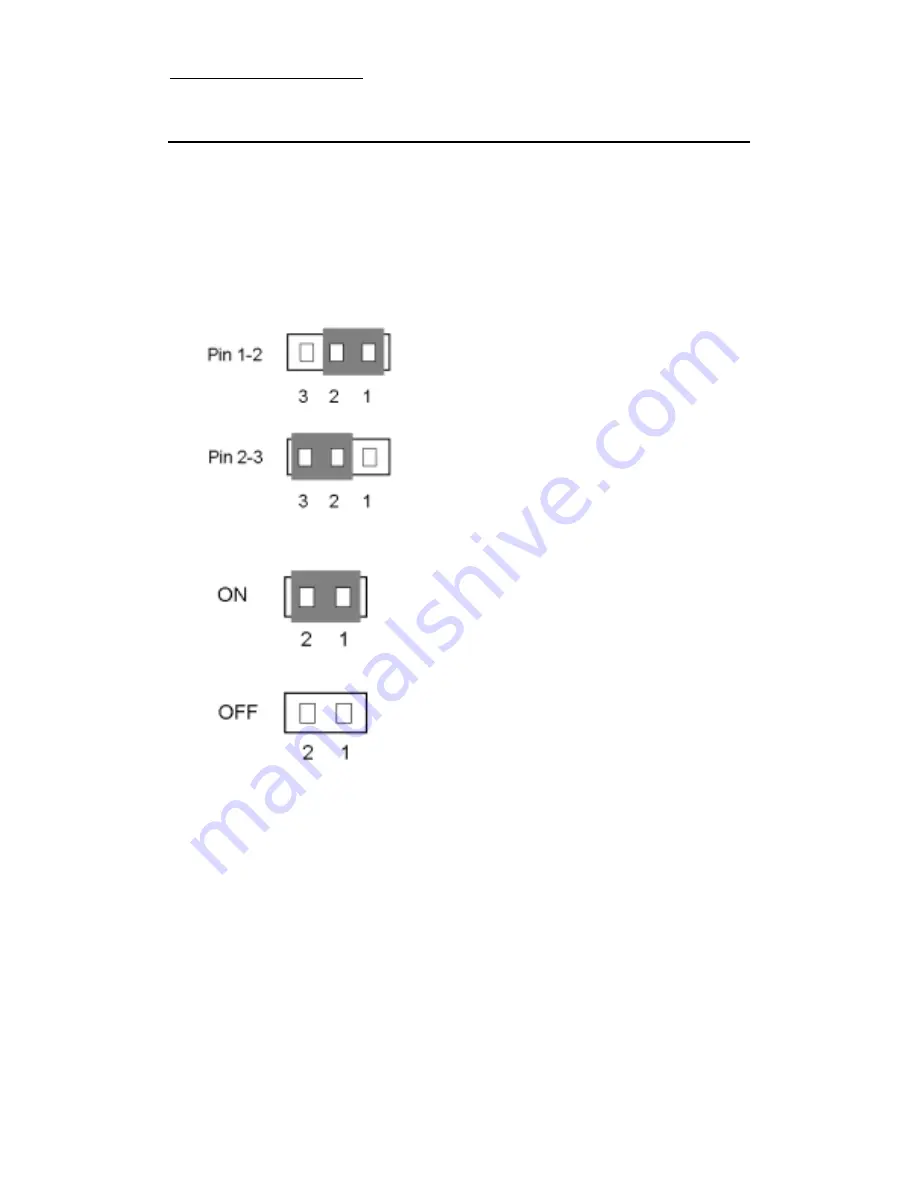
For 3-pin jumpers, the symbols below are used:
For 2-pins jumpers, the following symbols are used:
Note: To avoid losing jumper caps, attach the removed jumper cap to one
of the jumper pins.
Short Pins 1 and 2 with a jumper cap.
Short Pins 2 and 3 with a jumper cap.
Place the jumper cap over the two pins of the
jumper to Short the jumper.
Remove the jumper cap to Open the jumper cap.
Summary of Contents for BH6
Page 2: ......
Page 7: ...Introduction Of BH6 Features 1 3 2 Layout Diagram Figure 1 1 Motherboard Component Locations ...
Page 8: ...1 4 Chapter 1 3 The System Block Diagram ...
Page 62: ...Appendix A A 6 ...
Page 70: ...Appendix B B 8 ...
Page 84: ...E 6 Appendix E ...
Page 88: ...F 4 Appendix F Step 3 Press the Next key you will see the license screen ...
Page 96: ...G 6 Appendix G ...
Page 98: ...Appendix G G 8 ...


