7.
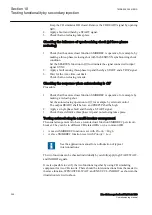
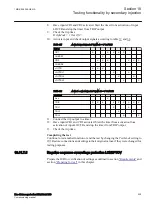
Check that all trip and start contacts operate according to the configuration
(signal matrices).
8.
Finally check that start and trip information is stored in the event memory.
Repeat steps 3 – 6 for phases L2 and L3.
9.
Inject symmetrical phase voltages and phase currents in all three phases, equal to
SBase
(rated voltage and current).
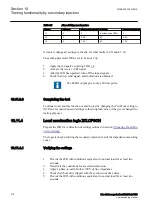
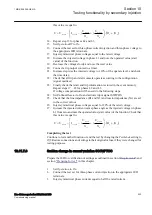
10. Increase the phase angle between the injected phase voltages and phase current,
and note the operate value φ. The corresponding power factor is equal to
cos
pf
j
=
.
11. Decrease the phase angle and note the reset value.
12. Set the phase angle of the injected current slightly higher than the operate value.
Switch on the current and check the time delay.
13. Check that all trip and start contacts operate according to the configuration
(signal matrices).
14. Finally check that start and trip information is stored in the event memory.
Completing the test
Continue to test another function or end the test by changing the
TestMode
setting to
Off
. Restore connections and settings to their original values, if they were changed for
testing purposes.
10.11.7.2
Compensated over- and undervoltage protection COUVGAPC
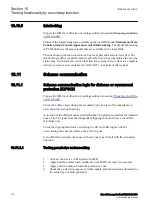
Prepare the IED for verification of settings as outlined in section
section
in this chapter.
1.
Set
OperationOV
to
On
.
2.
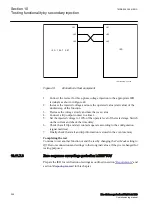
Connect the test set for three-phase current injection and three-phase voltage to
the appropriate IED terminals.
3.
Inject symmetrical phase voltages equal to the rated voltage.
4.
Decrease the injected voltage in phase L1 and note the operated value (start
value) of the function.
5.
Increase the voltage slowly and note the reset value.
6.
Connect a trip output contact to a timer.
7.
Reduce the injected voltage stepwise to 90% of the operate level, and check the
time delay.
8.
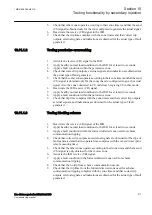
Check that all trip and start contacts operate according to the configuration
(signal matrices).
9.
Finally, check that start and trip information is stored in the event menu. Repeat
steps 4 – 9 for phases L2 and L3.
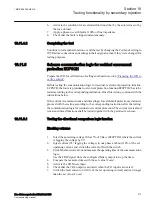
If voltage compensation will be used, do the following steps:
10. Set
EnShuntReactor
to
On
and activate input signal SWIPOS.
11. Check that the line impedance (R1 and X1) and reactor impedance (Xc) are set
to the correct values.
12. Inject symmetrical phase voltages equal to the rated voltage.
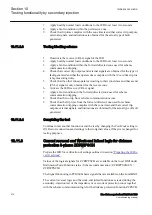
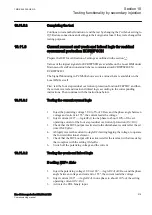
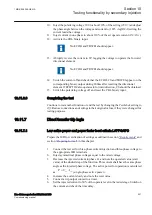
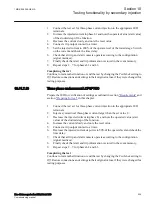
13. Increase the injected current (same phase angle as the injected voltage) in phase
L1 from zero and note the operated value (start value) of the function. Check that
Section 10
1MRK 506 355-UEN A
Testing functionality by secondary injection
222
Line distance protection REL670 2.1 IEC
Commissioning manual
Summary of Contents for Relion 670 Series REL670
Page 1: ...Relion 670 series Line distance protection REL670 2 1 IEC Commissioning manual ...
Page 2: ......
Page 30: ...24 ...
Page 34: ...28 ...
Page 64: ...58 ...
Page 68: ...62 ...
Page 90: ...84 ...
Page 254: ...248 ...
Page 260: ...254 ...
Page 269: ...263 ...

