Chapter 4 – Start-up Procedure
4-6
ACS 501 Installation & Start-up Manual
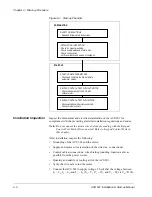
Motor Connected to the
ACS 501
After successfully testing the drive with the motor disconnected, continue
testing the drive as follows:
1. Disconnect and lock out power from the ACS 501. Check for zero volts
at Terminals X50:21 – 29 and X2:(+) and (-) before continuing.
2. Connect the motor to the ACS 501.
3. Power up the ACS 501.
4. Set Operating Data Parameter 10 (Keypad Ref 1) to 0.5 Hz.
5. Press [Start/Stop] to issue a start command. The Run Status indicator on
the LCD Display displays the symbol “|”.
6. Check the monitored values of Operating Data Parameters 1 – 8 for
normal drive and motor operation.
7. Return to Operating Data Parameter 1 (Output Frequency).
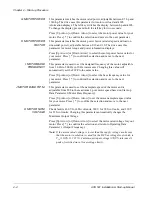
CAUTION: Check motor rotation direction as soon as the motor begins to
move. If motor rotation direction is critical and the motor does not run in the
direction indicated by the Rotation Direction indicator on the ACS 501 LCD
Display, shut down the drive, disconnect and lock out power to the drive, wait
five minutes, and check for zero volts at Terminals X50:21 – 29 and X2:(+)
and (-). When the drive has reached zero volts, swap any two motor output
wires at Terminals U
2
, V
2
, and W
2
. Incorrect motor rotation direction may
cause equipment damage.
8. Slowly increase the frequency value of Parameter 1. Verify that motor
speed varies as frequency varies.
9. Increase the Parameter 1 frequency value to 60 Hz and return to Display
mode.
10. Measure the output current in all three phases. The current should be
balanced, and should not exceed the motor or drive rating.
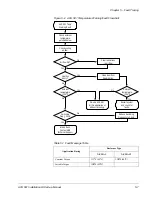
If the drive operates according to these steps, your ACS 501 is ready to use
with pre-set or modified macro adjustments.
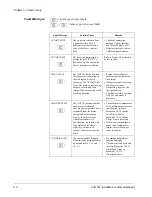
If the drive does not operate according to these steps, refer to Chapter 5 –
Fault Tracing. Repeat the above steps until the drive operates normally.


