Art: 723085-00K Rev. Date: 30-OCT-2014
9
Cartridge Testing
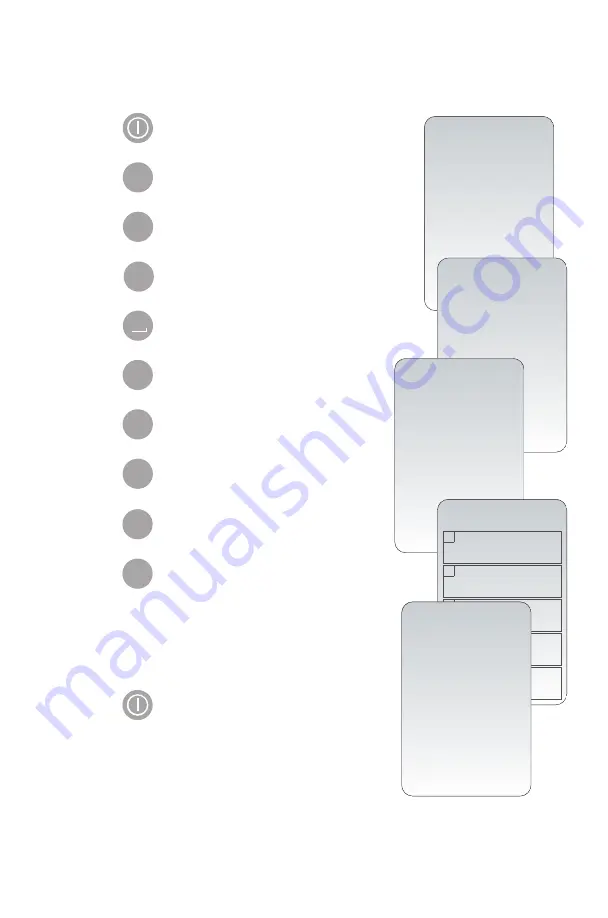
Cartridge use requires operators to turn on the analyzer, enter an Operator ID and
Patient ID, and then scan the cartridge lot number before inserting a cartridge into the
analyzer for testing. To customize the analyzer:
1. Press to turn on the analyzer.
2. Press to change screen to Administration Menu.
3. Press (Customization).
4. Press (Change).
5. Press (No password is required).
6. Press (Patient Tests).
7. Press (Cartridge Information).
8. Press to change setting to “Required”.
9. Press (Cartridge Lot Number).
10. Press to change setting to “Required”.
11. Both “Cartridge Information” and “Cartridge
Lot Number” should be now appear on display
as “Required”.
12. Press to turn analyzer off and save
the settings. (If settings are not shown as
“Required”, return to Step 7).
MENU
4
3
2
2
ENT
3
15:26 18JANyy
Administration Menu
1 - Analyzer Status
2 - Data Review
3 - Quality Tests
4 - Customization
5 - Set Clock
6 - Transmit Data
7 - Utility
Customization
Default0
1 – View
2 – Change
Change
Customization
Default0
1 – Analyzer
2 – ID Entry
3 – Patient Tests
4 – QC Tests
5 – Results
6 – Password
7 – Restore Factory
Settings
Patient Tests
Customization
1 Cartridge
Auto-chart
Disabled
2 Cartridge
Information
Required
3 Cartridge
Barcode
Not Required
4 Cartridge
Lot Number
Required
5 Comment Code
In Range
Disabled
2
Change
Customization
Cartridge
Lot Number
1 – Not Required
2– Required
4
2


