


User Manual
| VISIX PTZ Network Camera
10225 Westmoor Drive, Suite 300, Westminster, CO 80021 | www.3xlogic.com | (877) 3XLOGIC
31
4)
Click
to save the settings.
Figure 6-‐6
DST Settings
6.3
Configuring Network Settings
CONFIGURING TCP/IP SETTINGS
Purpose:
TCP/IP settings must be properly configured before you operate the speed dome over your network.
IPv4 and IPv6 are both supported.
Steps:
1)
Enter TCP/IP Settings interface:
Configuration > Basic Configuration >
Network > TCP/IP
Or
Configuration > Advanced Configuration >
Network > TCP/IP
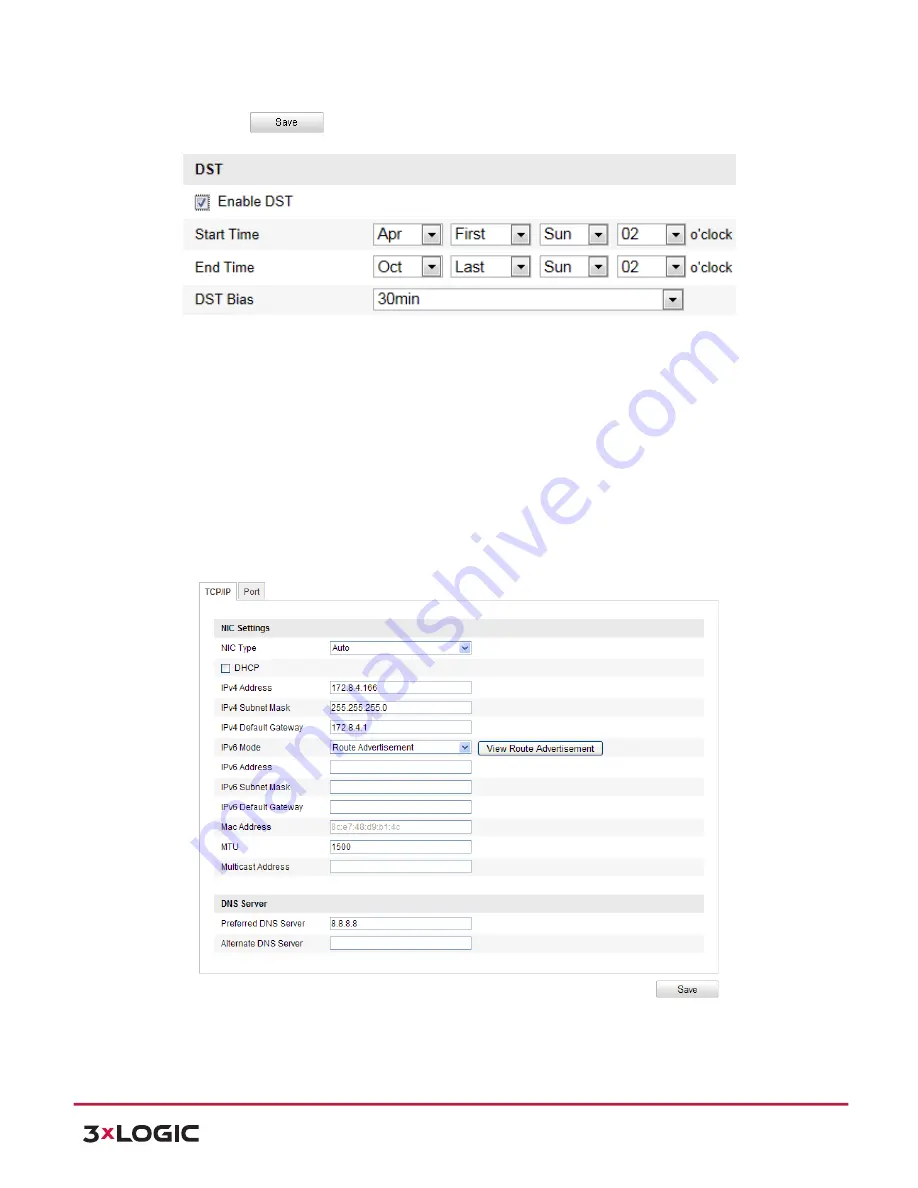
Figure 6-‐7
TCP/IP Settings
2)
Configure the NIC settings, including the
IPv4(IPv6) Address
,
IPv4(IPv6) Subnet Mask
and
IPv4(IPv6) Default Gateway
.