


User Manual|
VISIX Network Camera
10225 Westmoor Drive, Suite 300, Westminster, CO 80021 | www.3xlogic.com | (877) 3XLOGIC
50
4)
(Optional)Use the mouse to click and drag the red text frame
in the live view window to adjust
the text overlay position.
5)
Click
Save
.
Note:
Up to 8 text overlays are configurable.
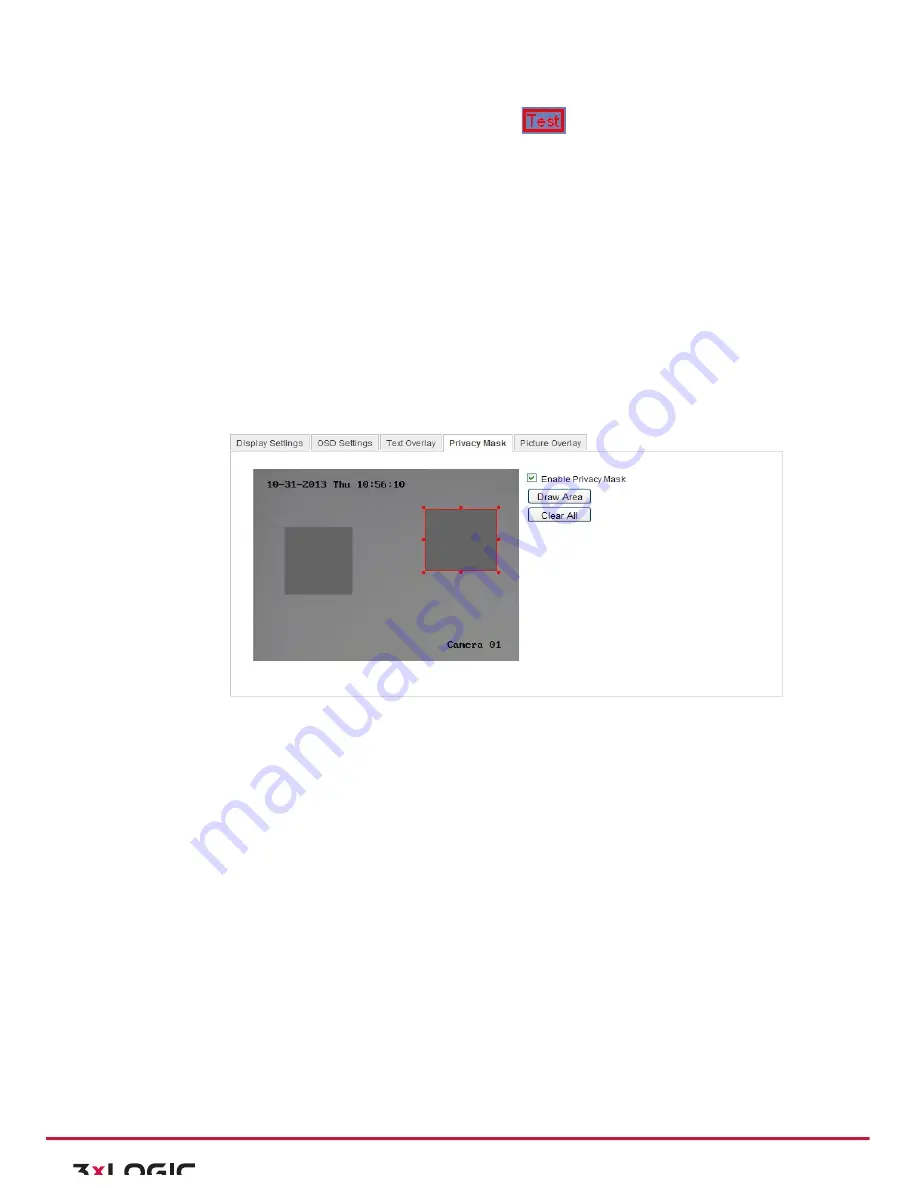
CONFIGURING PRIVACY MASK
Purpose:
Privacy mask enables you to cover certain areas on the live video to prevent certain spots in the surveillance
area from being live viewed and recorded.
Steps:
2)
Enter the Privacy Mask Settings interface:
Configuration > Advanced Configuration> Image > Privacy Mask
2.
Check the
checkbox of
Enable Privacy Mask
to enable this function.
3)
Click
Draw Area
.
Figure 6-‐31
Privacy Mask Settings
4)
Click and drag the mouse in the live video window to draw the mask area.
Note:
You are allowed to draw up to 4 areas on the same image.
5)
Click
Stop Drawing
to finish drawing or click
Clear All
to clear all of the areas you set without saving
them.
6)
Click
Save
to save the settings.
CONFIGURING PICTURE OVERLAY
Purpose:
Picture overlay enables you to overlay a picture on the image. This function enables a certain enterprise or
users to overlay their logo on the image.
Note
:
The picture must be in RGB24 bmp format and the maximum size of the picture is 128*128.
Steps:
1)
Enter the Picture Overlay Settings interface:
Configuration > Advanced Configuration> Image > Picture Overlay