3D Universe Presents: The Unofficial FlashForge Creator X Manual
shop3duniverse.com
Page 30 of 43
800-‐689-‐4344
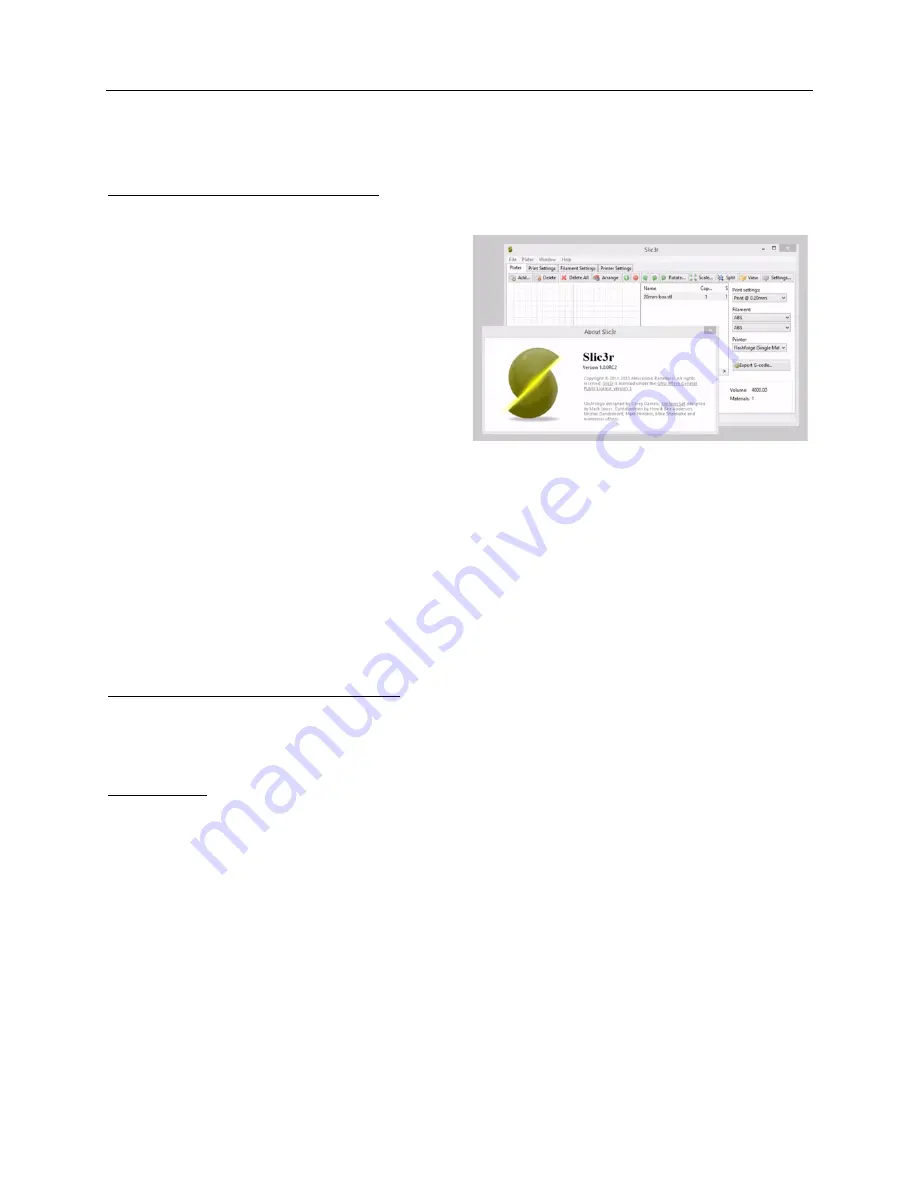
Using Slic3r with the FlashForge Creator X
Installation and Initial Configuration
Download and install the latest version of
Slic3r
(
http://slic3r.org/).
Make sure you're in
"Expert mode" (File, Preferences).
Use the Configuration Wizard, or manually
configure the printer settings. You're going to
want at least two printer profiles -‐ one for
single material prints and another for dual
material prints. This is because we'll use
different Start and End G-‐Code to handle the
appropriate number of extruders.
For "G-‐Code flavor", choose “Makerbot” if you are using the default firmware, or "Sailfish
(Makerbot)" if you have upgraded to the Sailfish firmware. Set the print bed dimensions (X=228,
Y=150).
Set the number of extruders to 2.
Custom G-‐Code (Single Material Prints)
Under "Custom G-‐Code" in your single material printer profile, try using the following.
Start G-‐Code:
T0; set primary extruder
M73 P0; enable show build progress
M109 S[first_layer_bed_temperature] T0; heat bed up to first layer temperature
M104 S[first_layer_temperature_0] T0; set nozzle heater to first layer temperature
M103; disable RPM
G21; set units to mm
G162 X Y F6000; home XY axes maximum
G161 Z F9000; home Z axis minimum
G92 Z0; set Z to 0
M132 X Y Z A B; Recall stored home offsets


