Software Configuration
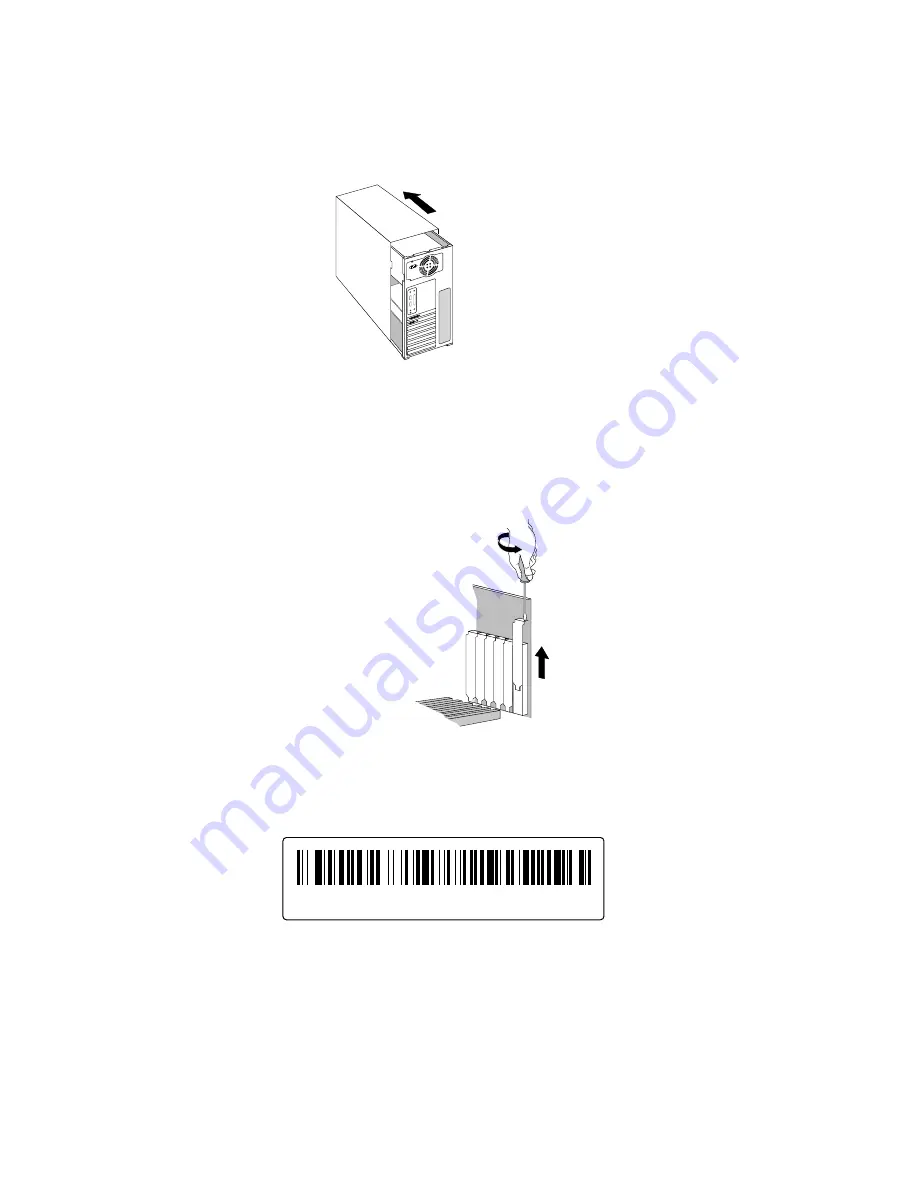
4. Remove the cover from your system so you can access the slots into which you will be installing
your Wildcat4 Graphics Accelerator Card. If you have not already removed any existing graphics
card(s) from your system, then do so now.
5. If necessary, remove the back panel covers from the slots into which you are installing your
Wildcat4 Graphics Accelerator Card, using a Phillips-head screwdriver.
6. If an anti-static wrist strap was included in your box, attach it to your wrist and attach the other
end to a bare metal (as opposed to painted or sticker covered) surface on your system’s chassis.
7. Remove your Wildcat4 Graphics Accelerator Card from its anti-static packaging. Write down the
serial number for product registration and future use. The serial number is located on a board
label and looks like this:
136001B123456 Made in XXX Week XXXX
3Dlabs Graphics Accelerator Card User's Guide
8
Summary of Contents for Wildcat4
Page 5: ...CHAPTER 1 INTRODUCTION 3Dlabs Graphics Accelerator Card User s Guide ...
Page 10: ...CHAPTER 2 SETUP 3Dlabs Graphics Accelerator Card User s Guide ...
Page 20: ...CHAPTER 3 SOFTWARE CONFIGURATION 3Dlabs Graphics Accelerator Card User s Guide ...
Page 30: ...CHAPTER 4 TROUBLESHOOTING 3Dlabs Graphics Accelerator Card User s Guide ...
Page 34: ...APPENDIX A SPECIFICATIONS 3Dlabs Graphics Accelerator Card User s Guide ...
Page 38: ...APPENDIX B SOFTWARE LICENSE 3Dlabs Graphics Accelerator Card User s Guide ...
Page 42: ...APPENDIX C REGULATORY STATEMENTS 3Dlabs Graphics Accelerator Card User s Guide ...
Page 49: ...INDEX 3Dlabs Graphics Accelerator Card User s Guide ...


