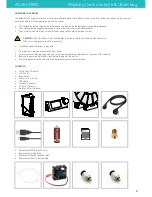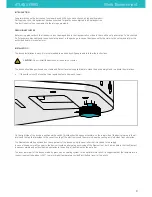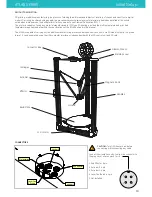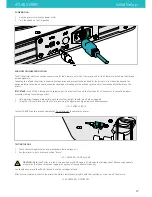
In order to ensure the safe packaging and transport of your printer some of the components have been sent unassembled.
Before starting to print with the 3DBNZ Atlas printer you need to assemble them in order to complete the setting up process.
If you have any queries while assembling the machine, please contact 3DBNZ technical services.
Follow the steps below to prepare the printer:
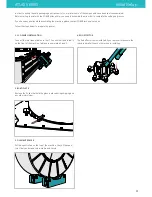
1. LCD PANEL INSTALLATION
Connect the two ribbon cables, to the LCD control unit and install it
on the front of the machine. Cables are numerated 2 and 3.
2. BUILD PLATE
Remove the 3 clips that hold the glass in place during shipping and
any other styrofoam.
3. FILAMENT ROLLER
Put the spool rollers on the top of the machine. Check if the spool
turns freely and make sure is stable and secure.
4. END EFFECTOR
The End effector comes installed. If you remove it make sure the
rods are parallel to each other when re-installing.
ATLAS SERIES
Initial Setup
11

