


3D
Aeroventures
N�v�r S�o� E�p�o�i�g� N�v�r S�o� Q�e�t�o�i�g� N�v�r S�o� P�a�i�g
- 5 -
Step-by-Step Build Guide
Step 1. 3D Printing the Included Parts
Minimum Requirements:
150mm x 150mm x 180mm Print Bed Size
0.4mm Nozzle
Heated Bed (recommended)
Any Slicer Software
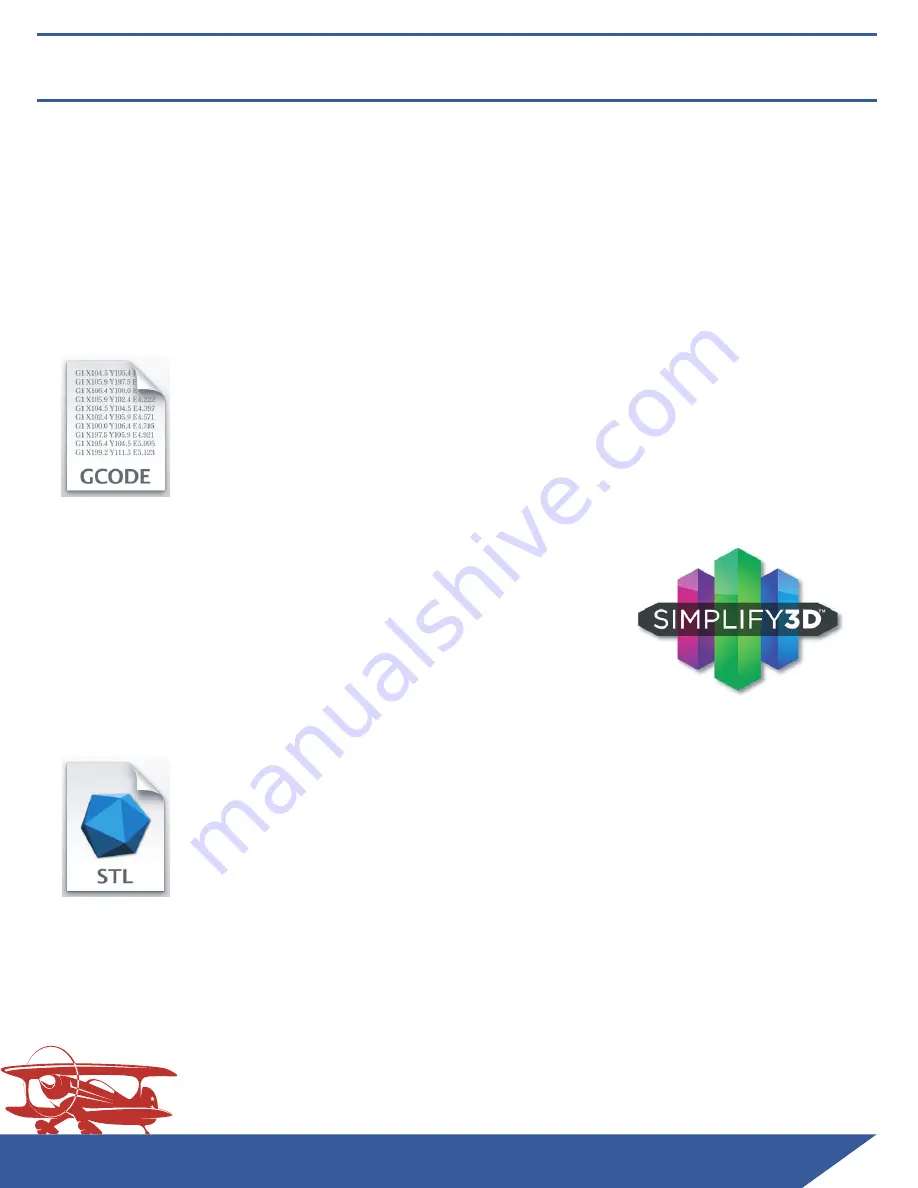
Option 1: G-Code
Transfer the included G-Code to an SD Card and run directly
on your i3 style printer. We’ve had good results with LW-PLA at
250º Celcius and standard PLA at 220º Celcius but experiment
with your printer to make sure you achieve strong layer adhesion.
Option 2: Simplify 3D Factory Files
If you prefer to use Simplify3D as your slicer, open
the included Factory Files and edit the preset profiles
for your printer/material to ensure nice outer surfaces,
excellent layer bonding, and good a bond between the
outer skin and the internal structures.
Your Options for Printing the Parts:
Option 3: STL + Your Preferred Slicer
If you prefer to use another slicer or create your own profiles
in Simplify3D, use the included STL files and the starter Cura
or PrusaSlicer profiles as a starting point. This will require
the most experimenting and expertise in your chosen slicer to
ensure nice outer surfaces, excellent layer bonding, and good
bonds between the outer skin and the internal structures.
NOTE: The Aileron, Elevator and Rudder parts on the Micro SportCam are designed to
be printed in vase mode, with 0% infill. You can use 1 or 2 perimeters. If printing in
LW-PLA, we suggest printing with 2 perimeters for added strength.


