3D Prototyping X1
52
7.
Maintenance
7.1. Changing the Material
Loading, withdraw and change the filament by “E Tools”
Note: the nozzle and print head is quite hot, so please wear the gloves during the
operation.
7.2. Cleaning the Nozzle
After being used several times, the nozzle will be covered with a layer of oxide material.
When printing, the oxide filament may be melted and fall, and cause the model surface to
change the color, so you need to clean the nozzle regularly.
At first, preheat the nozzle and set the temperature 195 (PLA), then wait for it to heat up.
Then use heat-stable material such as pure cotton cloth or wadding to clean the nozzle.
7.3. Accessories
You can print all of the plastic accessories of the printer by yourself. Because there are
some 3D models in the file “3DModel”, containing tray holder, tube mounting bracket,
Extruder guard and so on. If these parts are damaged, you can print them by yourself.
7.4. Level platform
Before starting, you should align the nozzle with the build tray to ensure that its horizontal.
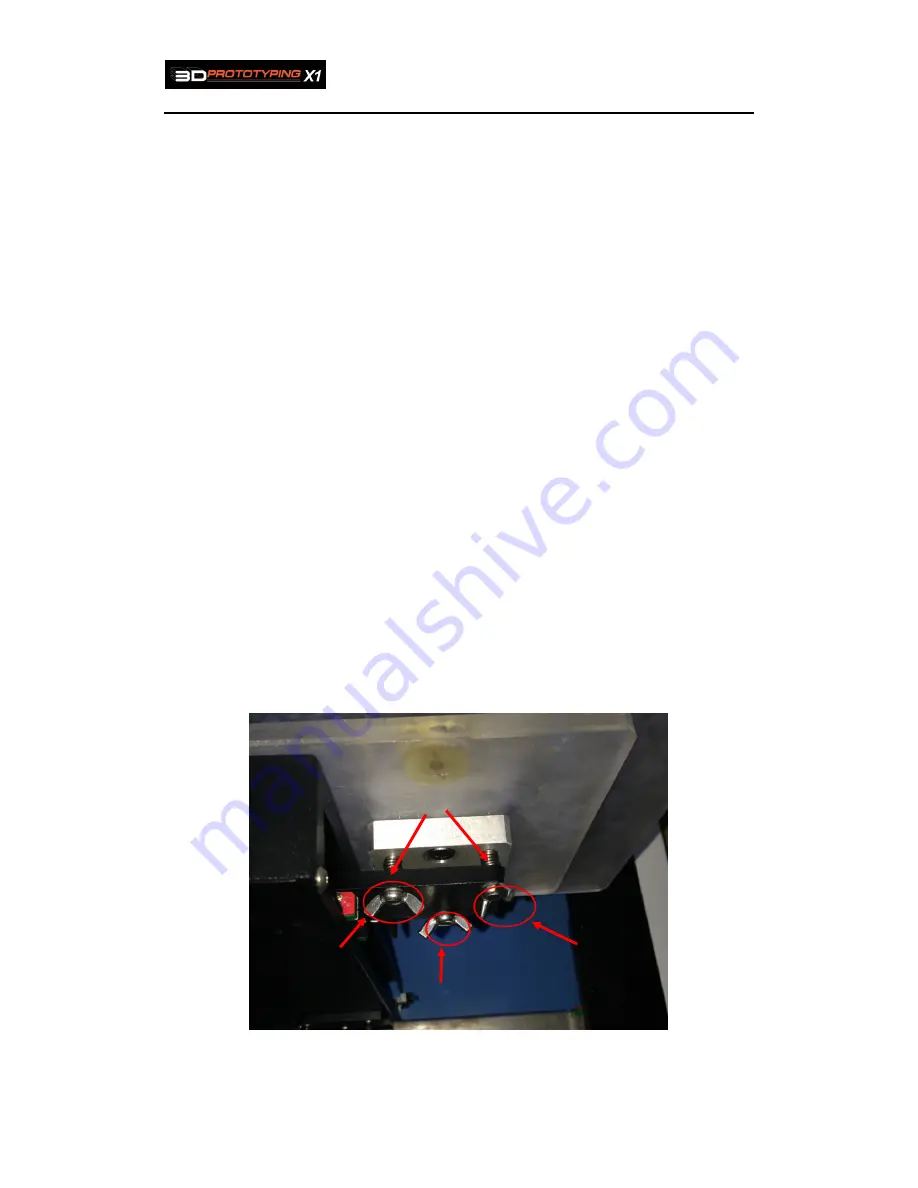
1. Use 3 screws and 3 pressure springs to level the print platform, shown as the figure
7.4.1.
figure7.4.1
2. By tightening the screw, the platform will move down; while loosening the screw, the
platform will move up.
Pressure spring
(
(
(
(
a
)
)
)
)
(
(
(
(
b
)
)
)
)
(
(
(
(
c
)
)
)
)
Summary of Contents for X1
Page 1: ...3D Prototyping X1 3D Printer User Manual V1 3 ...
Page 9: ...3D Prototyping X1 7 figure3 1 1 3 figure3 1 1 4 ...
Page 12: ...3D Prototyping X1 10 figure3 1 2 3 4 Click install starting installation figure3 1 2 4 ...
Page 33: ...3D Prototyping X1 31 figure4 3 8 ...
Page 35: ...3D Prototyping X1 33 figure4 6 2 Ready figure4 6 3 Buiding ...
Page 48: ...3D Prototyping X1 46 figure6 2 4 figure6 2 5 ...


