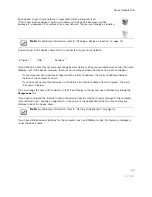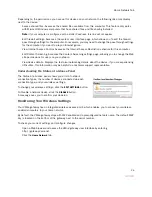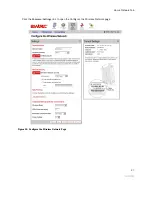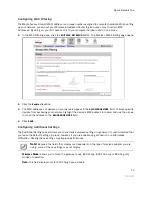
Home Network Tab
33
Setting Up a Public Proxied Subnet
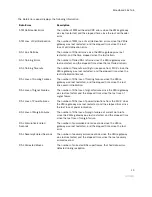
The Public Proxied Subnet pane allows you to create a local network that has broadband-accessible IP
addresses. Public Proxied Subnet is a public network in which the local network is an extension of the
broadband network and does not require any special routing. Computers that are assigned Public Proxied
Subnet IP addresses operate without Network Address Translation (NAT). This feature is typically used in
conjunction with broadband service that provides a range of IP addresses. Once enabled, the Public Proxied
Subnet IP addresses can be assigned to local computers.
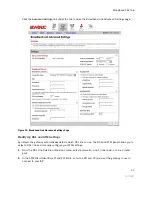
To set up a public proxied subnet:
1.
Check the
Enable
checkbox.
2.
In the Subnet Mask field, enter the subnet mask (this is typically provided by your service provider, and
defines how large your IP pool is).
3.
(Optional) To open all firewall ports, check the
Auto Firewall Open
checkbox. (By default, your firewall
protection is enabled.)
4.
Click
SAVE
.
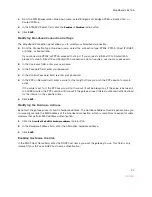
Selecting a Default DHCP Pool
By default, all devices on the home network that use dynamic (non-static) IP addresses receive these from
the Private Network DHCP pool. When either Public Routed Subinterface or Public Proxied Subnet is
enabled, click the
Default DHCP Pool
radio button in the corresponding section to have devices receive their
IP addresses from those pools.
Showing a Device as Inactive
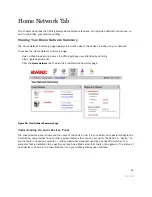
To show a device as Inactive:
1.
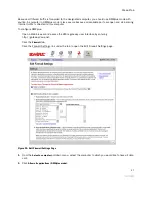
Open a Web browser and access the 2Wire gateway user interface.
2.
Click the
Home Network
tab.
3.
Click the Advanced Settings link under the tab.
4.
In the Settings pane, select the
Show inactive devices in network list
checkbox.
5.
Click
SAVE
.
Summary of Contents for Gateway None
Page 1: ...2Wire Gateway User Guide ...

