PREMIER QUATRO INSTALLATION MANUAL (Fyreye MKII) Firmware Versions: PANEL 1.84 & LOOP 3.70
Doc No: GLT-215-7-1 Issue: 1.36 Author: NJ/TE DATE: 25/05/2017
42
The
[END DELAY]
label is erased from the display when either the longest sounder
delay has expired or the sounder delay has been overridden by pressing
F4
.
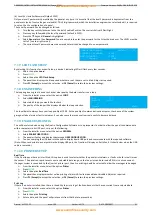
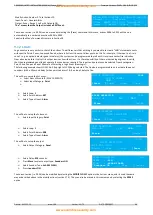
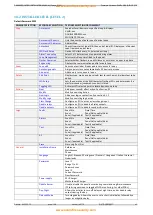
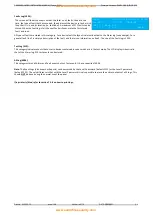
FIRST ALARM: Z001 – FIRST FLOOR
LAST ALARM : Z003 – THIRD FLOOR
ZONES IN FIRE :002 POINTS IN FIRE :002
PRESS < OR > TO SCROLL
[END DELAY ]
(b) Relay Output Delays
Relay outputs can also be delayed via the cause and effect actions. In this case, no LED is lit to indicate a delay (since this type of
output is not mandatory).
NOTE: It is possible to toggle delays on & off via the user menu. If the delay is not working as expected, check in the user menu if
the delays have been turned off. (If there are delays to sounders, the sounder delay LED will be lit when the delays are enabled.
Delays to relays do not turn on this LED)
(c) Removing/Disable Delays
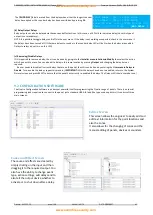
If it is required to remove a delay, then it can be done by going into the
Installer menu
►
Actions
►
Modify
then select the action
which you wish to erase. You can also edit a delay in this same location by pressing
Output
and changing the delay time as
required.
If a user needs to disable all current delays that are on the panel, then this can be done by entering the
User menu
►
Delays
►
Disable
. To re-enable the delays, repeat this process.
(
IMPORTANT:
After the delays have been re-enabled, return to the System
Normal screen and press
RESET to ensure that the panel has correctly re-enabled the delays.
The Delays LED should come back on.
)
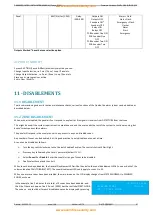
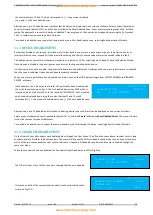
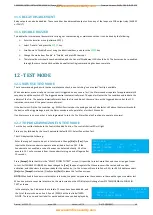
9.2 CONFIGURATION SOFTWARE
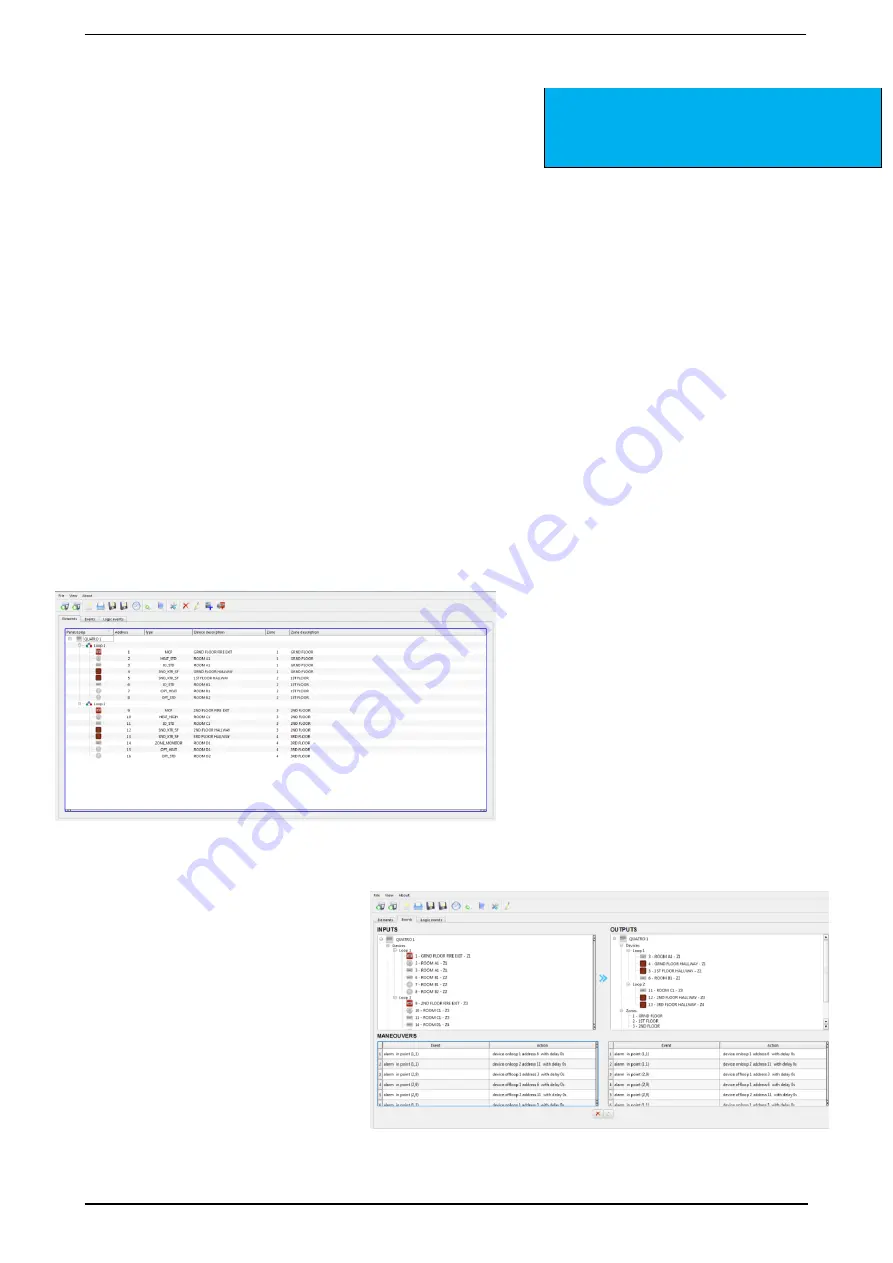
The Quatro Configuration Software is an easy yet powerful tool for programming the Quatro range of panels. There is no special
programming leads required to connect to the panel, just a standard USB A-B lead (the type used on printers)
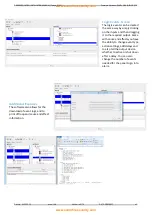
It consists of three
main screens:
Editor Screen
This screen allows the engineer to easily add and
edit text information for the point locations and
also the zones.
It also allows for the changing of zones and the
manual adding of panels, devices or sounders.
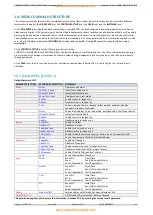
Cause and Effect Screen
The cause and effects are created by
simply clicking on the input and then
dragging it to the required output. You
also have the ability to change event
type, action settings, add delays and to
also tell the output device whether to
activate or to shut down after a delay.

