Smart+
User’s Manual V1.04.04
38
FM07I4A
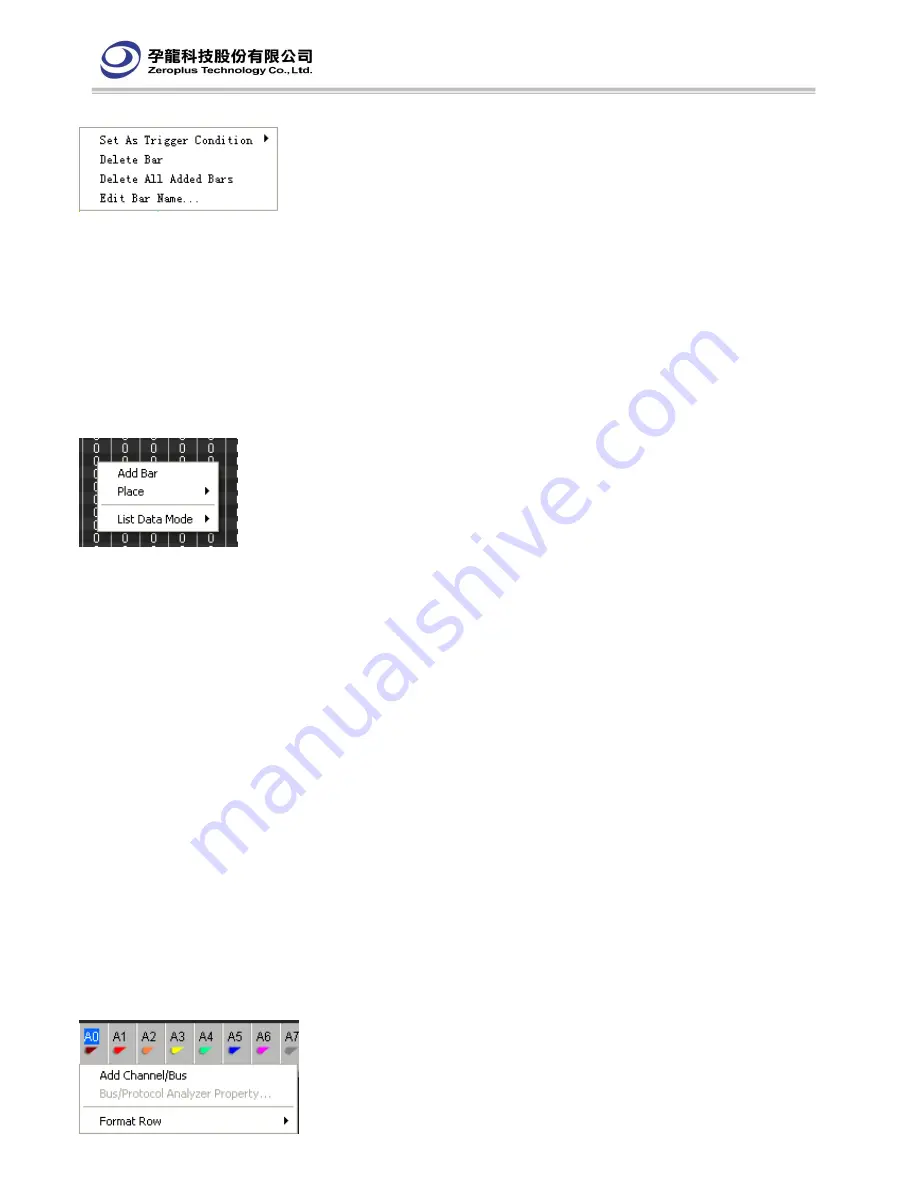
3.3.4 Right Key Menu of Bar
Set As Trigger Condition:
Set the high, low or edge of each channel the bar locates as the trigger condition, which will
be the same with that of the channel area.
Delete Bar
: Delete the selected bar.
Delete All Added Bars
: Delete all new added bar.
Edit Bar Name
: Edit the comment of new added bar. Ten characters(letter, number and base line) at most can be input.
For example, the comment of A2 Bar is START_2, then it will be displayed as “ A2
(
START_2
)
”.
Note: The T Bar has no right key menu. A Bar, B Bar, Ds Bar and Dp Bar can’t have any comment or be deleted.
3.3.5 Right Key Menu of Listing Window
Add Bar
: When the cursor is in the waveform view area, press right key and select Add Bar to add a new bar with a
name following the order of letter and color.
Place
:
A Bar: Place A Bar in the cursor position.
B Bar: Place B Bar in the cursor position.
Ds Bar: Place Ds Bar in the cursor position. It is available after “Select an Analytic Range” is activated.
Dp Bar: Place Dp Bar in the cursor position. It is available after “Select an Analytic Range” is activated.
More Bar: Place other bar, including the new added bar, in the cursor position.
List Data Mode
: Among different data, the values in some section are the same, data change can’t be observed in “All
Data” mode. So in order to better observe the changed dot and reduce the output capacity, data changed dot
compression function is added. The data mode has three kinds: All Data, Sampling Changed Dot(Compression) and
Data Changed Dot (Compression).
All Data: It is the default display mode, which shows all data.
Sampling Changed Dot(Compression): Take the current sampling changed dot as the data reference point to display the
data.
Data Changed Dot(Compression): Take the current data changed dot as the data reference point to display the data.
3.3.6 Right Key Menu of Channel Column(Listing Window)
Содержание LAP-C(16032)
Страница 1: ......
Страница 57: ...Smart User s Manual V1 04 04 57 FM07I4A 4 5 5 Waveform...
Страница 75: ...Smart User s Manual V1 04 04 75 FM07I4A Step 1 Click Next to enter into the following interface...
Страница 79: ...Smart User s Manual V1 04 04 79 FM07I4A Step 5 In the end click Finish then the Bus is build...
Страница 81: ...Smart User s Manual V1 04 04 81 FM07I4A Step 1 Click the Next to enter into the following interface...
Страница 98: ...Smart User s Manual V1 04 04 98 FM07I4A...
Страница 101: ...Smart User s Manual V1 04 04 101 FM07I4A...
Страница 105: ...Smart User s Manual V1 04 04 105 FM07I4A Packet Find Find particular packet...
Страница 116: ...Smart User s Manual V1 04 04 116 FM07I4A USB PD3 0 HID Over I2C CCIR601...
Страница 126: ...Smart User s Manual V1 04 04 126 FM07I4A 7 Appendix 7 1 Hot Keys 7 2 Contact Us...


