Quick Start Tutorial
ORB Operating Manual – Issue 1.0
Page 17
Quick Start Tutorial
Getting Started
Prior to powering up the desk, it is essential to attach all the
peripherals you require. The desk has support for a USB Keyboard
and Mouse, two XGA monitors (or touch screens) and a desk light
on 3 pin XLR. These should be connected before powering up, as
subsequent connection could result in software or hardware
malfunctions.
Once you've connected all the peripherals you require, power on the
desk using the switch on the rear panel. If you see no immediate
response, check you have the power switch set to ON, and that the
IEC lead is firmly attached to the power inlet.
When you power on the desk, the desk will run through its power
up routine and after a short while you will be presented with the
desk software in its default configuration.
Setting Up the Desk
Before you start programming cues etc, you will need to set up the
desk.
The desk comes with a default patch of channels 1 to 96 assigned to
DMX addresses 1 to 96 on DMX universe 1 as standard Dimmer
fixtures. If this situation matches your installation then you can
skip ahead from this section.
Press the SETUP key to display the Setup Window on Monitor 1.
Setup is intended to give you access to the core settings for the
ORB. As such, you shouldn't need to enter the Setup area during a
show. It is, however also used for saving and loading of show files,
so during programming you may wish to enter Setup occasionally to
take a backup.
Adding Fixtures
Once in the Setup screen, the first task you need to perform is to
assign the fixtures in your rig to the desk’s fixture schedule.
Press the [Patch Wizard] button on the monitor using the trackball.
The Patch Wizard will appear and guide you through adding some
fixtures.
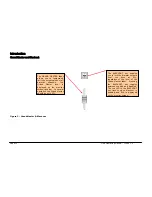
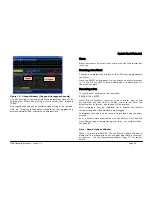
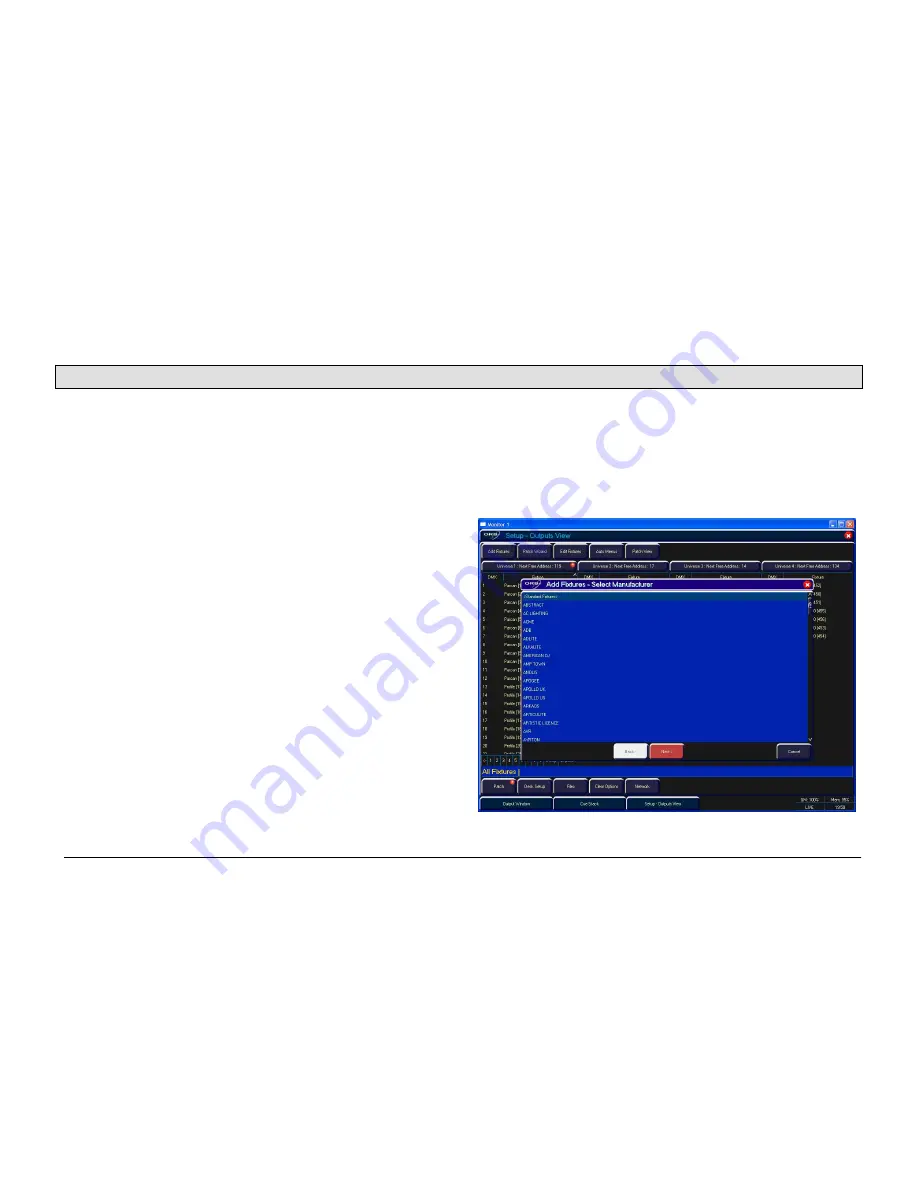
Figure 9 – Patch Wizard (Step 1 – Manufacturer Selection)
First the wizard allows you to select the fixture manufacturer.
Содержание ORB
Страница 1: ...ORB OPERATING MANUAL...

